
Move WordPress Media Without the Usual Mess: Selected Exports, Gallery Sync, and SFTP Folder Sync
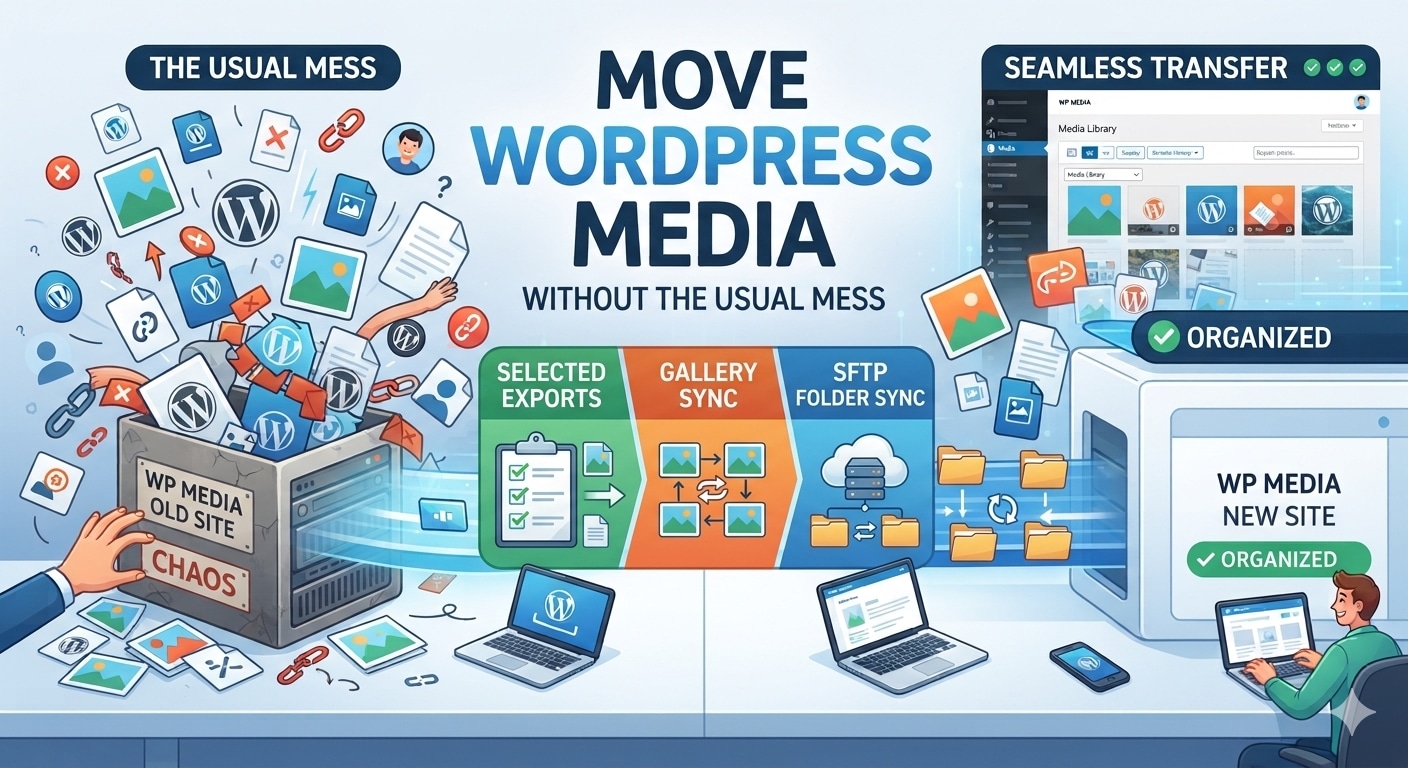
Media work in WordPress is rarely difficult because of one image. It becomes difficult because of small repeated decisions: which files should move, which metadata should stay intact, which site is the source of truth, and how to avoid creating the same attachment three times under slightly different names.
For a small website, downloading and re-uploading a few images may feel harmless. For a busy blog, WooCommerce store, agency staging site, or client rebuild, that habit gets expensive quickly. Titles, captions, alt text, file URLs, attachment dates, and image sizes all matter. So does the simple fact that WordPress does not treat a file in a server folder as a proper Media Library item until it has an attachment record in the database.
This is where a practical workflow matters more than a dramatic migration plan. A tool such as Import Export by RockStarLab, a WordPress import, export, and content sync plugin, can be useful here, but only when you choose the right method for the job. Sometimes you need a CSV. Sometimes you need direct site-to-site sync. Sometimes the files are already sitting on the server and simply need to be registered in WordPress.
The three workflows below cover those common situations without turning media management into a weekend project.
How to Export and Import Selected Files in the WordPress Media Library
Exporting the whole Media Library is sensible when you are moving an entire website or preparing a full audit. But many real jobs are smaller than that. You may only need the images for one landing page, a group of PDFs for a client area, or the approved product shots from staging.
Selected media export is the cleaner option in those cases. It keeps the export file focused, reduces the number of records you need to review, and makes the import step easier to verify afterward.
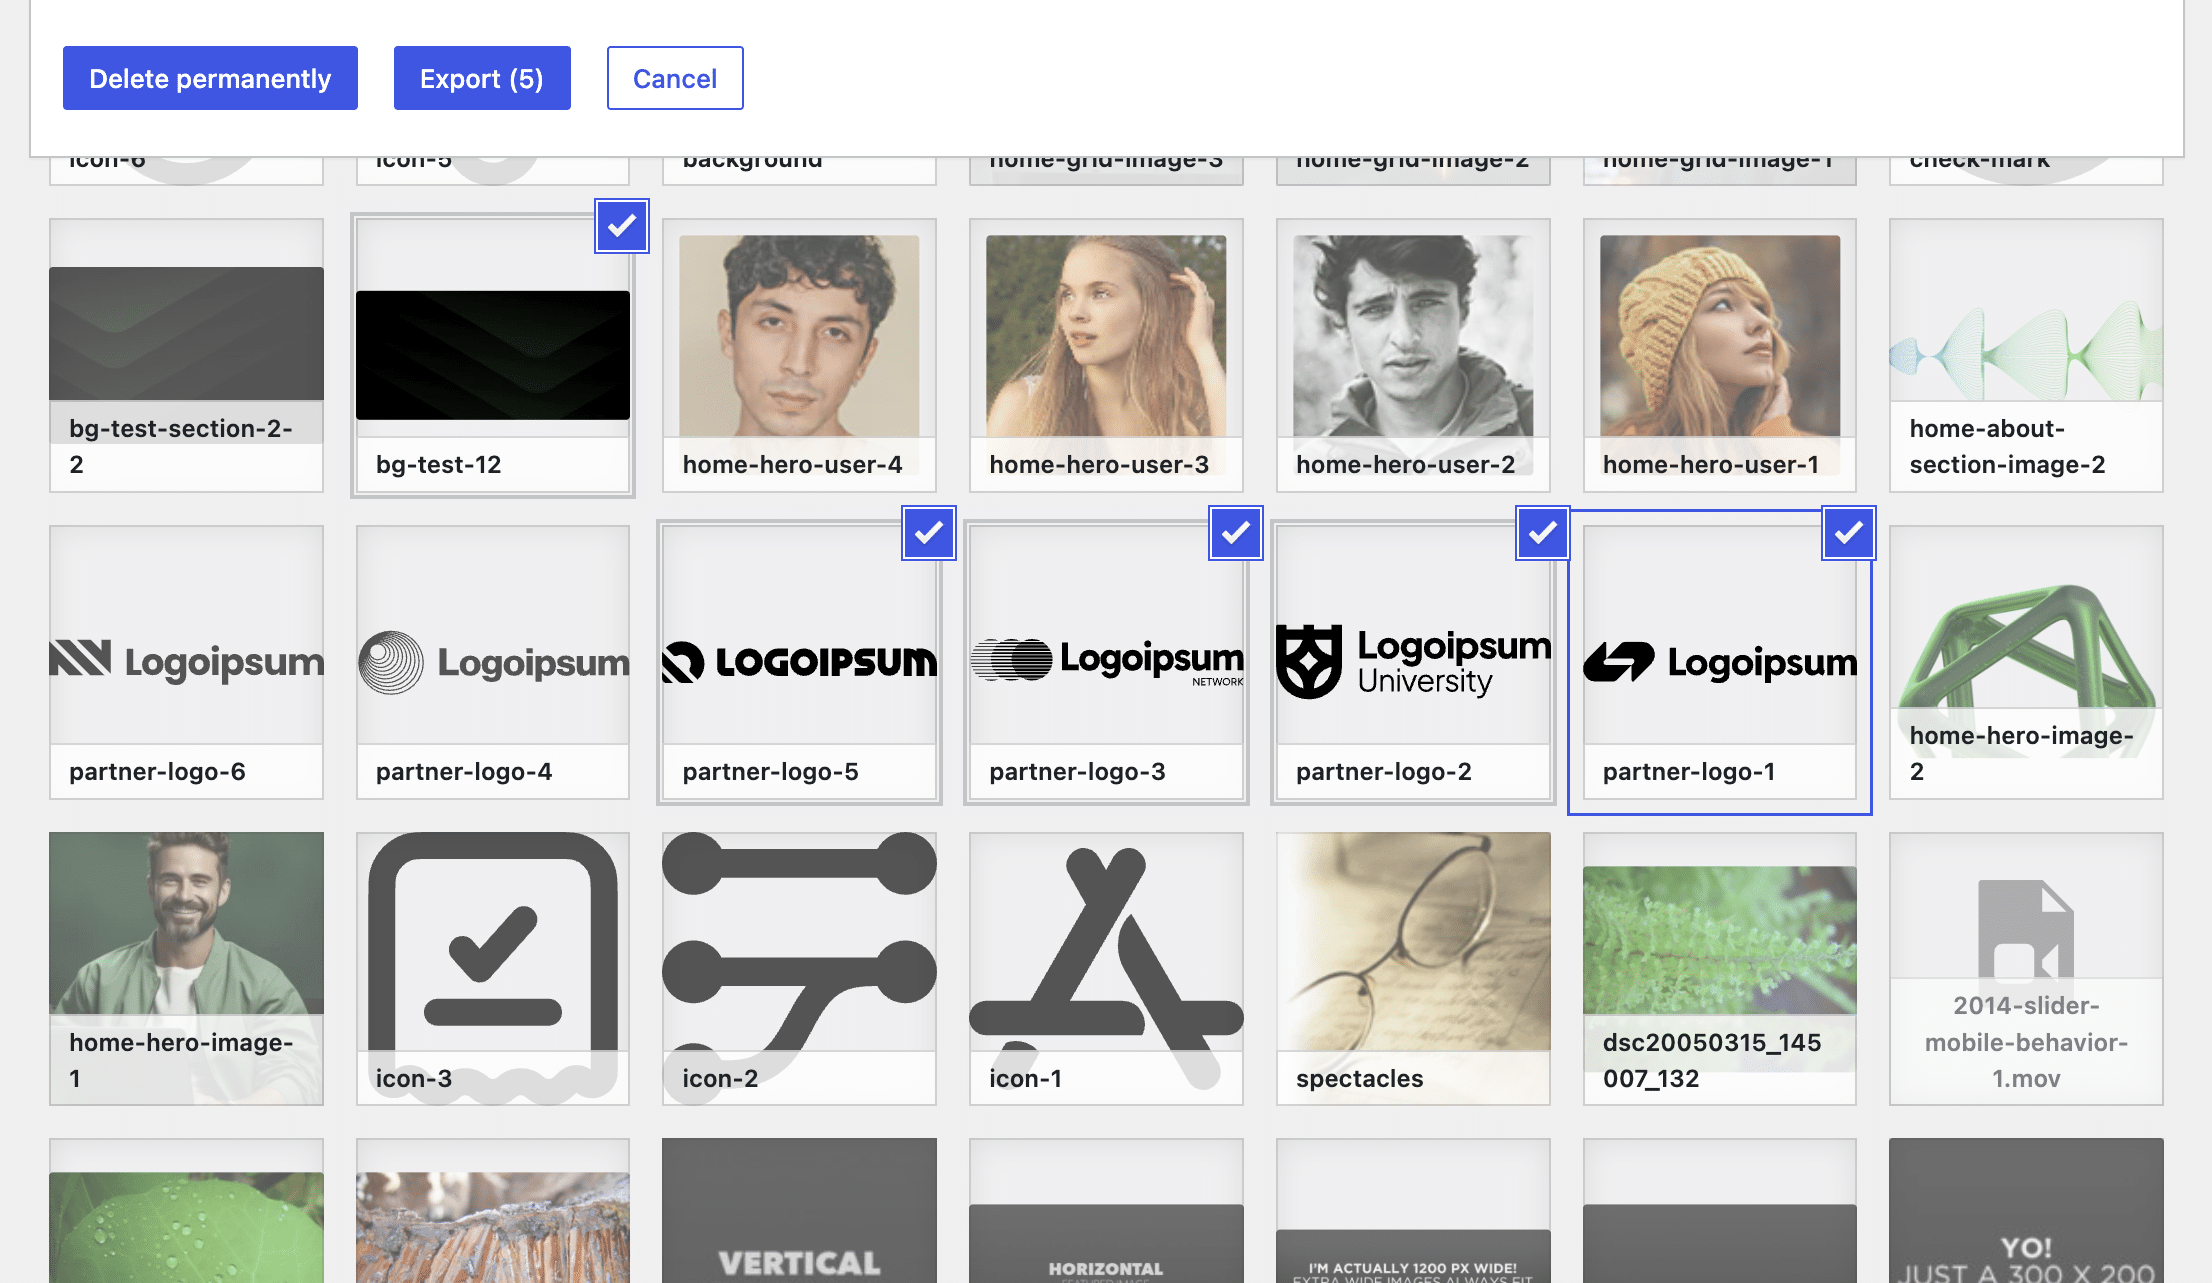
Use Bulk Select when you only need to move a defined group of images, PDFs, videos, or other media files.
When selected media export makes sense
Use this workflow when the destination site does not need a full copy of the source Media Library. For example, an agency might prepare a new service page on staging, then move only the final images to production. A store owner might transfer a small set of product manuals. A content manager might export files uploaded during a campaign so they can be reviewed in a spreadsheet.
The main advantage is control. Instead of filtering through hundreds or thousands of attachments later, you decide exactly what belongs in the job before the export begins.
Basic workflow
- Open the source website and go to Media > Library.
- Click Bulk Select.
- Choose the files you want to move.
- Click the export action that appears for the selected media.
- Choose the fields you want to include in the export file.
- Export the selected records as CSV or Excel, depending on your preferred workflow.
- Open the destination website and go to the import tool.
- Select Media as the content type.
- Upload the exported file, preview the rows, and map the columns to WordPress media fields.
- Configure duplicate handling, start the import, and verify the result in Media > Library.
For a straightforward move, include at least the file URL or source path, title, filename, alt text, caption, description, MIME type, dimensions, and upload date. If the export file was created by the same tool you use for import, auto mapping can save time, but it is still worth reviewing the field mapping before running the import.
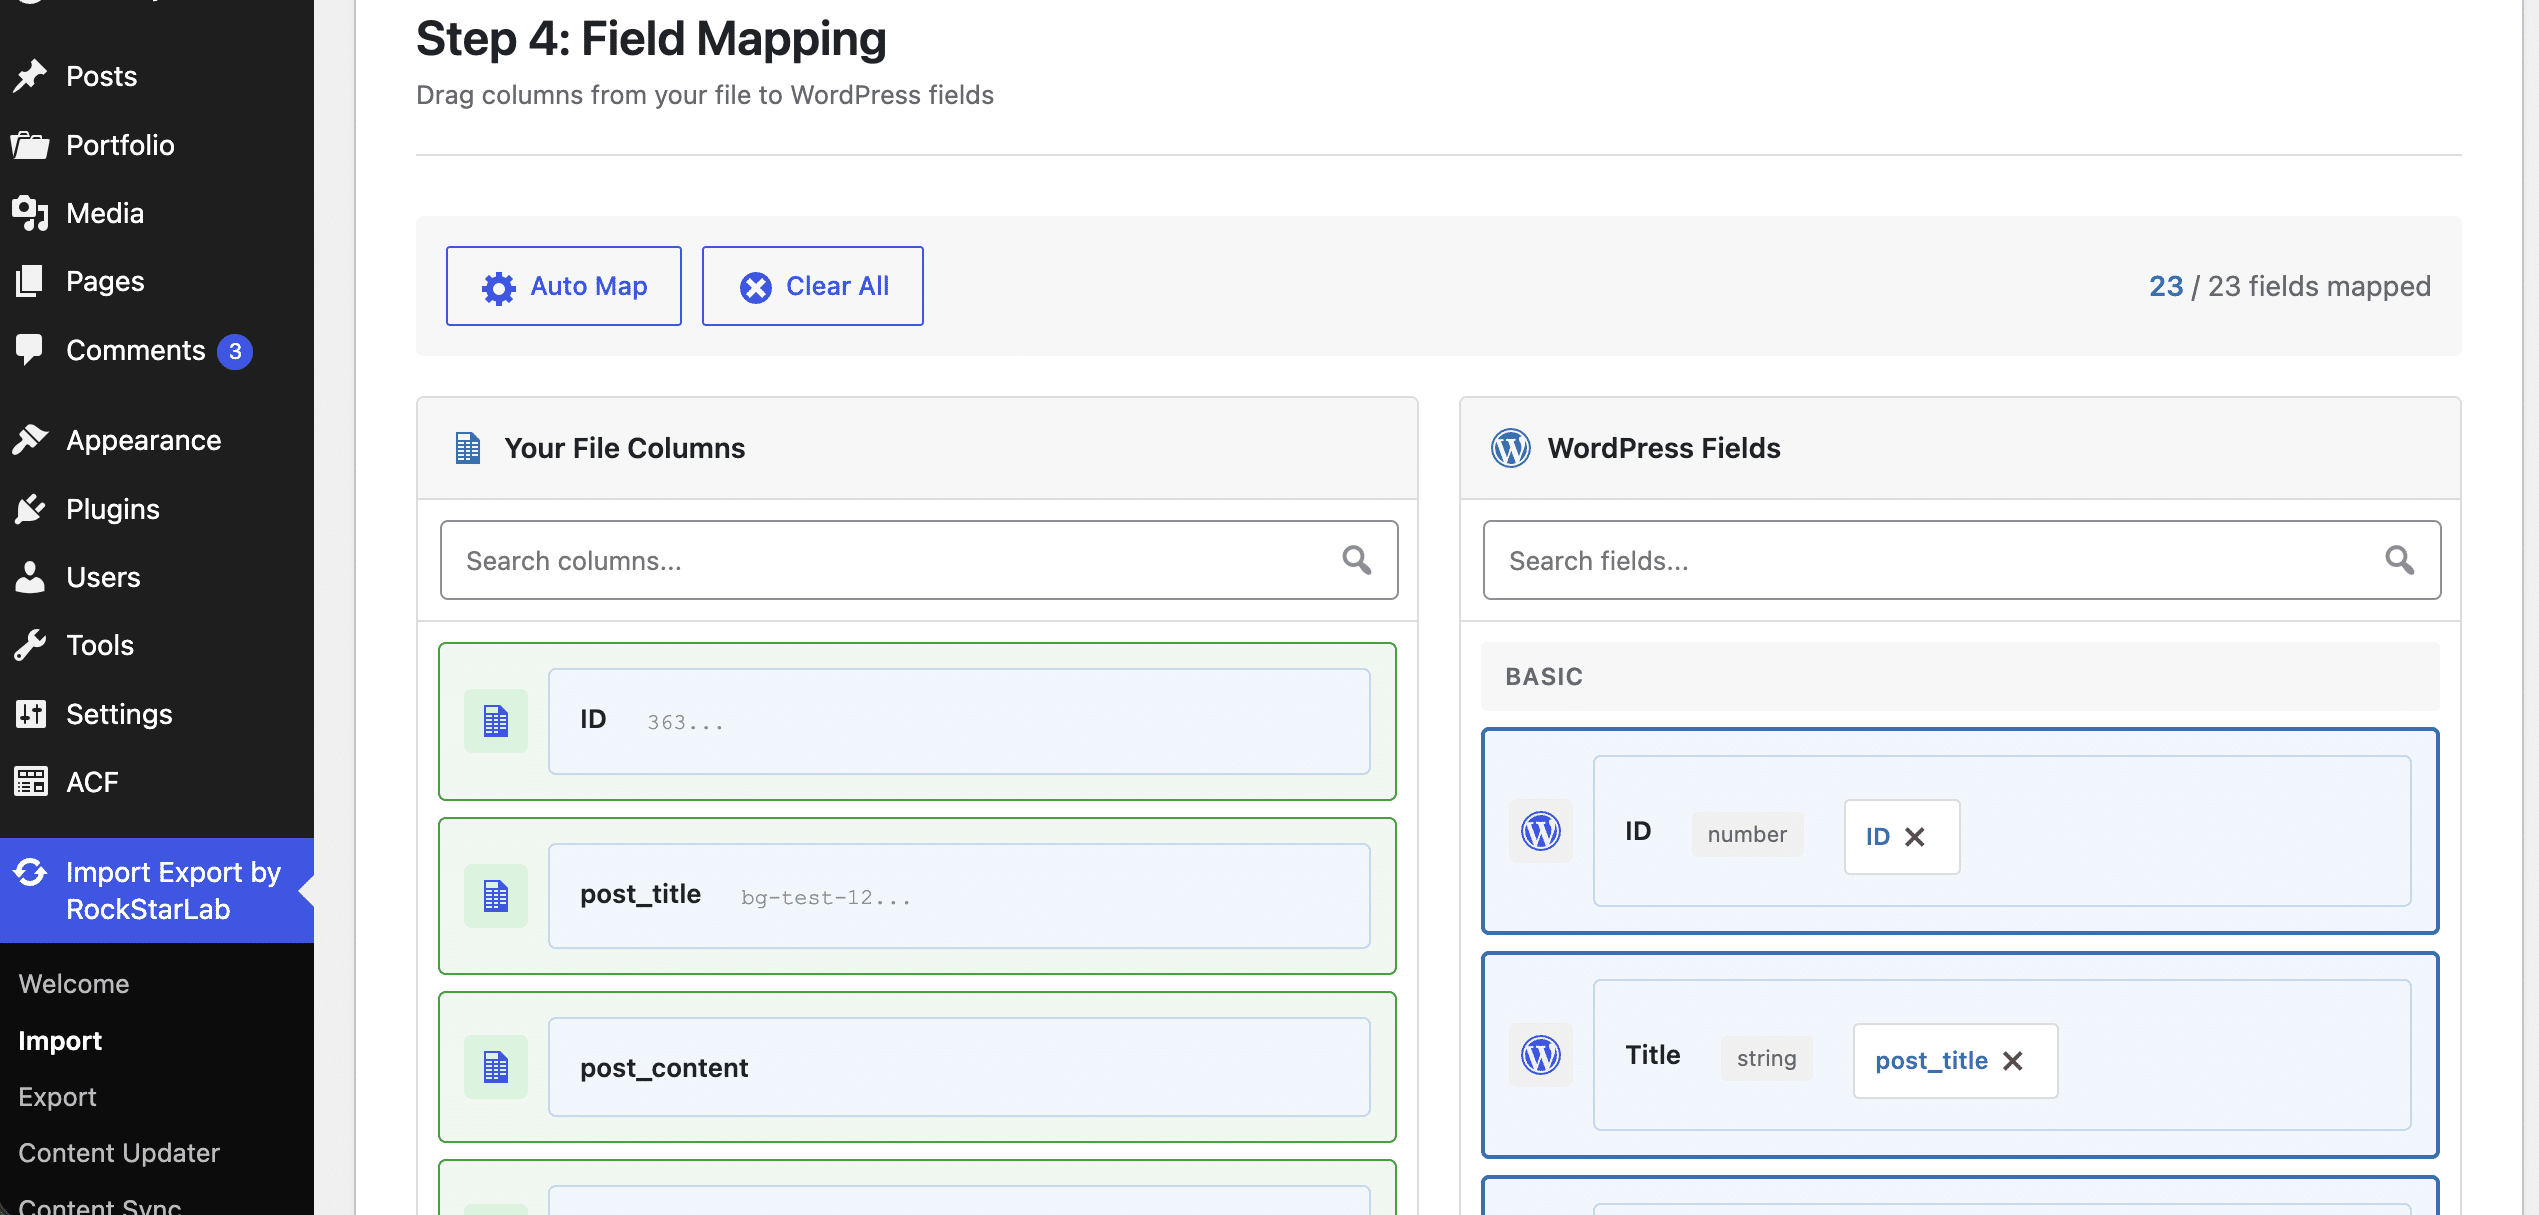
Field mapping is where file URLs, titles, captions, alt text, and other attachment data are connected to the correct WordPress media fields.
Do not let duplicates ruin a clean import
Duplicate media usually appears when the destination site already has some of the files, but the import job cannot recognize them reliably. Matching by title alone is risky because different files can share the same title. Matching by filename is better, but even filenames can repeat across folders.
When the destination Media Library already contains assets, build a media hash index before importing. Hash-based comparison checks the file content itself, which is more reliable when a file was renamed, moved, or served from a different domain. Then choose a sensible action for matches: update existing records if you want to refresh metadata, or skip them if the destination should remain untouched. Avoid “create” for matched items unless you intentionally want a second attachment.
One small practical note: keep the source website or file location available until the import has finished. If the CSV points to source URLs that disappear halfway through the job, the destination site will not be able to fetch those files.
How to Sync a WP Media Gallery Without Import and Export
CSV files are excellent when you need a reviewable file, a spreadsheet audit, or a controlled migration package. They are less charming when you only want to move approved media from one connected WordPress site to another.
For staging-to-production work, direct Media Library sync is often faster. The idea is simple: connect the two WordPress websites once, then push or pull media between them without manually creating export files.
Connect the sites first
On both websites, the same plugin should be installed and active. Open the content sync settings on the first site, view the site configuration, and copy the site URL and API key. Then go to the second website, add a new connected site, and paste those details.
If you only need one-way movement, one connection may be enough. If the sites need to push and pull from each other, repeat the process in the opposite direction. This is common when staging and production both change over time and the team occasionally needs to pull live content back into staging before preparing new updates.
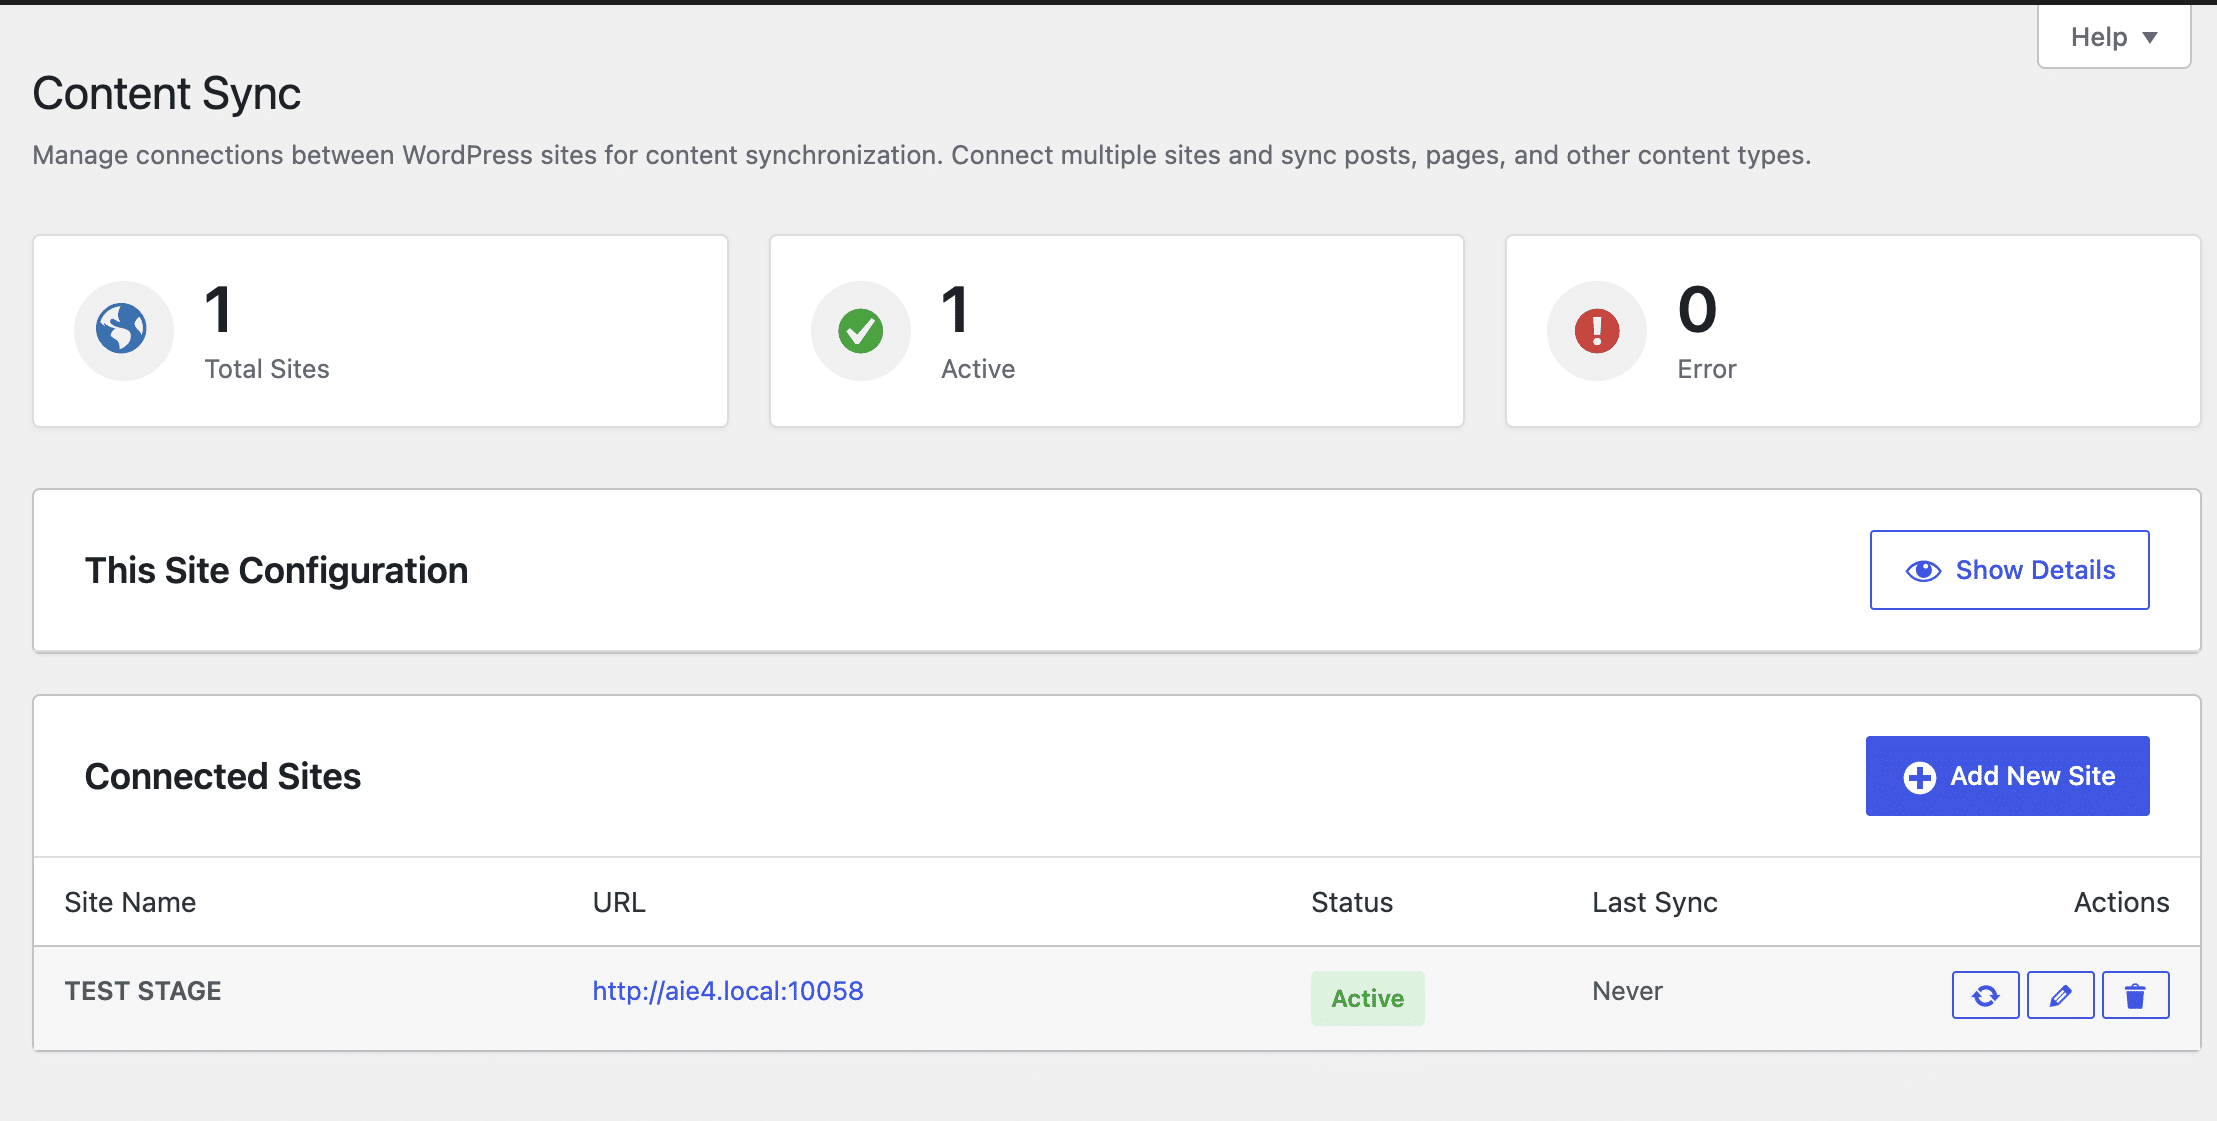
Connected sites allow media to move directly between WordPress installations without preparing a separate CSV file.
Sync the full gallery or only selected files
Once the sites are connected, open the Media Library. A Sync Content action becomes available for media workflows. From there, choose the connected site and decide which direction the media should move.
Pull from site brings media from the remote website into the current one. This is useful when you are standing on production and want to pull approved files from staging, or when staging needs a copy of media that already exists on the live site.
Push to site sends media from the current website to a connected destination. This is the option most teams expect when they select a few images on staging and want to send them to production.
For a full Media Library sync, work from the sync window and select the source site carefully. For a smaller transfer, use Bulk Select in the Media Library first, choose the exact files, and then use Sync Content. That small habit keeps the job readable. You can look at the selected items and understand what is about to move before anything touches the destination site.
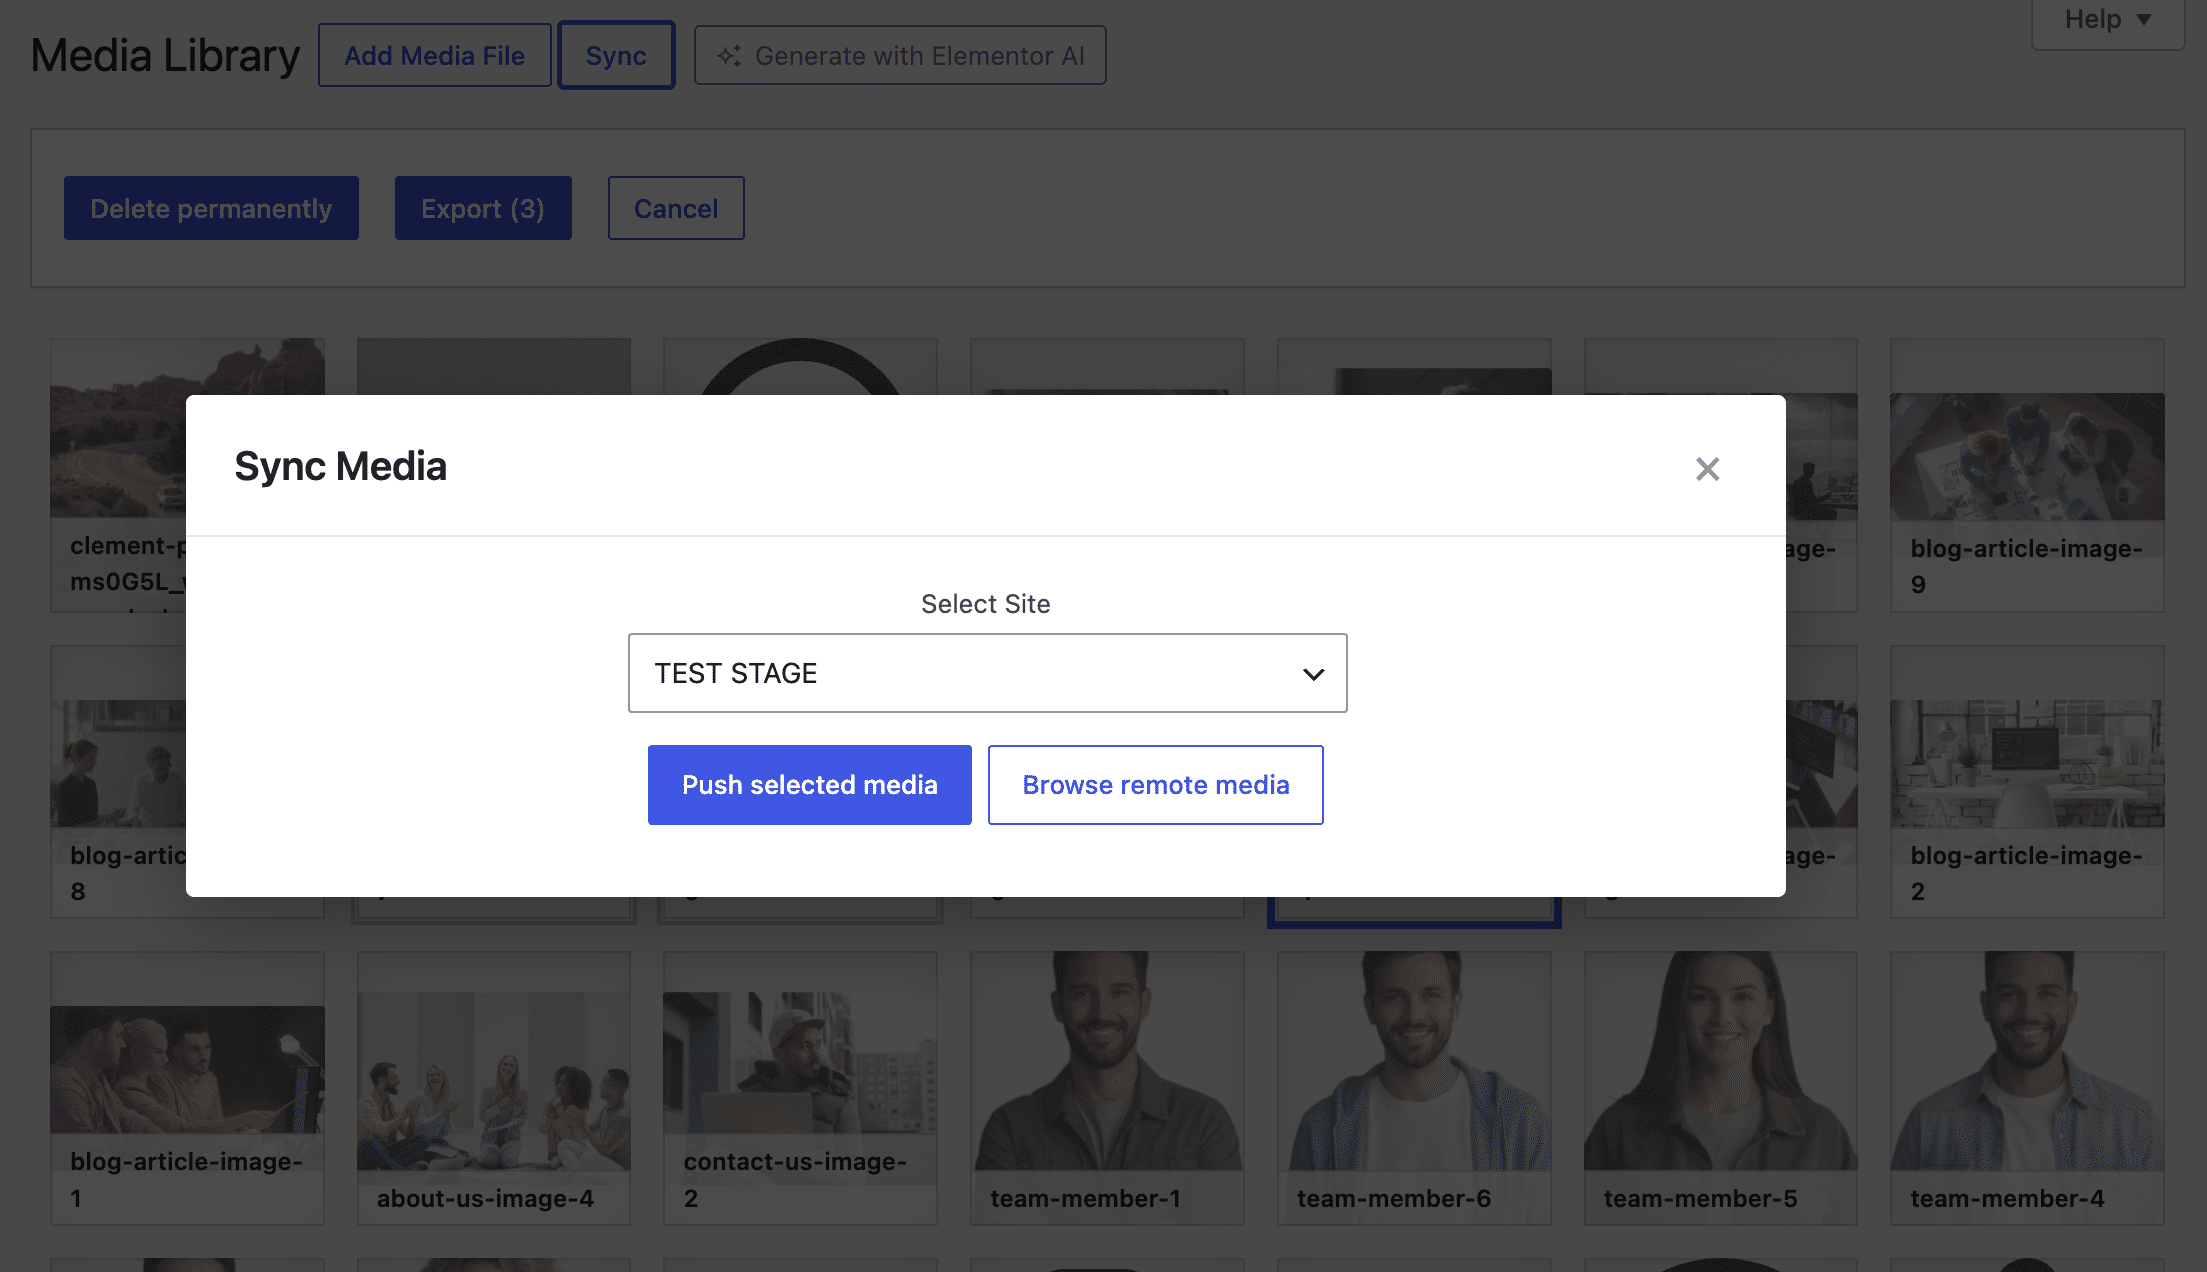
The sync window should make the direction obvious: pull media into the current site or push selected files to another connected site.
Use sync for everyday publishing, not just migrations
Media sync is not only a migration feature. It is useful for ordinary publishing work where media has to travel with content. Think of a new page prepared on staging, a batch of edited gallery images, or a small set of PDFs that must go live after approval.
The main risk is not technical complexity. It is choosing the wrong direction. Before starting the job, say it plainly: “These files are going from staging to production,” or “These files are being pulled from production into staging.” It sounds almost too simple, but it prevents the kind of mistake that only becomes obvious after the wrong library has been updated.
For live websites, make a fresh backup before larger sync jobs and test with one or two media items first. Once the small sync behaves as expected, run the larger batch.
How to Sync Any SFTP-Uploaded Site Folder with the Media Library
There is one WordPress media problem that still catches people off guard: uploading files through FTP, SFTP, or a hosting file manager does not make them appear in the Media Library.
The files exist on the server, but WordPress has not created attachment records for them. That means they may not show up in Media > Library, may not be available in the block editor, and may not have generated image metadata or registered image sizes.
This usually happens during bulk uploads, site rebuilds, agency handoffs, backup restores, and large product image transfers. Re-uploading everything through the WordPress admin is slow and unnecessary. A Media Sync workflow can scan the server folder and register supported files properly.
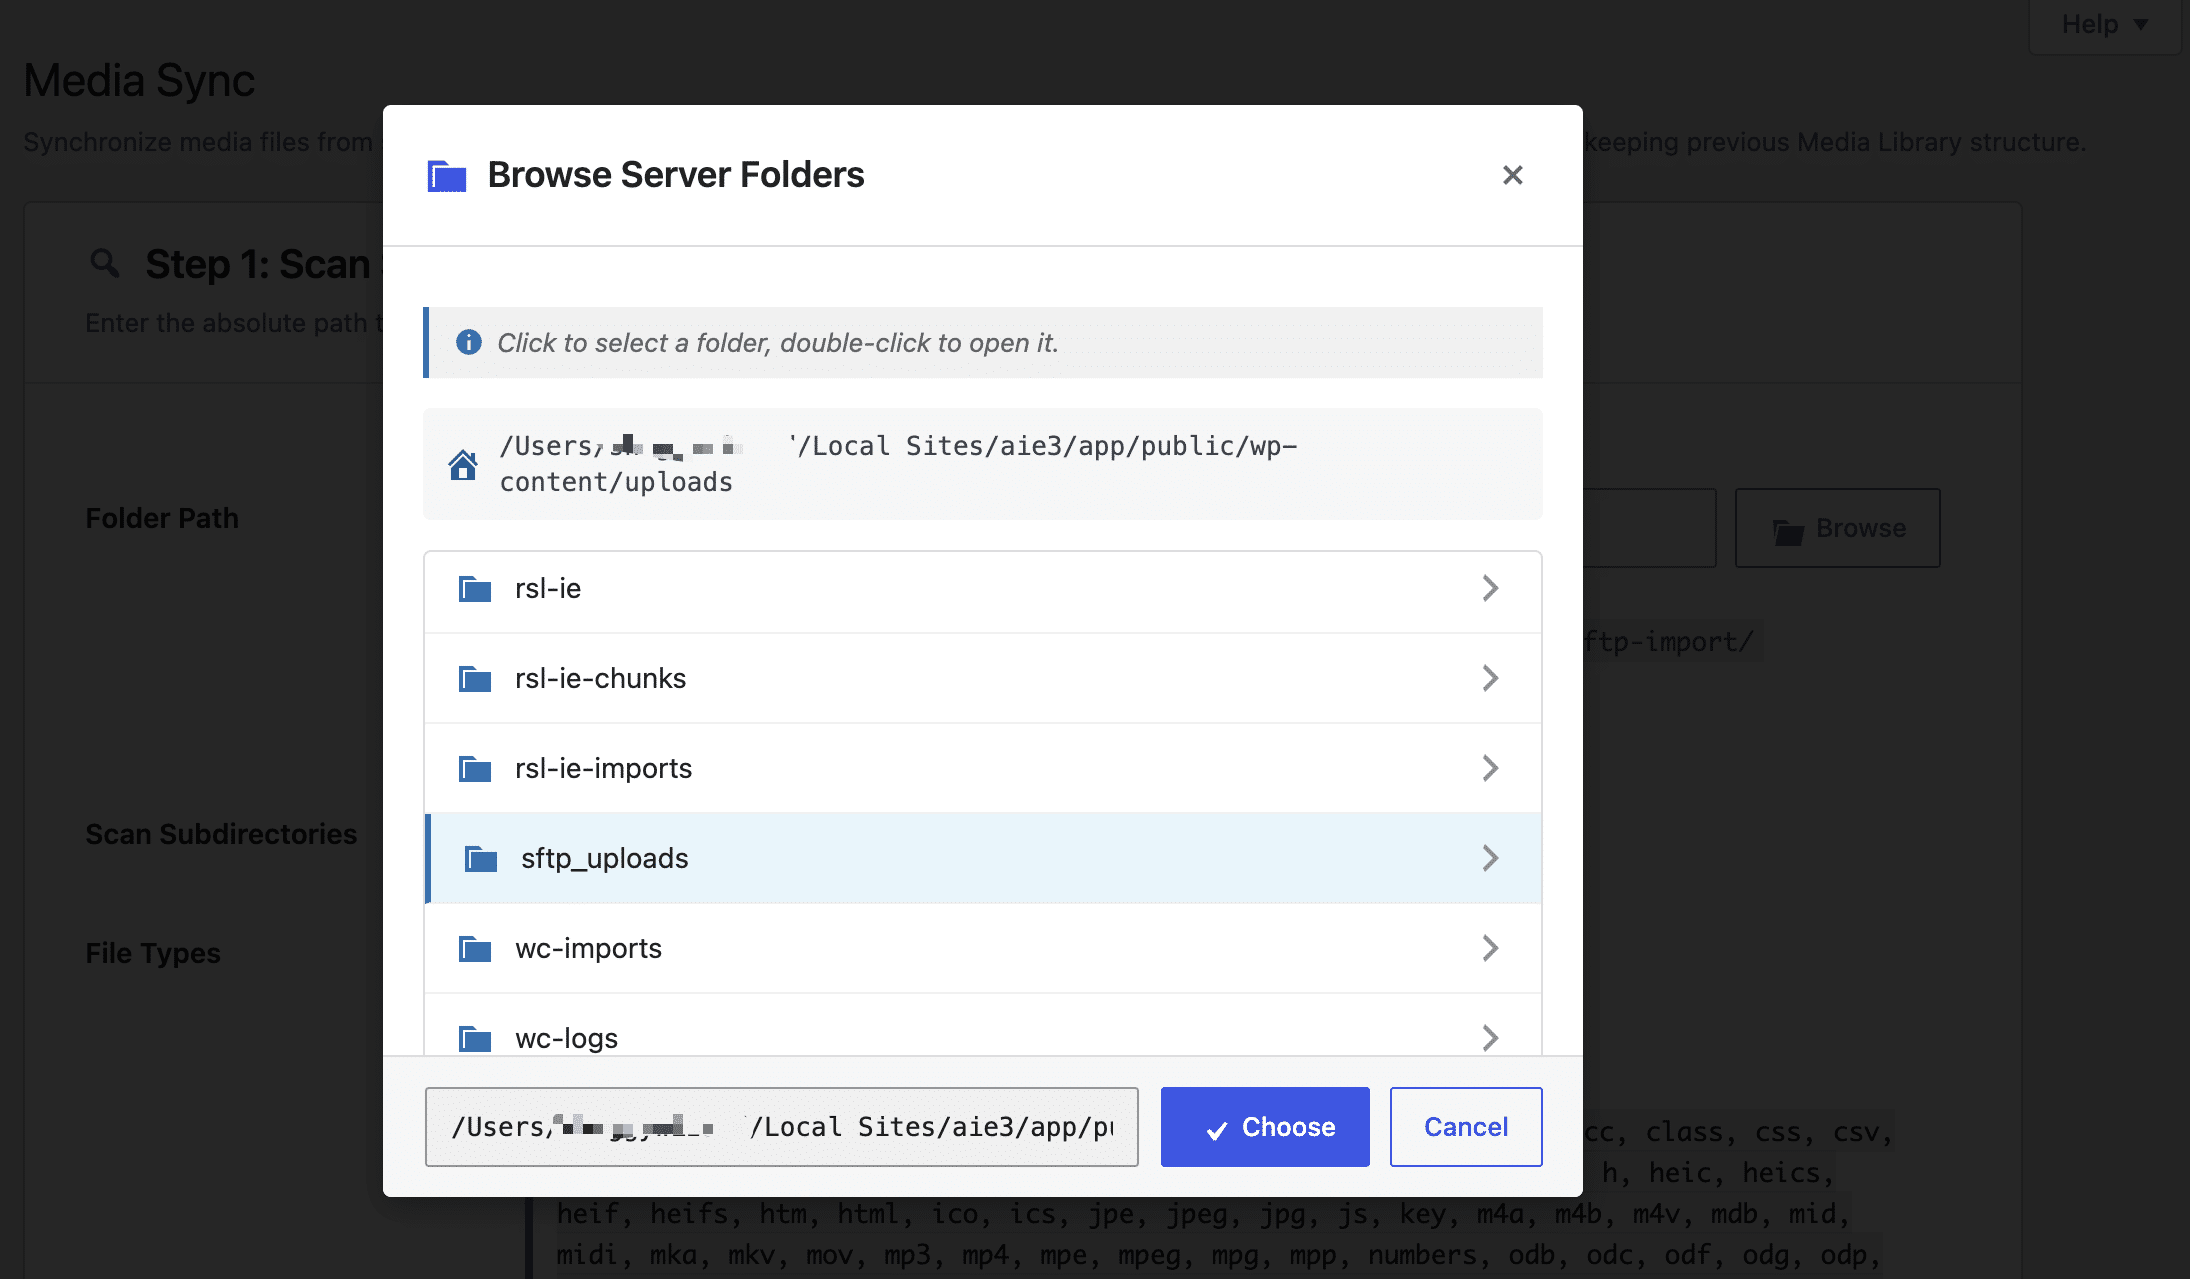
Media Sync starts with a server folder that already contains files uploaded through SFTP, FTP, or a hosting file manager.
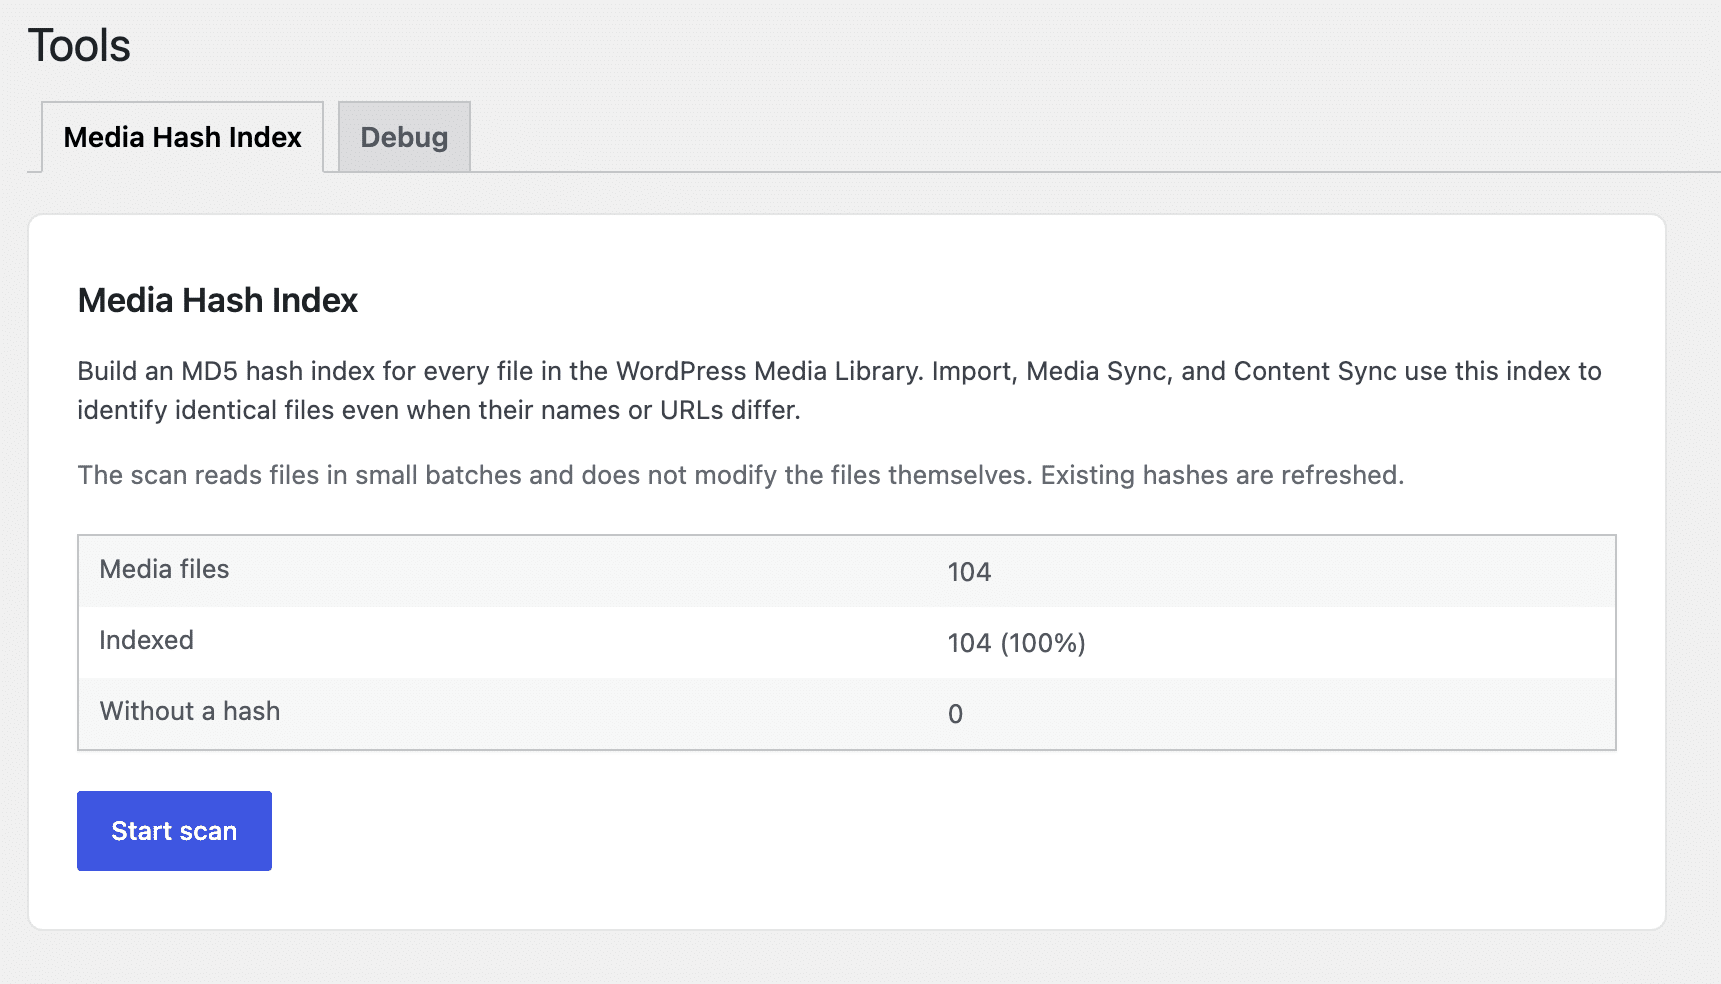
Start with the Media Hash Index
Before scanning a custom folder, build the Media Hash Index from the plugin tools screen. This scan reads media files that are already registered in the WordPress Media Library and stores a hash for each file. The point is duplicate detection. If the same file already exists in the library under a different name or path, hash comparison gives the sync tool a better chance of recognizing it.
The hash scan does not rename, compress, move, or rewrite your existing files. It creates a reference that helps the later folder sync make better decisions.
Scan the uploaded folder
- Go to the Media Sync screen in the WordPress admin area.
- Browse to the folder you want to scan, often somewhere inside wp-content/uploads.
- Enable subdirectory scanning if the folder contains nested folders.
- Choose whether to scan all allowed media types or limit the scan to images, video, audio, documents, or custom extensions.
- Run the folder scan.
- Review the detected files before starting synchronization.
The review step matters. A broad folder may contain files that should not become Media Library items: temporary exports, old copies, incorrectly named files, or assets that belong to another system. Exclude anything that does not belong before you register the folder.
Review detected files before sync so temporary files, old copies, or unrelated assets do not become Media Library items.
Choose duplicate and file operation settings
After the scan, configure how duplicates should be detected and handled. MD5 hash detection is usually the most accurate option because it compares file content, not just the visible filename. Filename or filename plus filesize can still be useful, but they are less reliable when folders contain reused names.
Then decide what happens if a duplicate is found. You can skip the duplicate, overwrite the existing file, or rename the new file and keep both. For most cleanup and migration jobs, skipping duplicates is the safer starting point. Overwriting should be reserved for cases where you are certain the uploaded folder contains the better version.
File operation settings are just as important. You can keep files in their original folder, copy them into the standard WordPress uploads structure, or move them into the uploads structure and remove them from the original location. If another script, CDN process, or manual workflow depends on the original folder, keep or copy the files rather than moving them too quickly.
For large images, PDFs, audio, or video files, use a conservative batch size. A batch size of one to three is often safer on shared hosting because media processing can involve file reads, database writes, metadata generation, and thumbnail creation. A powerful server can usually handle more, but it is better to increase gradually than to restart a half-finished job.
Preserve folders when it helps editors
WordPress does not include real Media Library folders by default. If the site uses a folder plugin such as Real Media Library, enable the folder preservation option during sync. This can recreate the original server folder structure as virtual folders inside the WordPress Media Library.
That is especially useful when the uploaded folder already has meaning: product images by category, PDFs by department, event photos by year, or downloadable files grouped by client. Editors should not have to guess where things went after a technical sync.
After synchronization finishes, open Media > Library and check a sample of the new items. Confirm that images open correctly, documents download, filenames make sense, and folder organization matches the plan.
The best WordPress media workflow is the one that matches the source of the files. Use selected export and import when you want a controlled file-based transfer. Use direct gallery sync when two WordPress sites are already connected and you want to push or pull media without CSV files. Use folder sync when files arrived through SFTP and WordPress simply needs to register them properly.
Handled this way, the Media Library stays useful instead of becoming a storage closet with a search bar.
Conclusion
WordPress media management becomes much easier when the workflow matches the situation. Selected export and import is best when you want a controlled, reviewable transfer. Direct Media Library sync is better when two WordPress sites are already connected and files need to move without CSV or Excel files. Folder sync is the right answer when media was uploaded through SFTP, FTP, or a hosting file manager and WordPress still needs to register it properly.
Before running a large job, build the Media Hash Index, test with a small batch, and check the destination Media Library afterward. Those few minutes of review can prevent duplicate attachments, missing metadata, broken file references, and the quiet little cleanup tasks that usually appear after a rushed migration.
Handled this way, the Media Library stays useful instead of becoming a storage closet with a search bar.
