
How to Manually Migrate a WordPress Site
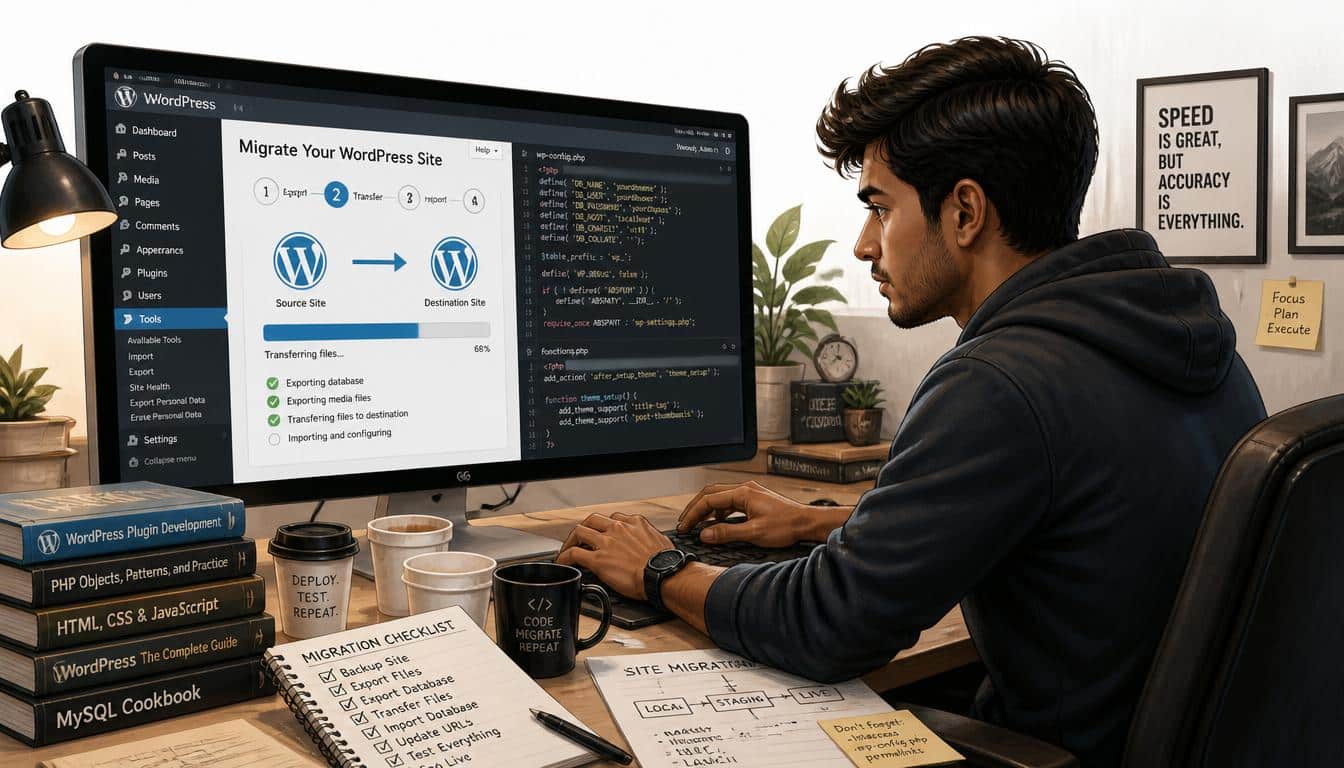
Moving a website is a little like moving a home that exists in a digital neighborhood. You pack your memories, your carefully arranged rooms, your favorite decorations, and hope nothing gets lost on the journey.
A WordPress website migration carries that same feeling because a website is often built with months or years of work, ideas, customer connections, and late-night improvements.
The first time I helped someone move a site, they were more worried about losing a blog post than losing a server file, and honestly that made perfect sense, becuase websites are personal things too.
A Manual WordPress migration may sound intimidating, especially when words like databases, FTP, and DNS appear everywhere.
But when you understand the pieces, the process becomes a series of manageable steps instead of a scary technical maze.
This WordPress migration guide will explain how to migrate WordPress site manually, move files, transfer databases, update settings, and launch your website on a new server without unnecessary panic or confusion.
It’s not magic, it’s just careful digital packing with a few technical tools involved, kinda like moving furniture but with folders.
Why Learn How to Manually Migrate a WordPress Site?
Many website owners search “How to manually migrate a WordPress site?” because they want more control over their website transfer.
A manual migration helps you understand exactly where your data goes, what gets changed, and how your website works behind the scenes.
Automated tools are useful, but knowing the manual method gives you confidence when things go sideways, which they sometimes do.
A WordPress hosting migration is not only about changing a hosting provider. It involves moving your WordPress files, transferring your WordPress database, checking configuration settings, and making sure visitors see the same website after the switch.
When you understand the complete WordPress migration process, you are less dependent on outside help and can solve small problems yourself, which is pretty empowering stuff.
Some people choose manual migration because they want to avoid plugin limits, large backup restrictions, or extra costs. Others do it because they are curious about how their website is built. Either reason is fine.
A website owner who understands migration has a stronger website maintenance habit, even if the first attempt feels a little confusing at start, not gonna lie.
Preparing Before You Start Your WordPress Migration
Before you move WordPress site to new host, preparation is the difference between a smooth transfer and a stressful weekend.
The safest migration starts with a complete website backup strategy that includes both files and databases.
You should never begin a server migration without a backup because one small mistake can create unnecessary trouble, and nobody likes that surprise.
Create a full WordPress backup containing your themes, plugins, media uploads, and configuration files. A proper backup includes a database backup and a file backup stored somewhere safe outside your current hosting account.
Many developers keep a backup archive on their local computer or cloud storage, which is smart becuase servers can fail at the worst times.
Before beginning, collect important information from your old hosting account and new hosting setup. You will need FTP login credentials, database details, and access to your domain registrar.
Make a simple website migration checklist with items like backups completed, files downloaded, database exported, DNS updated, and final testing finished. A checklist sounds boring, but boring things save websites, funny how that works.
Step 1: Backup Your WordPress Website Files
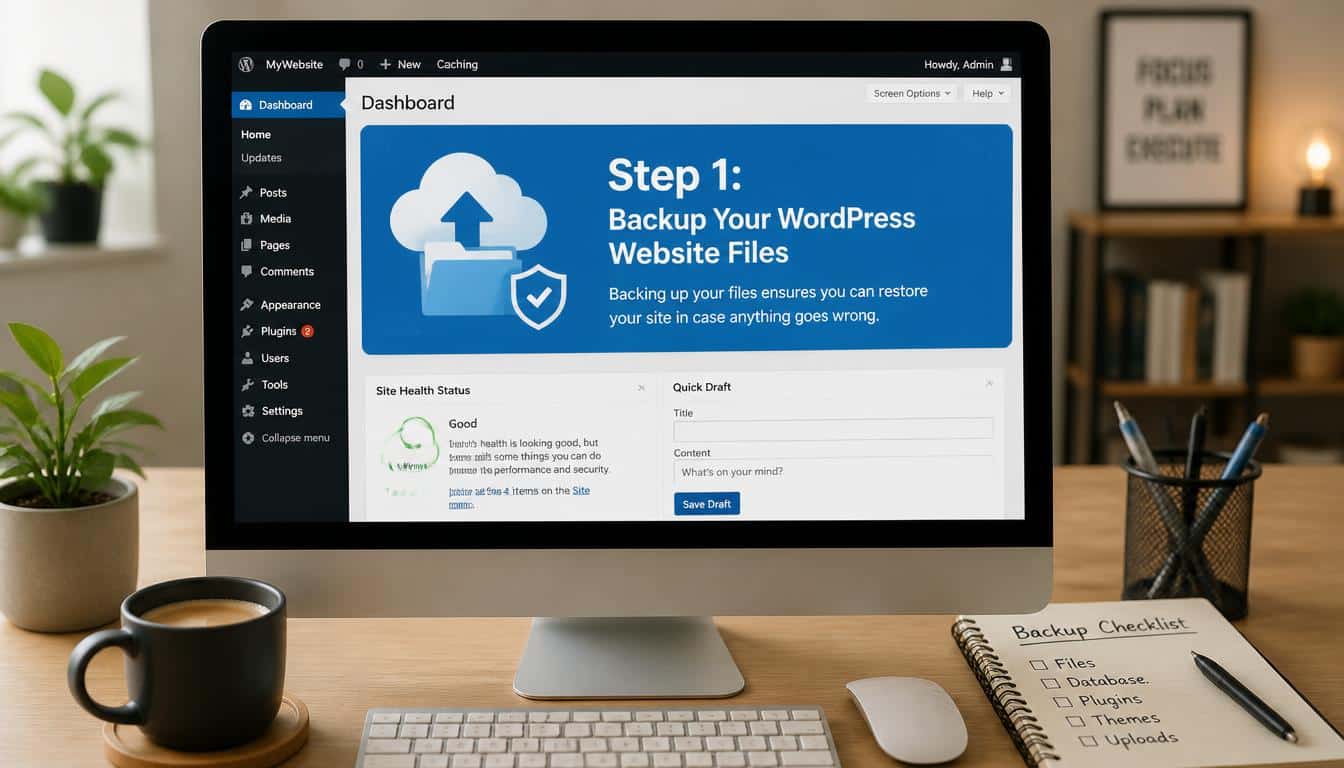
The first major task in a manual migration is to download your website files from the old server. These files include your WordPress core files, themes, plugins, images, and other
important content stored inside your WordPress installation directory. Usually, these files are located inside the public_html directory or website root directory on cPanel hosting.
You can use an FTP client such as FileZilla to connect to your old hosting account. A typical FileZilla tutorial begins with entering your FTP server address, username, password, and port number.
Once connected, you can download WordPress files to your computer. It may take time if your site has many images, but patience here is a good friend, really it is.
Another option is using your hosting File manager to compress your website files into a ZIP archive before downloading.
You can zip WordPress files, download the compressed folder, and later extract website files on your new server.
This method is often faster because thousands of small files can transfer slowly through FTP, which is a little annoying sometimes.
Step 2: Export Your WordPress Database
Your WordPress files are only half of the website. The other half is your information stored inside the WordPress database.
Posts, pages, settings, user accounts, comments, and plugin data usually live inside the MySQL database. To fully migrate WordPress database and files, you must carefully export this database.
Most hosting accounts provide phpMyAdmin, a popular database manager for handling MySQL operations. Open phpMyAdmin, select your WordPress database, and choose the export option.
The result will usually be an SQL file or .sql file containing your database dump file. Keep this file safe because it holds the heart of your website, basically the memory box of your site.
During a phpMyAdmin export database process, select the quick export method unless you need advanced settings.
The exported file contains your database tables, including the familiar wp_ database tables created by WordPress.
If your installation uses a different table prefix, don’t worry, that is normal and actually better for security sometimes.
Step 3: Create a Database on the New Host
After moving to your new hosting provider, you need a fresh database environment. Log into your new cPanel or hosting dashboard and create a new MySQL database. This usually involves creating a database name, database username, and database password.
Write down your new database credentials carefully because they will connect your WordPress installation to the imported data.
The details you need include the Database name, Database username, Database password, and Database hostname.
Many migration mistakes happen because someone copies one character wrong, and yep, a tiny typo can create a big headache.
Once the database is created, open the new host’s database manager and import your SQL file.
The phpMyAdmin import database option allows you to upload the SQL backup and restore your website information.
This is the moment where your old website starts feeling alive again on the new server, which is actually a pretty cool little moment.
Step 4: Upload WordPress Files to the New Server
Now it is time to upload your saved files to the new hosting environment. Use FTP or the hosting File manager to place your website files inside the correct server directory. Usually, this means uploading everything into the public_html folder or another assigned website location.
If you created a ZIP archive earlier, upload the archive first and then extract website files directly on the server.
This can reduce transfer time and prevent some incomplete uploads. After extraction, check that your WordPress installation directory contains important folders like wp-admin, wp-content, and wp-includes. Missing folders mean something went wrong, so don’t rush this bit.
Your uploaded WordPress files should match the original website structure. Check your themes, plugins, and uploads carefully because missing images or broken layouts are common migration errors.
A careful review now can prevent visitors from finding strange broken pages later, which nobody wants.
Step 5: Edit the wp-config.php File
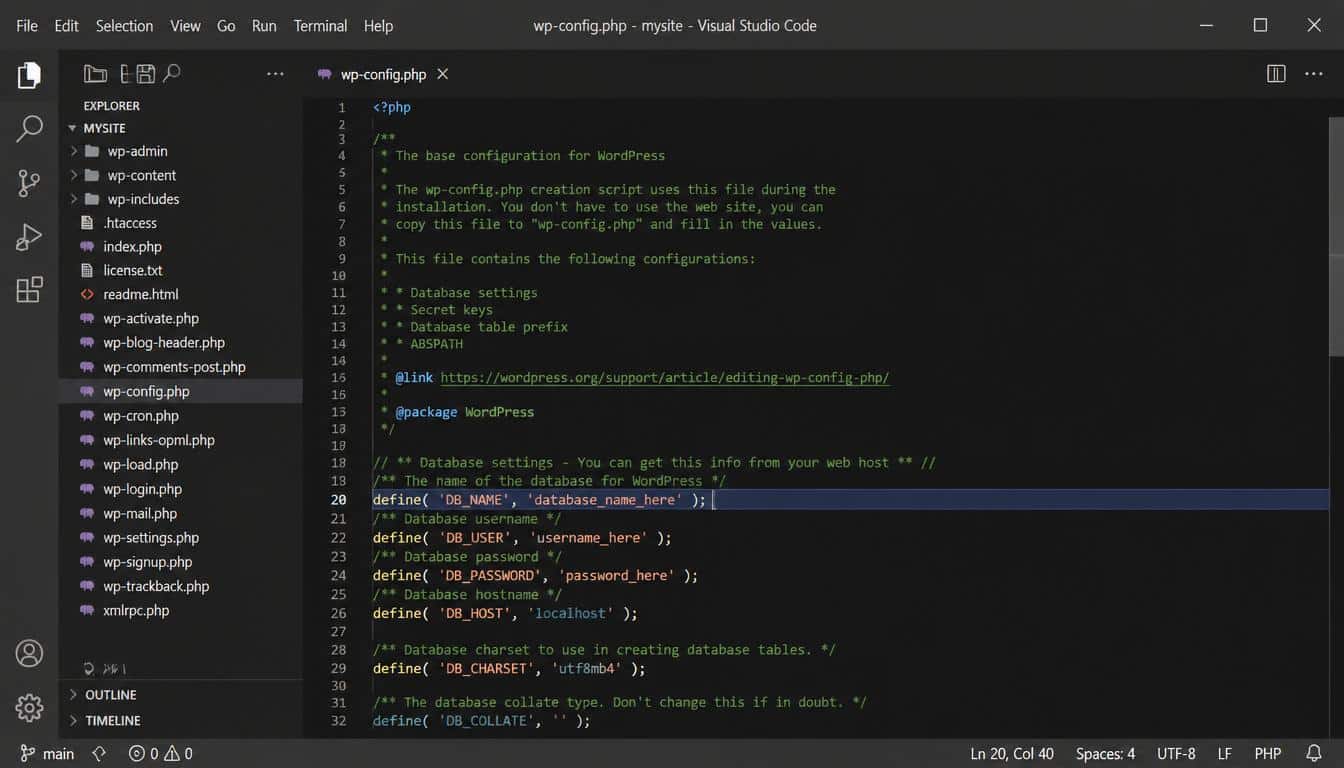
The next important step is updating your WordPress configuration. Open the wp-config.php file inside your website files.
This file connects WordPress with your database, so it must contain the correct information from your new hosting account.
Inside the configuration file, update the database constants for your new environment. Change the values for database name, username, password, and hostname.
These database connection settings tell WordPress where to find its information after the migration.
Be careful while editing wp-config.php because a small mistake can cause database connection errors.
You can use tools like Notepad++ to safely edit configuration files without adding unwanted formatting.
Also, never share your database credentials publicly because protecting database credentials is a basic part of WordPress security during migration, kinda like locking the front door.
Step 6: Update URLs After Migration
If you are keeping the same domain name, your URL changes may be minimal. However, if you are moving to a new domain, you must update website addresses stored inside your database. This process is called URL migration or domain change.
Tools like Better Search Replace or the Search Replace DB Script can help replace old URLs with new ones throughout your database.
Always create another backup before running search and replace because incorrect replacements can damage links or settings.
After updating URLs, check images, internal links, login pages, and important website sections.
A proper search and replace URLs process helps your website behave normally after migration. Sometimes one forgotten old link hides somewhere deep in the site, sneaky little thing.
Step 7: Change DNS Settings and Launch the Website
Once your new website works correctly on the new server, you can update your DNS settings.
Changing DNS records tells the internet where your domain should point. This step connects your domain name with the IP address of your new hosting provider.
To point domain to new host, log into your domain registrar and update the required DNS records. DNS propagation can take several hours, and sometimes up to a couple of days depending on different networks.
During this period, some visitors may see the old server while others see the new one, which feels weird but is normal.
Before completing the migration, test everything carefully. Check pages, forms, checkout systems, login areas, and mobile views.
Good website downtime prevention comes from testing before announcing the move. A quiet launch is usually better than a rushed one, trust me.
Manual Migration vs WordPress Migration Plugins
Many beginners wonder, “What is the easiest way to migrate WordPress?” The answer depends on your comfort level. A WordPress migration plugin can simplify the process with automated migration features, especially for smaller websites.
Plugins such as UpdraftPlus and UpdraftPlus Premium provide backup restoration and migration features. An automatic WordPress migration solution can save time because it handles many technical steps for you. For users who want to migrate without coding, these tools can be very helpful.
However, manual migration offers deeper control. Developers, agencies, and advanced users often prefer manual methods because they can customize every stage.
Both approaches have value, and choosing between them depends on your experience, website size, and comfort with technical tasks.
Common WordPress Migration Problems and Solutions
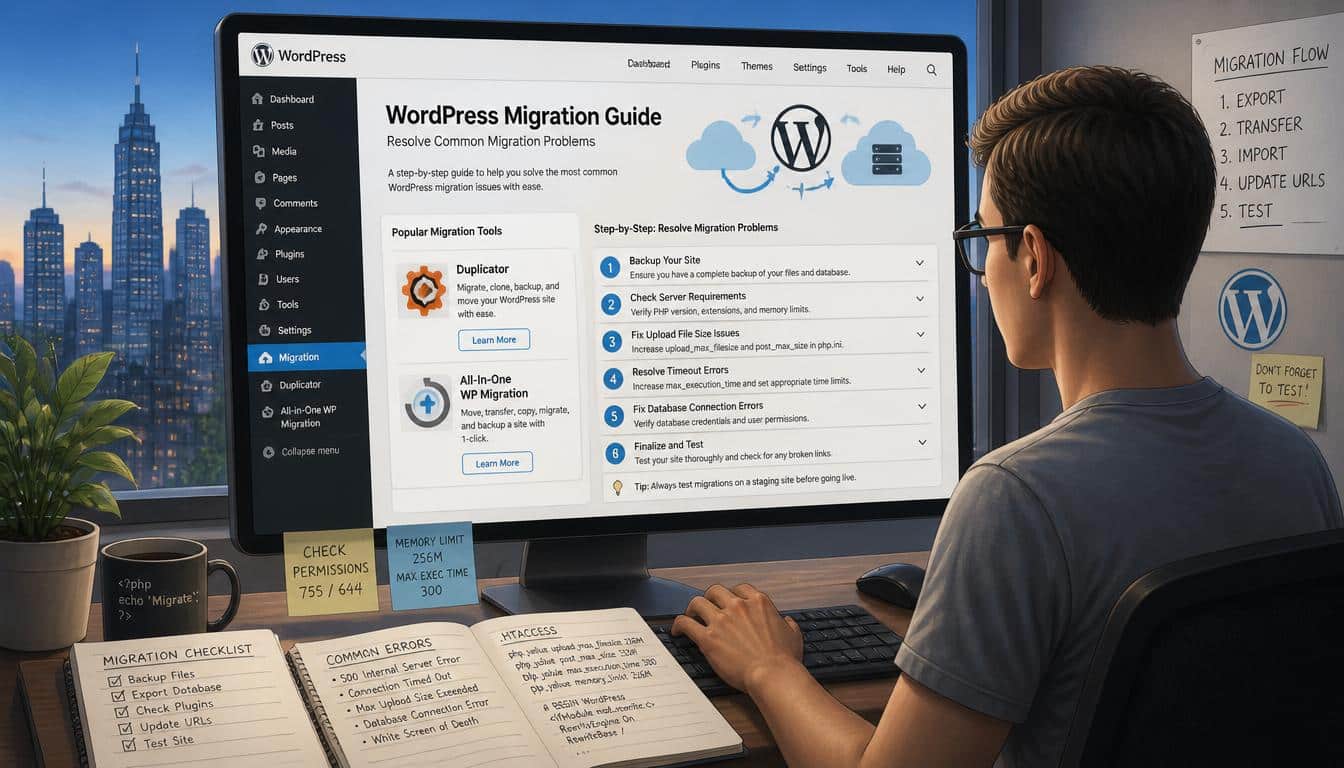
Even with careful planning, migration issues can appear. Broken links, database connection errors, missing images, and plugin conflicts are common problems during a server migration process. The good news is most problems have clear solutions.
If you see a database connection error, review your WordPress database connection details inside wp-config.php. If images are missing, confirm that all uploads transferred correctly. If pages show errors, check your URL updates and plugin settings.
A successful migration is not only about moving files. It is about protecting your website’s future. Good migration habits include regular backups, secure hosting choices, and ongoing WordPress maintenance. Your website deserves that little extra care, because digital things need attention too.
Frequently Asked Questions
How do I move WordPress to another host?
To move WordPress to another host manually, download your WordPress files, export your database, create a new database, upload files, edit wp-config.
php, import the database, and update DNS settings. The process sounds long, but each step is pretty straightforward when done calmly.
How do I migrate WordPress for free?
You can migrate WordPress for free by manually transferring files and databases using FTP, phpMyAdmin, and your hosting tools.
Free migration requires more hands-on work but avoids paying for premium migration services, which can be useful for small websites.
How long does WordPress migration take?
The time depends on website size, hosting speed, and technical experience. A small website may migrate in a few hours, while a large website with many files can take longer. Planning ahead makes the whole thing less stressful, honestly.
Is manual WordPress migration safe?
Yes, manual migration can be safe when you create backups, protect credentials, and test everything before launch. The biggest risk is skipping preparation steps, so careful work matters more than speed.
How do I move a WordPress site to a new host?
You can move a WordPress site to a new host by transferring website files, exporting and importing the database, updating the wp-config.php file, and changing DNS settings.
How do I migrate a WordPress site to a new server manually?
Manual WordPress migration involves downloading your site files, exporting the database, uploading files to the new server, creating a new database, and configuring WordPress settings.
What is WordPress data migration?
WordPress data migration is the process of transferring website content, databases, files, themes, and plugins from one hosting environment to another.
How to manually migrate a WordPress site?
To manually migrate a WordPress site, you need to back up your files, export the database, upload data to the new server, update configuration settings, and test the website.
How can I migrate a WordPress site to a new server?
You can migrate a WordPress site to a new server by moving all website files and database content, updating DNS records, and ensuring the new hosting setup works properly.
Read this Blog: https://gracethemes.com/best-wordpress-plugin-for-analytics-in-2026/
Final Thoughts: Making Your WordPress Migration a Success
Learning how to manually migrate a WordPress site gives you a valuable skill that can help throughout your website journey.
You are not just moving files from one place to another; you are learning how your online space is built and protected.
Whether you choose a manual process or a migration plugin, the important things are preparation, backups, patience, and testing.
A website transfer does not have to feel like a digital disaster waiting to happen. With the right approach, you can move WordPress installation, transfer your content, and enjoy a fresh hosting environment with confidence.
Every website has a story behind it. The pages you created, the visitors you helped, and the ideas you shared all deserve a safe journey.
So when you begin your next WordPress hosting migration, treat it with care, keep learning, and remember that even complicated technical tasks become easier one step at a time. Your website will thank you for it, even if websites don’t actually talk, haha.
