
Everything You Need to Know About Inserting and Editing Images in WordPress
Imagery is an essential part of every blog post. Images make your posts more attractive to web readers by breaking up blocks of text and engaging your readers’ interest. They also support your words and help hold your argument together. There are various image editor tools available for editing the images.
However, do you know the proper way of uploading, inserting, and editing images in WordPress?
If you’re a new WordPress user, we’ll guide you through the process of uploading, inserting, and editing images on the platform. We’ll start off with the basics, and then move on to more advanced tricks.
1. How to Upload an Image
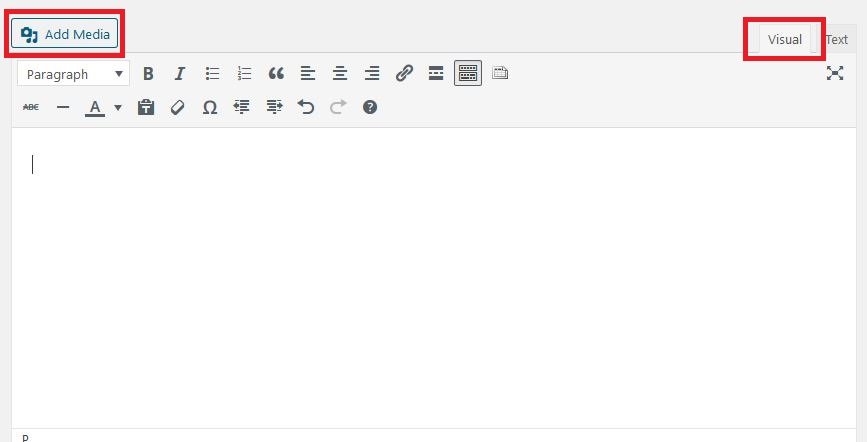
The first thing you need to do is to log in to your dashboard and click on “Add New Post.” Once that’s open, click the “Add Media” button. Make sure you’re also using the Visual option so that it’s easier to edit your text and images.
Afterwards, click “Upload Files.” You can either choose to drop an image, select photos from your folders, or use a profile picture downloader for Instagram to quickly add images from your social media accounts. If you want to, you can upload several images at once. Take note that each photo should have a maximum file size of 2 MB. If a photo’s file size exceeds, you won’t be able to upload it or you’ll face image upload issues. So if you plan on uploading photos from your camera and they’re over 2 MB, it’s best to crop image online first before uploading them to WordPress.
Your uploaded images will then appear in your Media Library tab.
2. How to insert an image within your post
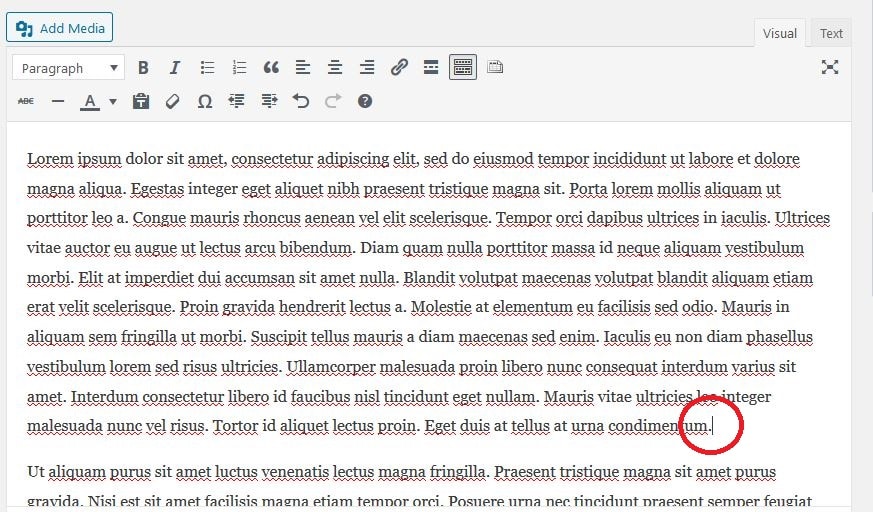
First, position your cursor on the spot where you want the image to appear within your post. Click on a blank line, or at the start/end of a paragraph.
In the example below, we’re going to insert an image after the first paragraph, so that’s where we place our cursor.
Then, click on “Add Media” again and select the image that you want to insert from your Media Library tab.
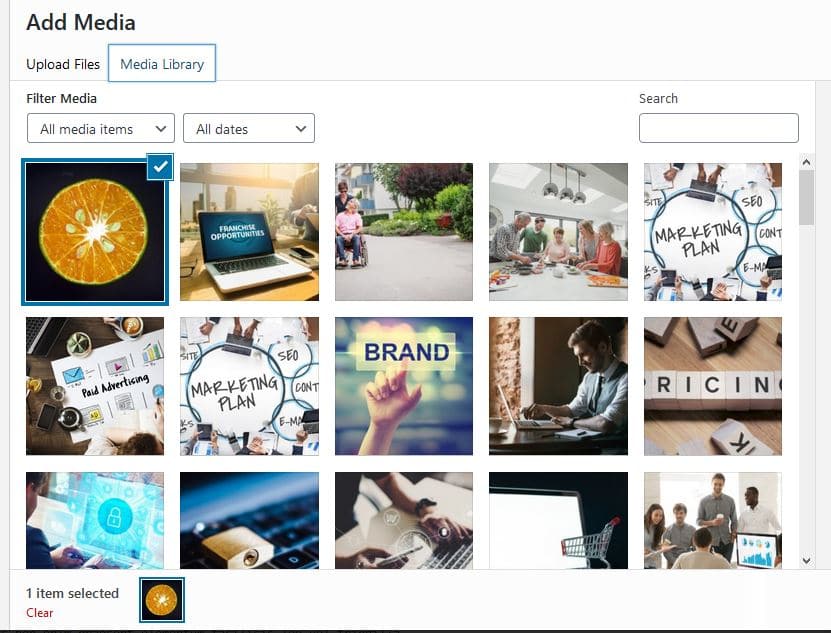
Once you’ve selected an image, you’ll see the Attachment Details panel on the right side of your screen. The panel lets you edit the following media information:
- Title: title of the image
- Caption: caption for the image. The text you enter will be displayed below the photo.
- Alternate text: words that describe the photo, e.g. “citrus fruit” or “calamondin fruit”
- Description: description for the particular media
After you’ve made the necessary changes, click “Insert into post.” The image will then be placed on the exact location where you left your cursor.
3. How to align your image
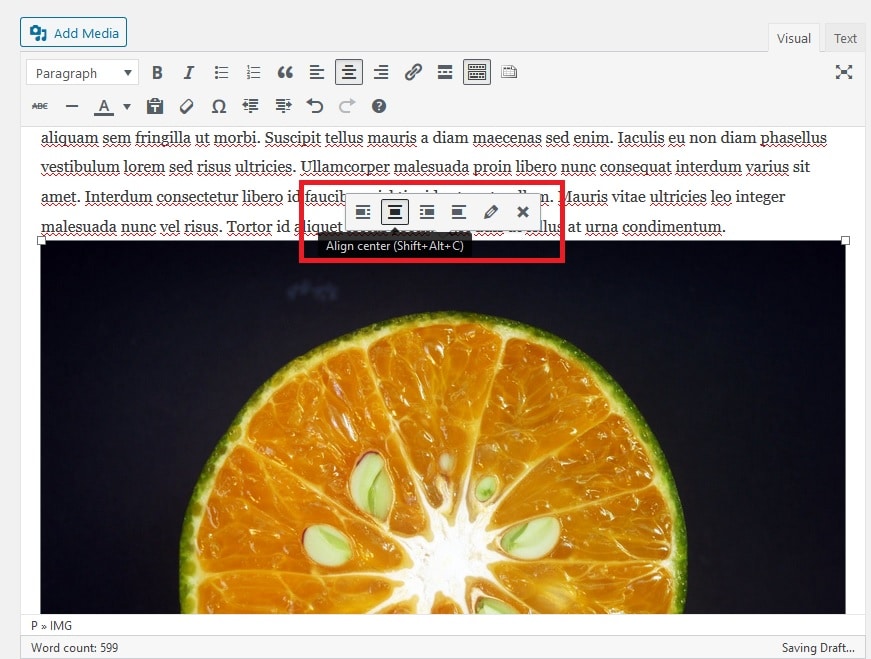
If you placed your image without changing the alignment setting, it won’t always appear in the exact way you wanted. Perhaps you wanted it centre-aligned but instead, it’s right-aligned.
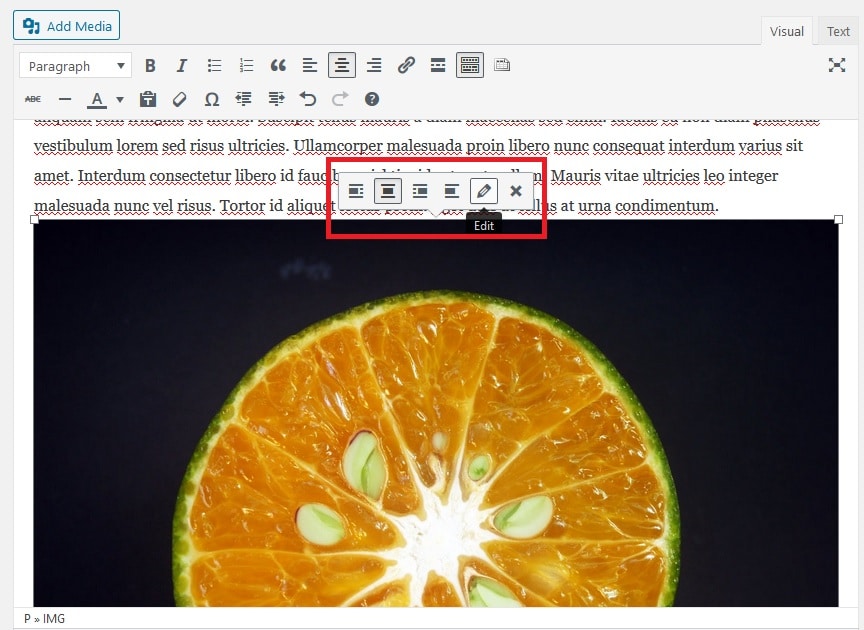
Re-aligning your image is easy to do. Simply click on it and then hover your cursor over the alignment buttons. You can then choose the option that you want. Remember that you have the following alignment options to choose from:
- Left: aligns image on the left hand margin. Any text that flows or wraps around the image will be moved to the available space on the right.
- Right: aligns image on the right hand margin. Any text that flows or wraps around the image will be moved to the available space on the left.
- Center: aligns the image to the page’s centre, with no text surrounding it
- None: inserts the image without alignment
After you click on your chosen option, your image will now be aligned correctly in your post.
4. How to re-size your image
If you have an image that occupies too much or too little space on your post, you can quickly re-size it to your preference. To do this, click on the image and then on the “Edit” button in the mini menu.
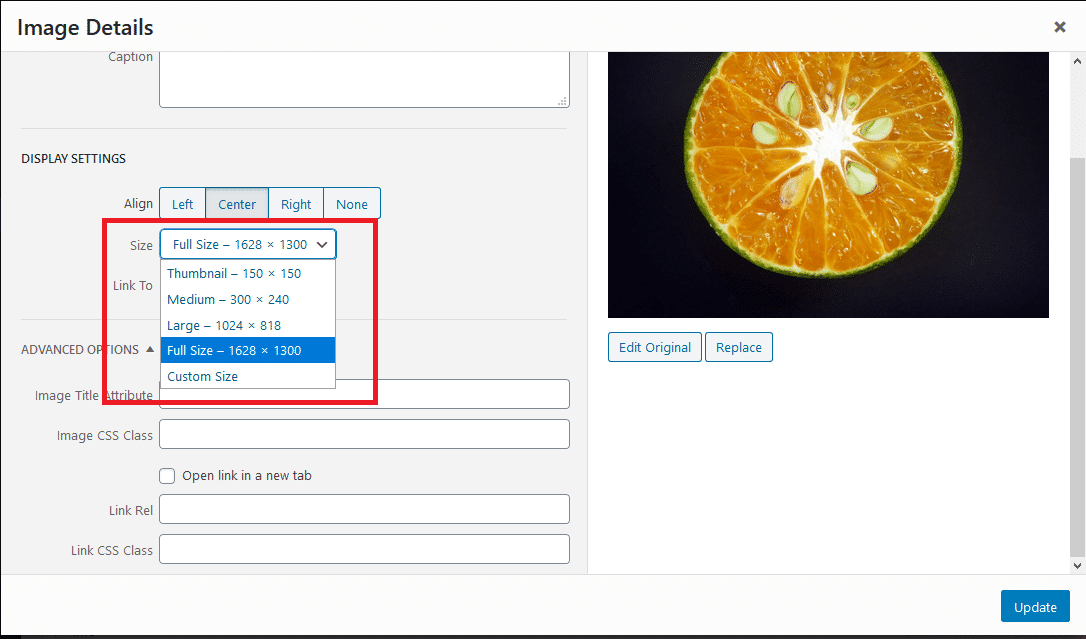
A tab will open up where you’ll see the image’s details. Click the dropdown menu next to “Size” and you’ll see multiple re-sizing options.
WordPress has four image sizes to choose from:
- Thumbnail: displays a thumbnail-sized version of your photo on the post or page. By default, the image will become a square so some cropping of your original photo will occur.
- Medium: displays a medium-sized version of your photo. This is the best size to use for right/left alignments as it leaves enough space for text on either side.
- Large: WordPress determines the width of your theme’s content column, displays the largest possible image size for that space.
- Full Size: displays a full-sized version of your photo.
If one of the default sizes don’t work for you, click on “Custom Size” and enter your preferred height or width for the image in pixels. Whichever you choose, WordPress will automatically adjust the other dimension.
After you’re done selecting the size, click on ‘”Update.” You will then be returned to your post, with the image re-sized to your preference.
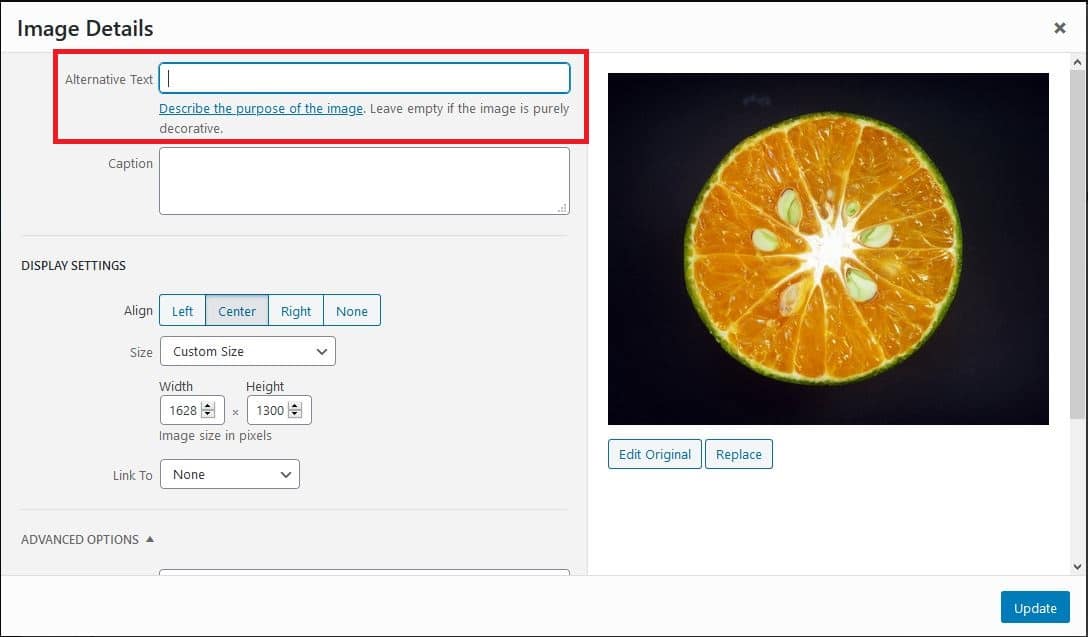
5. How to add alt text to your image
An alt text is normally used for accessibility as it provides a short description of your image that can be read to people who use screen-reading software. When your image fails to load, the text also appears on the screen. However, if you’re well-versed in SEO, alt text can also give your post a relevance boost. Many SEO providers claim that alt text is a helpful signal for search engines to understand what your post, page, or website is all about.
You can add alt text to your image in the Editing tab. Simply fill in the field with relevant keywords.
6. How to crop or rotate your image
First, you’ll need to click on the “Edit Original” button found right below the image preview.
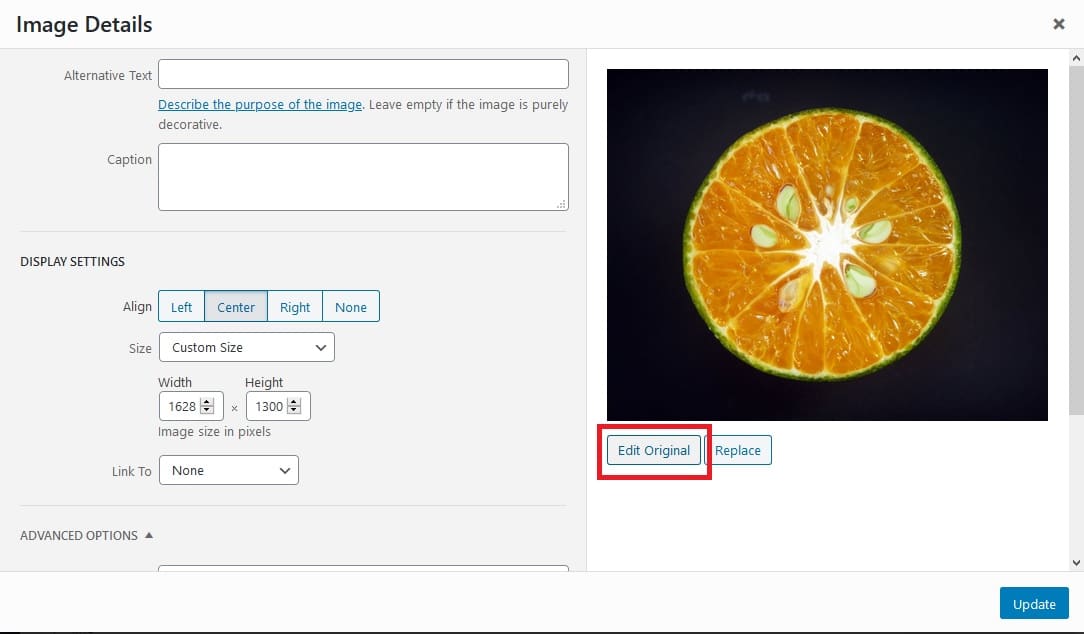
You will then be directed to another tab. There, you can rotate the image left/right or flip it horizontally/vertically using the buttons at the top.
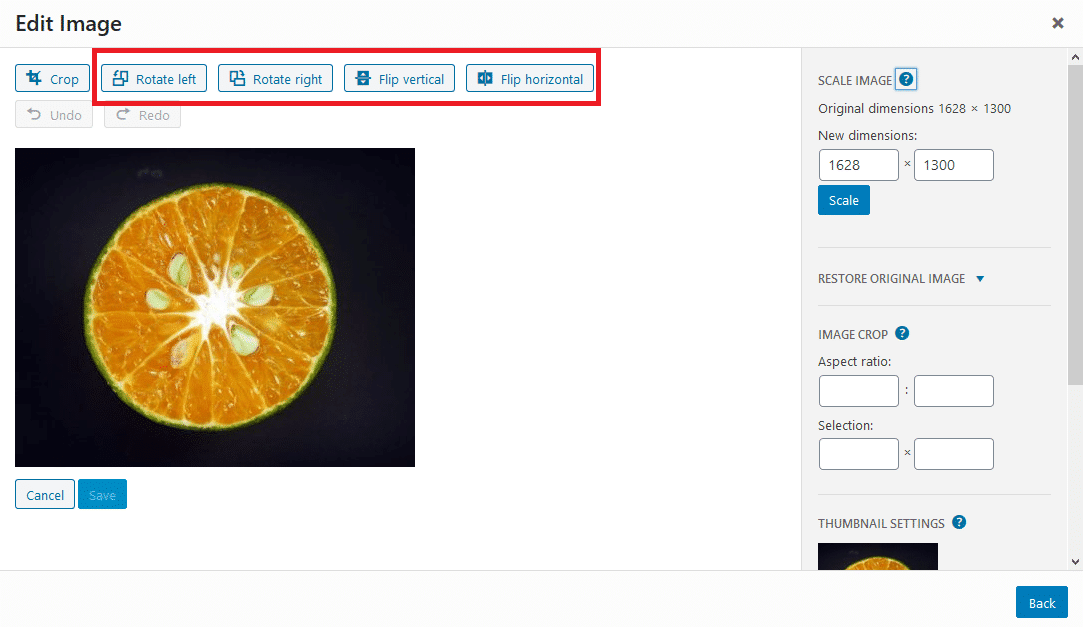
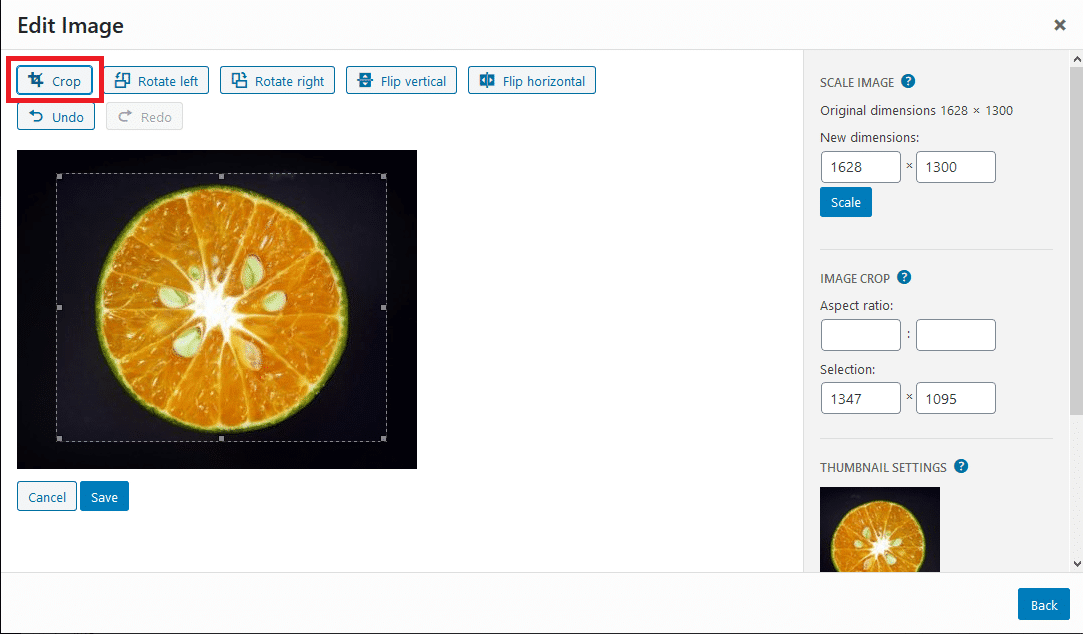
You can also crop the image by dragging your cursor over your chosen area and then clicking on the ‘Crop’ button. For more precise edits, consider using a dedicated image editor that offers advanced cropping and adjustment options. If anything goes wrong, you can quickly undo or redo the changes.
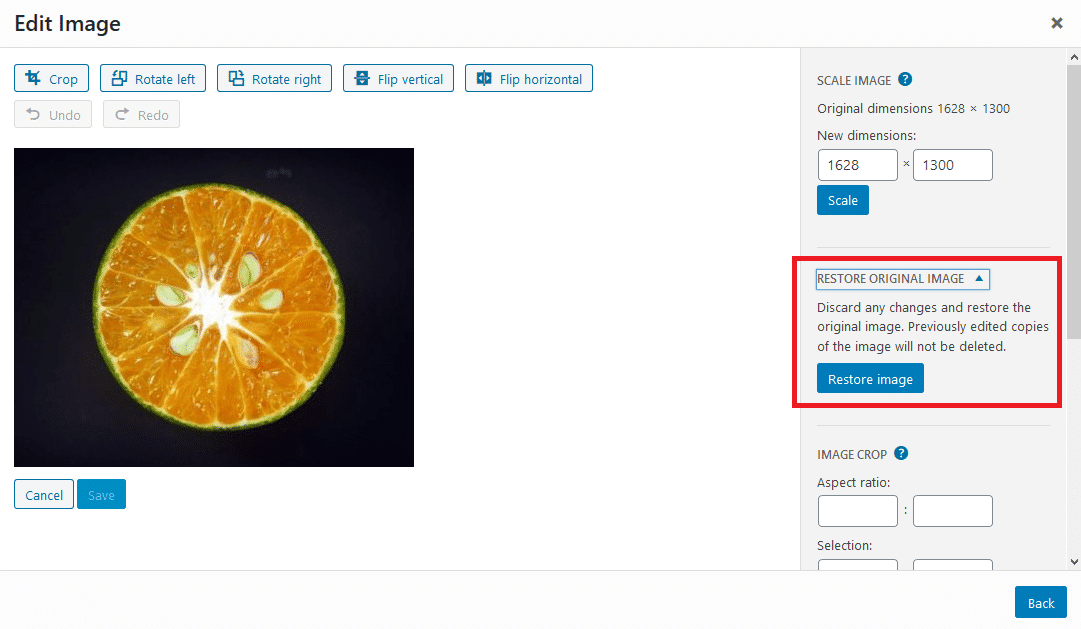
Once you’re happy with the changes, don’t forget to click “Save” and then “Update.” You will now see your new edited image on the post itself. If you suddenly change your mind, you can restore the original image easily by clicking on the “Restore Original Image” button found on the Editing tab.
7. How to turn your image into a link
If you’re a little more advanced, at some point, you might want to create an image that directs readers to a different page. This is a great way to add a bit of creativity and engagement to your blog or site.
To add a link to your image, go back to the Editing tab where you’ll see the Image Details screen.
Click the “Link to” dropdown menu and then choose “Custom URL.”

Enter whatever URL you want your image to link to.
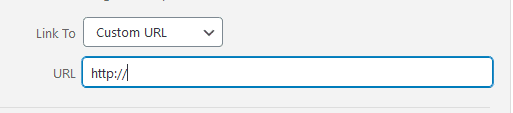
Afterwards, don’t forget to click “Update” to save your changes.
And we’re done! That’s everything you need to know about uploading, inserting, and editing images on WordPress. While we recommend editing your photos on software apps such as Photoshop, Lightroom or BeFunky, sometimes you might want to make minor adjustments while you’re already on the WordPress platform. The good news is that it’s quick and easy, as long as you follow the step-by-step directions above. For even smoother workflows, check out these tips for faster exports in Photoshop.
If you’ve got the basics down, you can also move to more complex topics, such as how to optimize images in WordPress to accelerate page speed.