
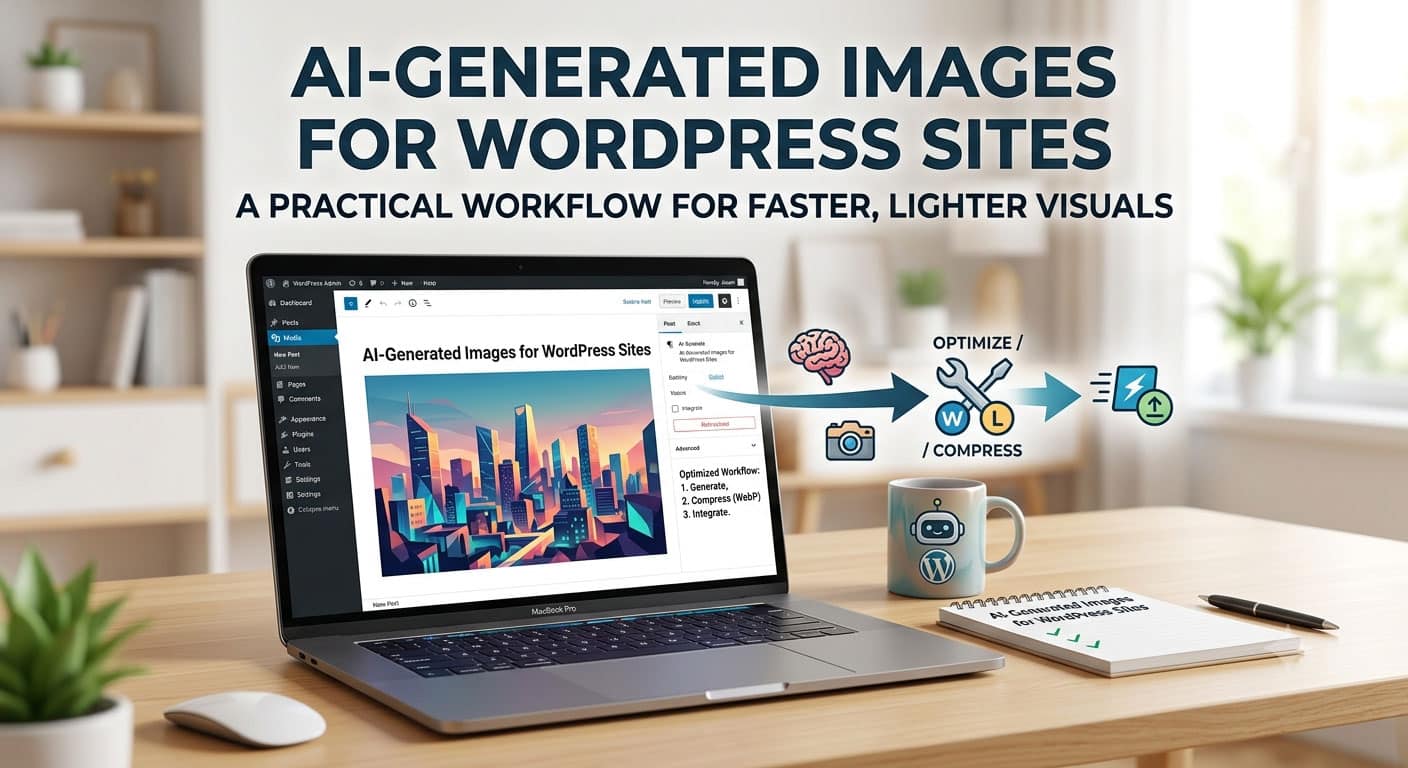
AI-Generated Images for WordPress Sites: A Practical Workflow for Faster, Lighter Visuals
Images are often the slowest part of building a WordPress site. Stock photos look generic, custom photography is expensive, and the graphics a theme demo shows rarely match the business the site is actually for. Modern AI image models have made it possible to produce on-brand visuals in minutes, but using them well on a real website takes more than typing a prompt. File size, consistency, accessibility and licensing all still matter.
This guide walks through a practical workflow for using AI-generated images on WordPress sites, from planning the visuals to keeping pages fast.
1. Plan your image set before you generate anything
Most sites need a predictable set of images: a homepage hero, section backgrounds, feature illustrations, blog featured images and perhaps product shots. Write that list down with the dimensions your theme expects. A full-width hero might need a wide 16:9 or 21:9 image, a blog card might use 4:3, and social sharing images usually work best at around 1.91:1.
Planning the aspect ratios first saves a lot of awkward cropping later. Many current models let you choose the aspect ratio directly, which means you can generate an image that already fits the slot instead of cutting a square picture into a banner.
2. Define a visual style once and reuse it
The fastest way to make a site look amateur is to mix image styles: a flat illustration in one section, a glossy 3D render in the next and a photorealistic scene below that. Decide on a single direction and describe it in a short style note you reuse in every prompt, for example “soft natural light, muted teal and sand palette, clean modern interiors, no text”.
Reference images help even more. Models that accept a reference image can match the lighting, palette or subject of an existing picture, so the second and third images on a page look like they belong with the first.
3. Use editing instead of regenerating
Earlier image tools forced you to start from scratch every time something was slightly wrong. Newer models support reference-image editing, which lets you keep an image you like and change one thing: swap the background colour, remove an object, or adjust the time of day.
For WordPress work this is a big time saver. A client who likes a hero image but wants it “a bit warmer” no longer means a completely new picture. It means a small edit that keeps the composition they approved.
Developers who want to build this into their own tools, such as a plugin that generates featured images or a theme setup wizard, can call models directly. The Nano Banana 2.1 API on APIMart, for instance, supports text-to-image generation and reference-image editing with 1K, 2K and 4K output and flexible aspect ratios, which covers most of the sizes a typical theme needs.
4. Generate at the right resolution, not the highest
It is tempting to generate everything at 4K. For a website, that is usually a mistake. A 4K image is far larger than any slot on a normal page, and the extra pixels only add upload size and processing time.
A practical rule is to generate at 1K or 2K for most content, and reserve higher resolutions for print material or images that will be heavily cropped. WordPress will create its own responsive sizes from whatever you upload, so the source only needs to be comfortably larger than the biggest size your theme displays.
5. Optimise before uploading
AI models typically return PNG files, which are lossless and heavy. Before uploading, convert photographic images to WebP or AVIF and compress them. A hero image that comes out of the model at several megabytes can often be reduced to a couple of hundred kilobytes with no visible difference.
Then let WordPress and your caching or optimisation plugin do the rest: responsive image sizes, lazy loading for images below the fold, and a CDN if your host offers one. Keep the largest image on the page, usually the hero, out of lazy loading so it does not delay the main content from appearing.
6. Save images promptly and keep your prompts
Generated image links from API services are often temporary and may expire after a few days. Download every image you intend to use and upload it to the media library rather than hotlinking the generated URL.
It is also worth saving the prompt and settings alongside each final image, for example in the media item description or a simple spreadsheet. When the client asks for “another one like the banner on the services page” six months later, you can reproduce the style in minutes.
7. Write real alt text
AI-generated images still need meaningful alternative text. Describe what the image shows and why it is there, not how it was made. “Team reviewing a project timeline on a laptop in a bright office” is useful to a screen reader user; “AI image” is not. Good alt text also helps image search understand the page.
8. Check accuracy and rights
Before publishing, review every image carefully. AI models can produce distorted hands, garbled text, or products that look slightly different from the real thing. For e-commerce and service businesses, an image that misrepresents what a customer will receive causes more harm than a plain stock photo.
Also check the terms of the service you use, avoid prompts that imitate a living artist’s distinctive style or include real brand logos, and be cautious with images of identifiable people.
A simple checklist
- List image slots and aspect ratios before generating.
- Write one style note and reuse it, with reference images where possible.
- Edit near-misses instead of regenerating them.
- Generate at 1K or 2K for web use.
- Convert to WebP or AVIF and compress before uploading.
- Download and store images; never hotlink temporary links.
- Write descriptive alt text.
- Review for accuracy, text errors and rights issues.
Used this way, AI image generation becomes a dependable part of the WordPress toolkit rather than a novelty: faster than commissioning every visual, more distinctive than stock photography, and light enough not to slow the site down.
