
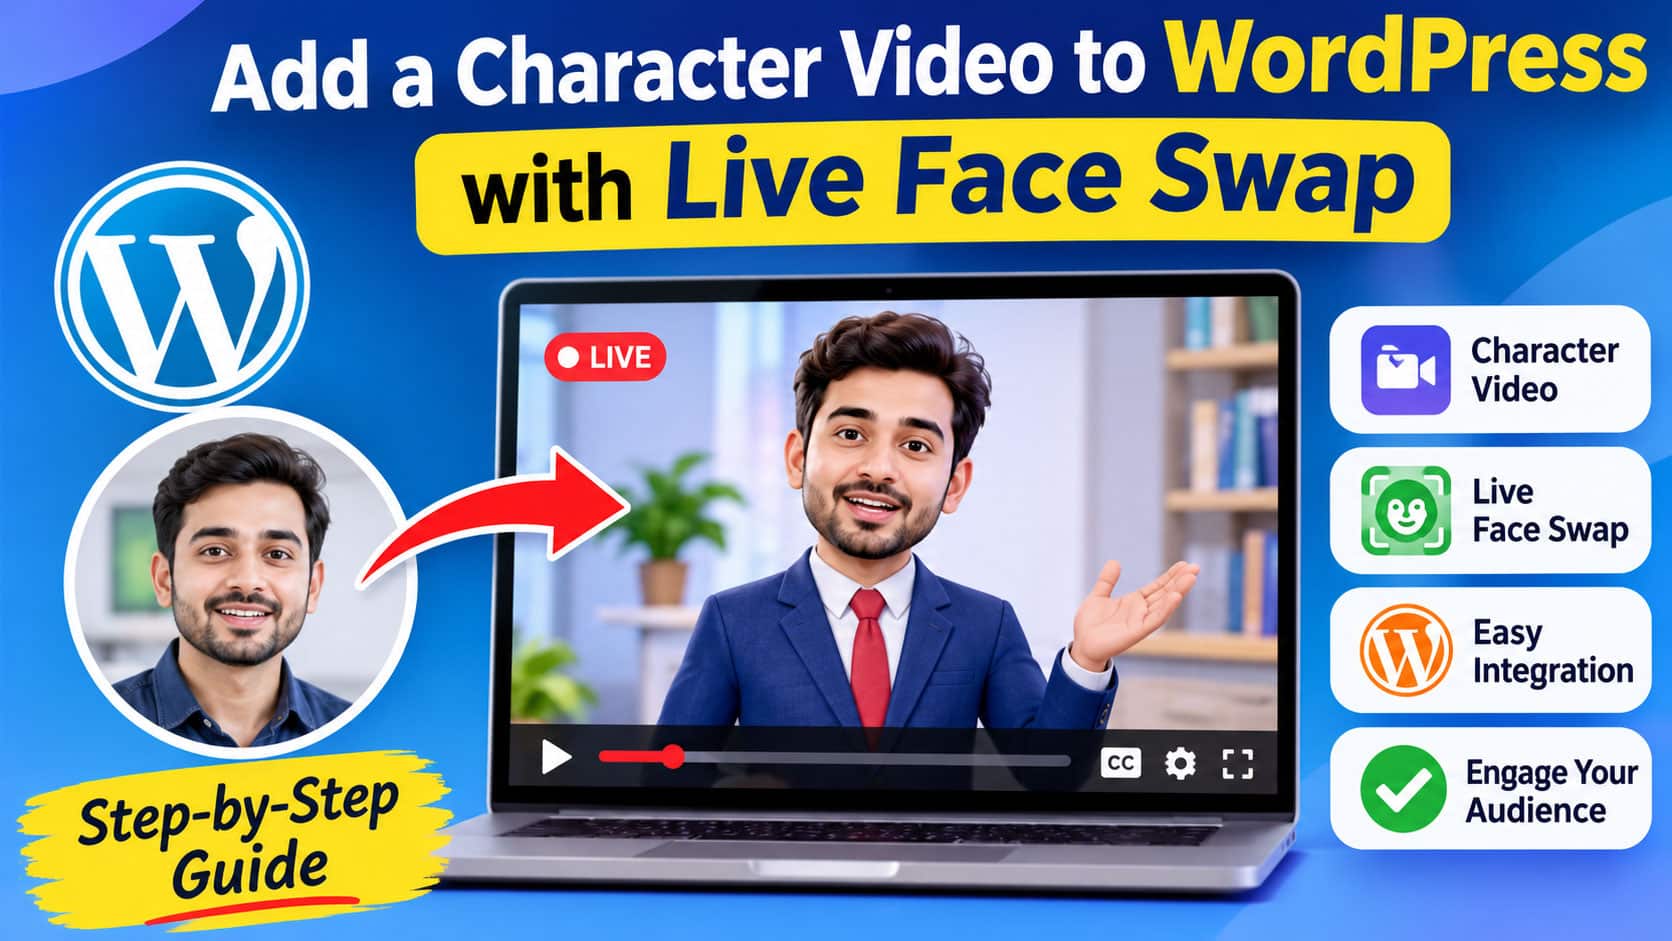
Add a Character Video to WordPress with Live Face Swap
A character video can give a WordPress portfolio a voice, but visitors should not have to press Play to understand the project. A large player with an unhelpful opening image can leave them guessing. The task is to add a performance that enriches the artwork while keeping the character, project description, and next action clear when the video stays still.
With Live Face Swap for website video assets, you can prepare a character performance and its accompanying still for that page. A reference portrait guides your appearance; your webcam supplies the expressions and movement. Preview, record with your voice, and trim a chosen take in the studio. WordPress then gives those files their place alongside the project text and playback controls.
Give the character a role in the post
Decide what the video contributes before recording. On a character artist’s portfolio, it can demonstrate personality alongside the design sketches. In a story announcement, it can deliver a brief invitation from a fictional narrator. The spoken moment should belong to the subject visitors came to see.
Keep the project description and next action in ordinary page text. Let the script focus on the character’s delivery instead of repeating the surrounding background information.
Shape the performance for its place on the page
Choose the video’s location before rehearsing. A wide player beneath a project description offers different room for movement from a narrow panel beside artwork. Live Face Swap’s preview lets you try the character’s expressions and gestures before recording, so you can prepare a performance for the composition you intend to use.
Try a small turn or a change of emphasis, then consider whether it will remain clear at the planned player size. A restrained expression may work close up but disappear in a small panel. With microphone recording enabled, your own voice supplies the delivery. Keep gestures and speech focused on the personality the surrounding artwork introduces.
Think about the intended page placement, too. Recording settings offers portrait 9:16 and landscape 16:9 framing. Check the recording crop with the gestures you plan to make; that crop determines the saved video, while the main live preview retains its full view.
Keep the clip focused on the page’s introduction
Visitors who choose Play should reach the character’s line without watching you prepare to speak. Live Face Swap keeps recordings as separate takes and lets you trim the beginning and end of your selection. Remove the setup pause and the reach toward the controls, leaving the moment that adds to the project description.
Compare takes against the purpose of the section: which delivery introduces this character most clearly? Selection and trimming happen beside the recordings, without transferring footage simply to shorten it. Keep background details in the page text and let the clip demonstrate personality. More elaborate editing can continue in another application when the project needs it.
Reviewing and editing clips are free. Buying credits unlocks video downloads; downloading does not then deduct additional AI credits. Edited MP4 export requires a compatible device and browser. The complete transformed recording is also available in its existing MP4 or WebM format after download access is unlocked.
Make the poster useful before anyone presses Play
Use the studio’s frame capture to save a PNG from your selected take. Pick a clear expression that introduces the character at rest; a transitional frame with closed eyes may give the wrong impression. Place the still beside the project heading and ask whether a visitor can identify who the video is about.
Resize and compress a copy for its page placement using your usual image tools, keeping the original for later edits. Check it at the intended phone width, where the face and nearby description still need to read clearly. Image optimization and WordPress player setup are separate from the studio’s frame capture.
Example: a speaking character in a WordPress portfolio
Imagine a character artist presenting an original lighthouse keeper on a WordPress portfolio page. The artwork shows the design; the artist wants a short performance to suggest the keeper’s mysterious personality. Using an authorized portrait as the reference, they deliver:
“I keep the light burning. What finds its way home is another matter.”
They compare a welcoming take with a more guarded reading, end the live session, and trim the version that suits the artwork. After unlocking downloads, they save the video and a suitable still. In WordPress, the clip appears below the project introduction, with the spoken line repeated in text. This illustrative example gives the video a specific purpose within the portfolio.
Record the assets for your page
Use a supported browser, a camera, and stable internet. The browser studio needs no separate installation. It uses live webcam video rather than an uploaded recording, and sends your reference image and camera video to cloud providers when AI starts.
- Prepare. Sign in, select Face Swap, and choose a gallery face or a clear portrait you have permission to use. Enable Record microphone in Recording settings before starting if you want speech.
- Perform. Start Face Swap and allow camera access. Check lighting, the transformed appearance, and your recording crop. Use Record and Stop recording to capture a take.
- Finish. Stop recording leaves AI running. Use Stop preview, or End in the mobile call view, to end AI credit usage. Choose and trim a clip, download the video when access is unlocked, and use Save screenshot for a PNG.
Results vary with the reference, lighting, movement, and connection. Download your files before refreshing or leaving; undownloaded recordings are lost when you refresh or close the studio tab.
Place the clip in a WordPress Video block
In the block editor, insert a Video block and upload the downloaded file or select it from Media Library. Set a poster image, enable playback controls, and leave Autoplay and Loop off for this spoken introduction. Choose None for Preload to request that the browser defer video loading until playback.
Prepare captions separately and add them through Text tracks as a WebVTT file. A written transcript below the video also lets readers follow the message without playing it. These are WordPress publishing steps; the studio does not generate the caption file.
Preview the post using your actual theme at desktop and phone widths. Check the poster, controls, crop, and nearby text, then play the clip with sound. Also inspect the page on a slower connection. The introduction and project details should remain understandable while the video waits to load. Hosting limits and upload policies still apply to the file you choose.
Publish when the video adds to a complete page
Before publishing, check three things: the project makes sense without playback, the performance adds something to the artwork, and the poster, text, and controls remain usable on a phone. If a check fails, revise the asset or its placement. Keep the still and description while you work on the video.
Start with one portfolio entry and one purposeful line. Use Live Face Swap to prepare the performance, then judge the finished clip inside WordPress alongside the material it supports. Publish the combination when visitors can understand the project and choose whether to hear its character speak.
