Organise Your Media Library: How to Add WordPress Media Folders
If you have had your WordPress site for a while, you have likely noticed that things are beginning to get somewhat cluttered.
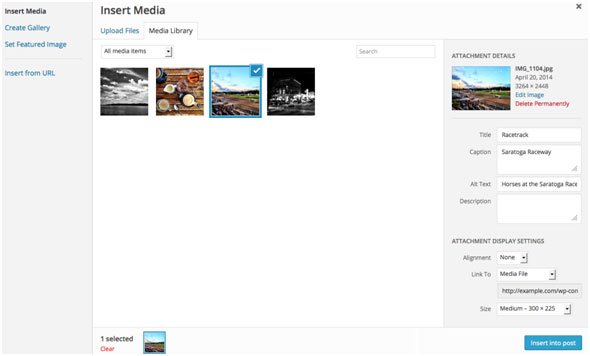
One of the first places you will discover this clutter is in your WordPress media library. The more images you add to your posts and pages, the more cluttered your media library gets.
For bloggers who don’t plan on going back to old pictures in the library, this won’t be a problem, but if you ever have to go back to search for a particular image file, you will realize that no matter how cluttered your real-life wardrobe is, it is probably more organized than a WordPress media library.
The default media library that comes with WordPress doesn’t do much to help organize your files, thankfully, as with everything WordPress; there is always at least one plugin that can come to the rescue.
Plugins are small files of code that can be used to improve the functionality or features of a WordPress website and, best of all, there is a WordPress plugin for almost everything.
Reading on, you will learn how to organise your WordPress media library using WordPress media folders. You will also learn how to use a system that does not require folders.
At the end of this article, you can decide yourself which of the three you feel will serve you best.
Add WordPress media folders using CatFolders
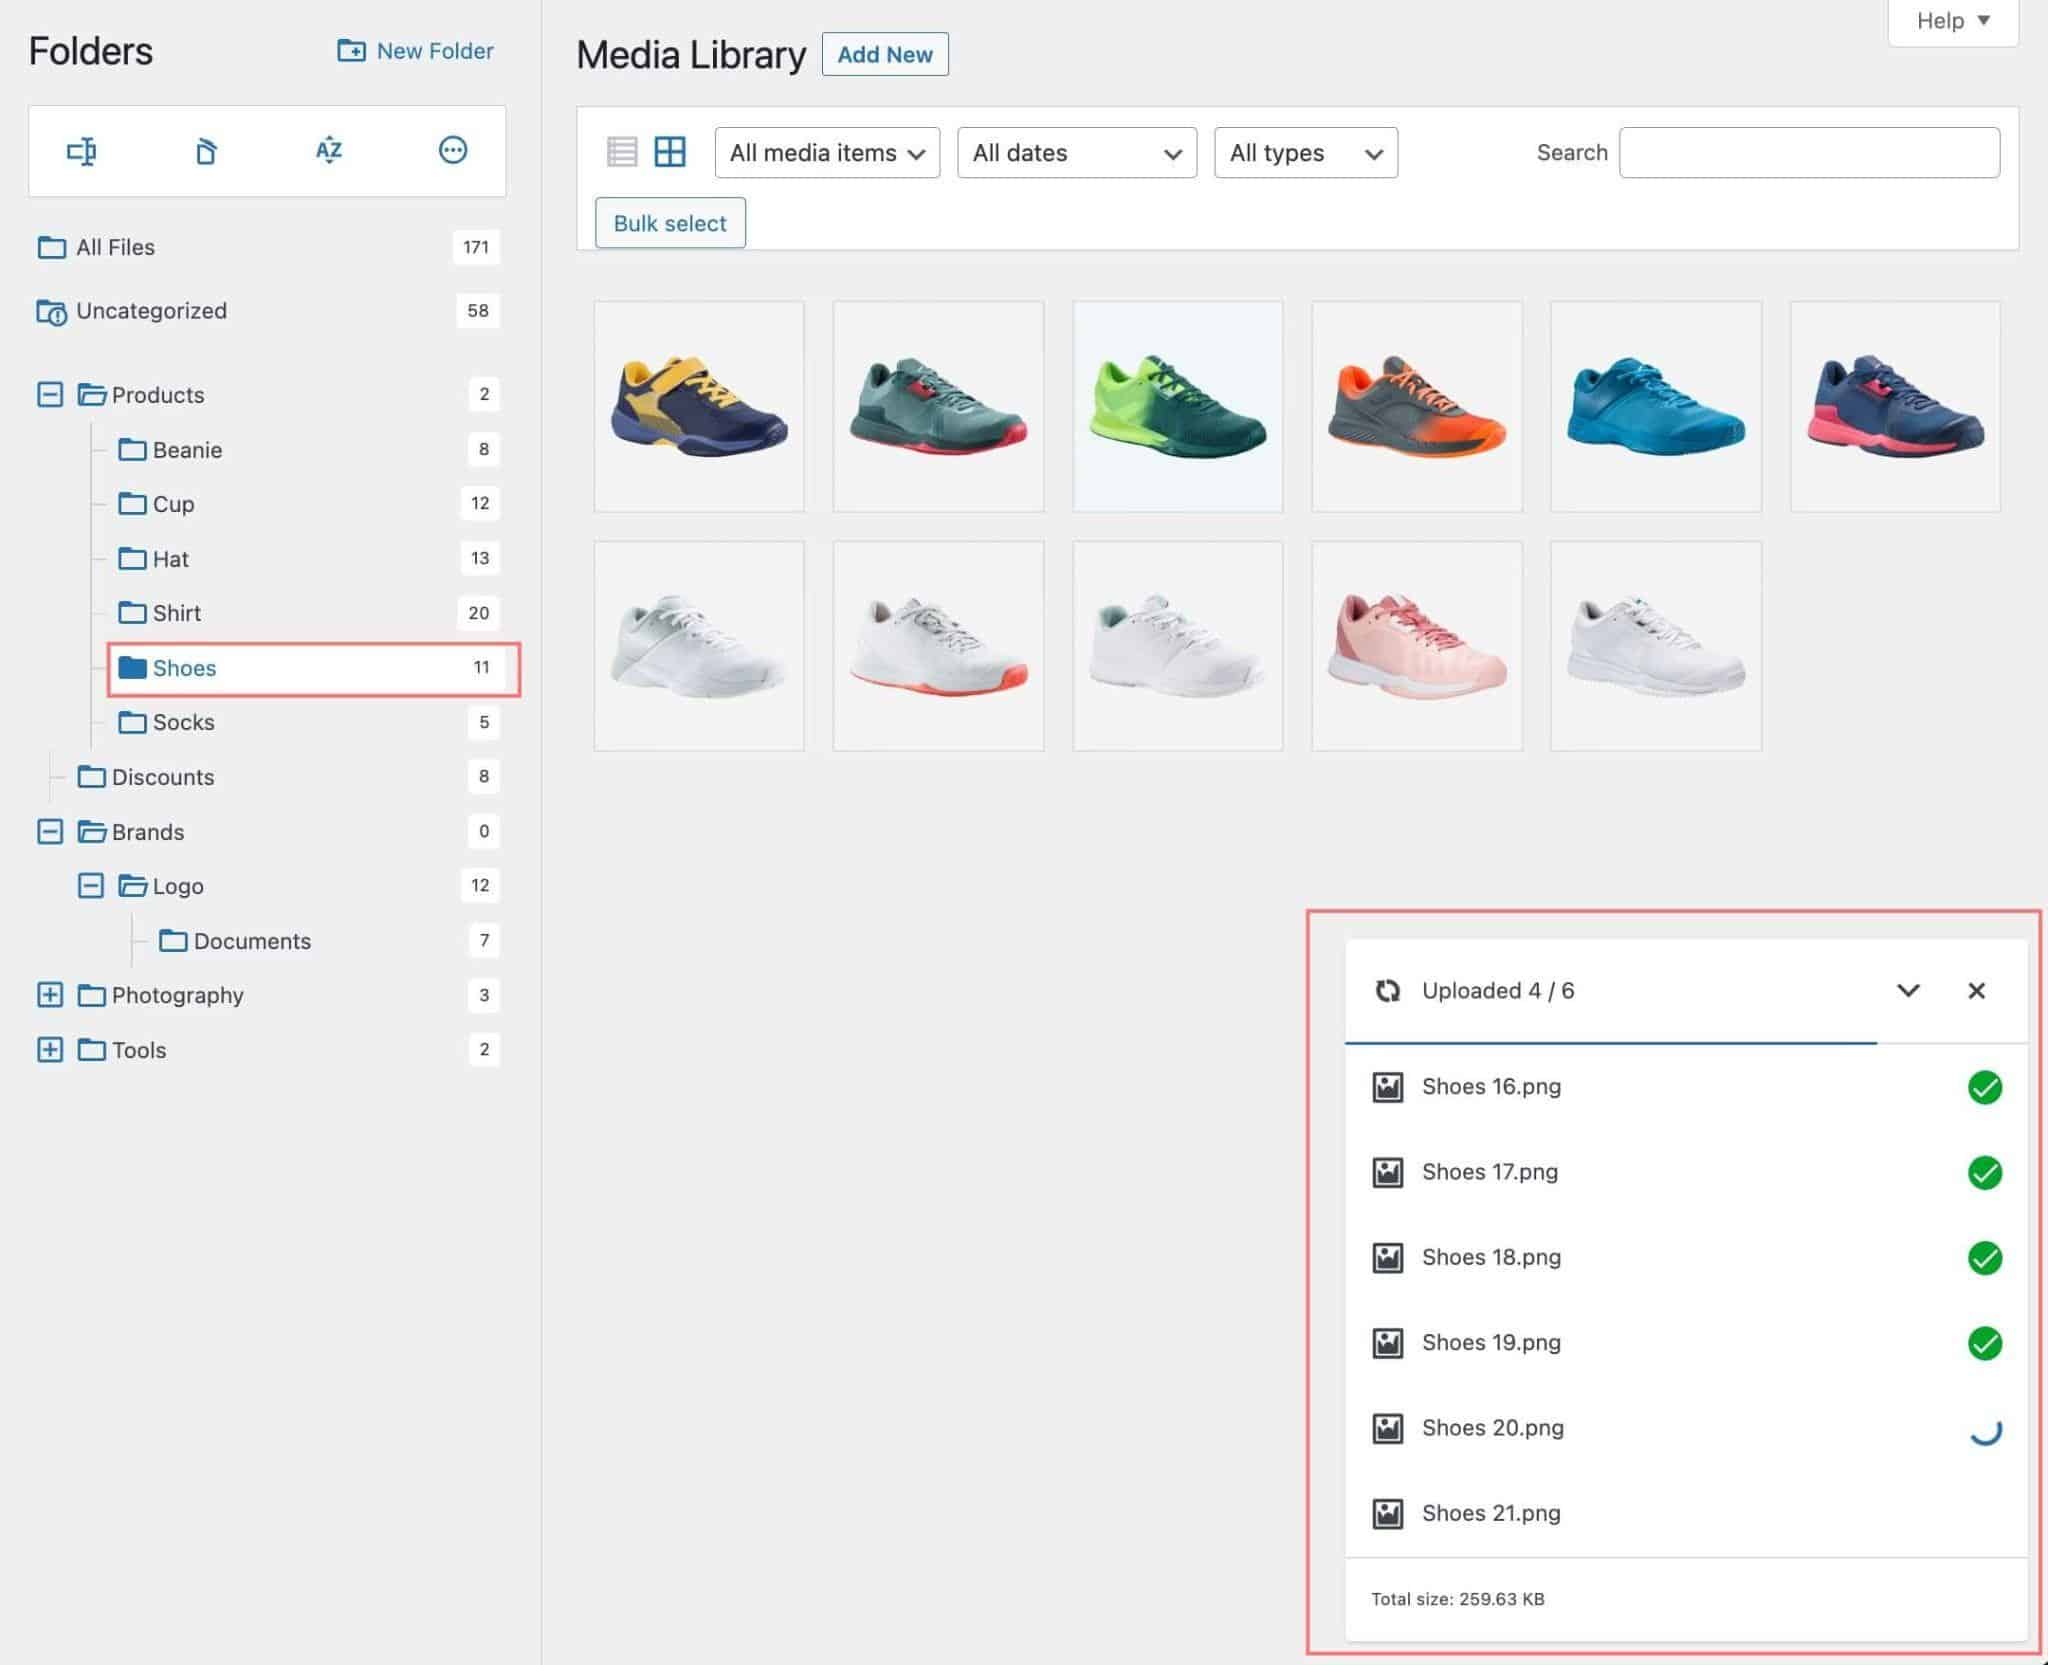
CatFolders is a WordPress file manager plugin using drag-and-drop interface and provides advanced settings.
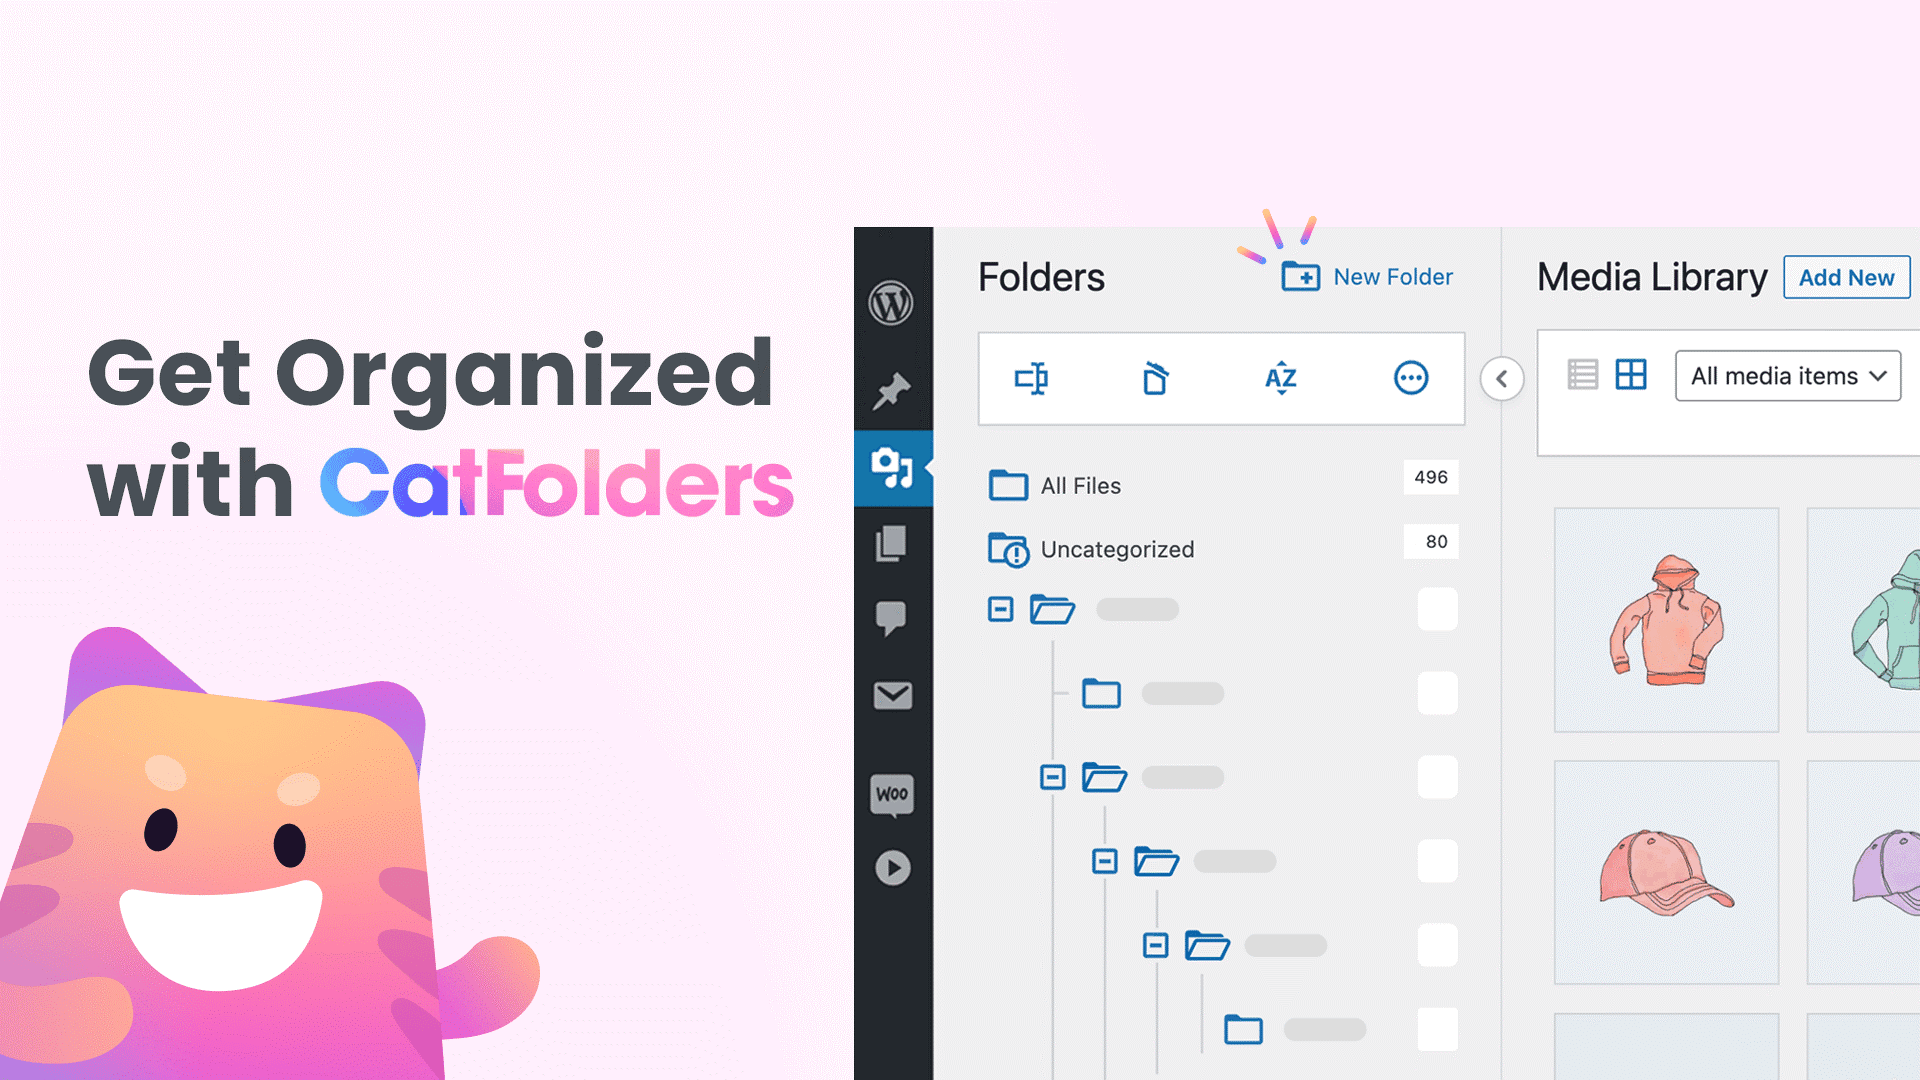
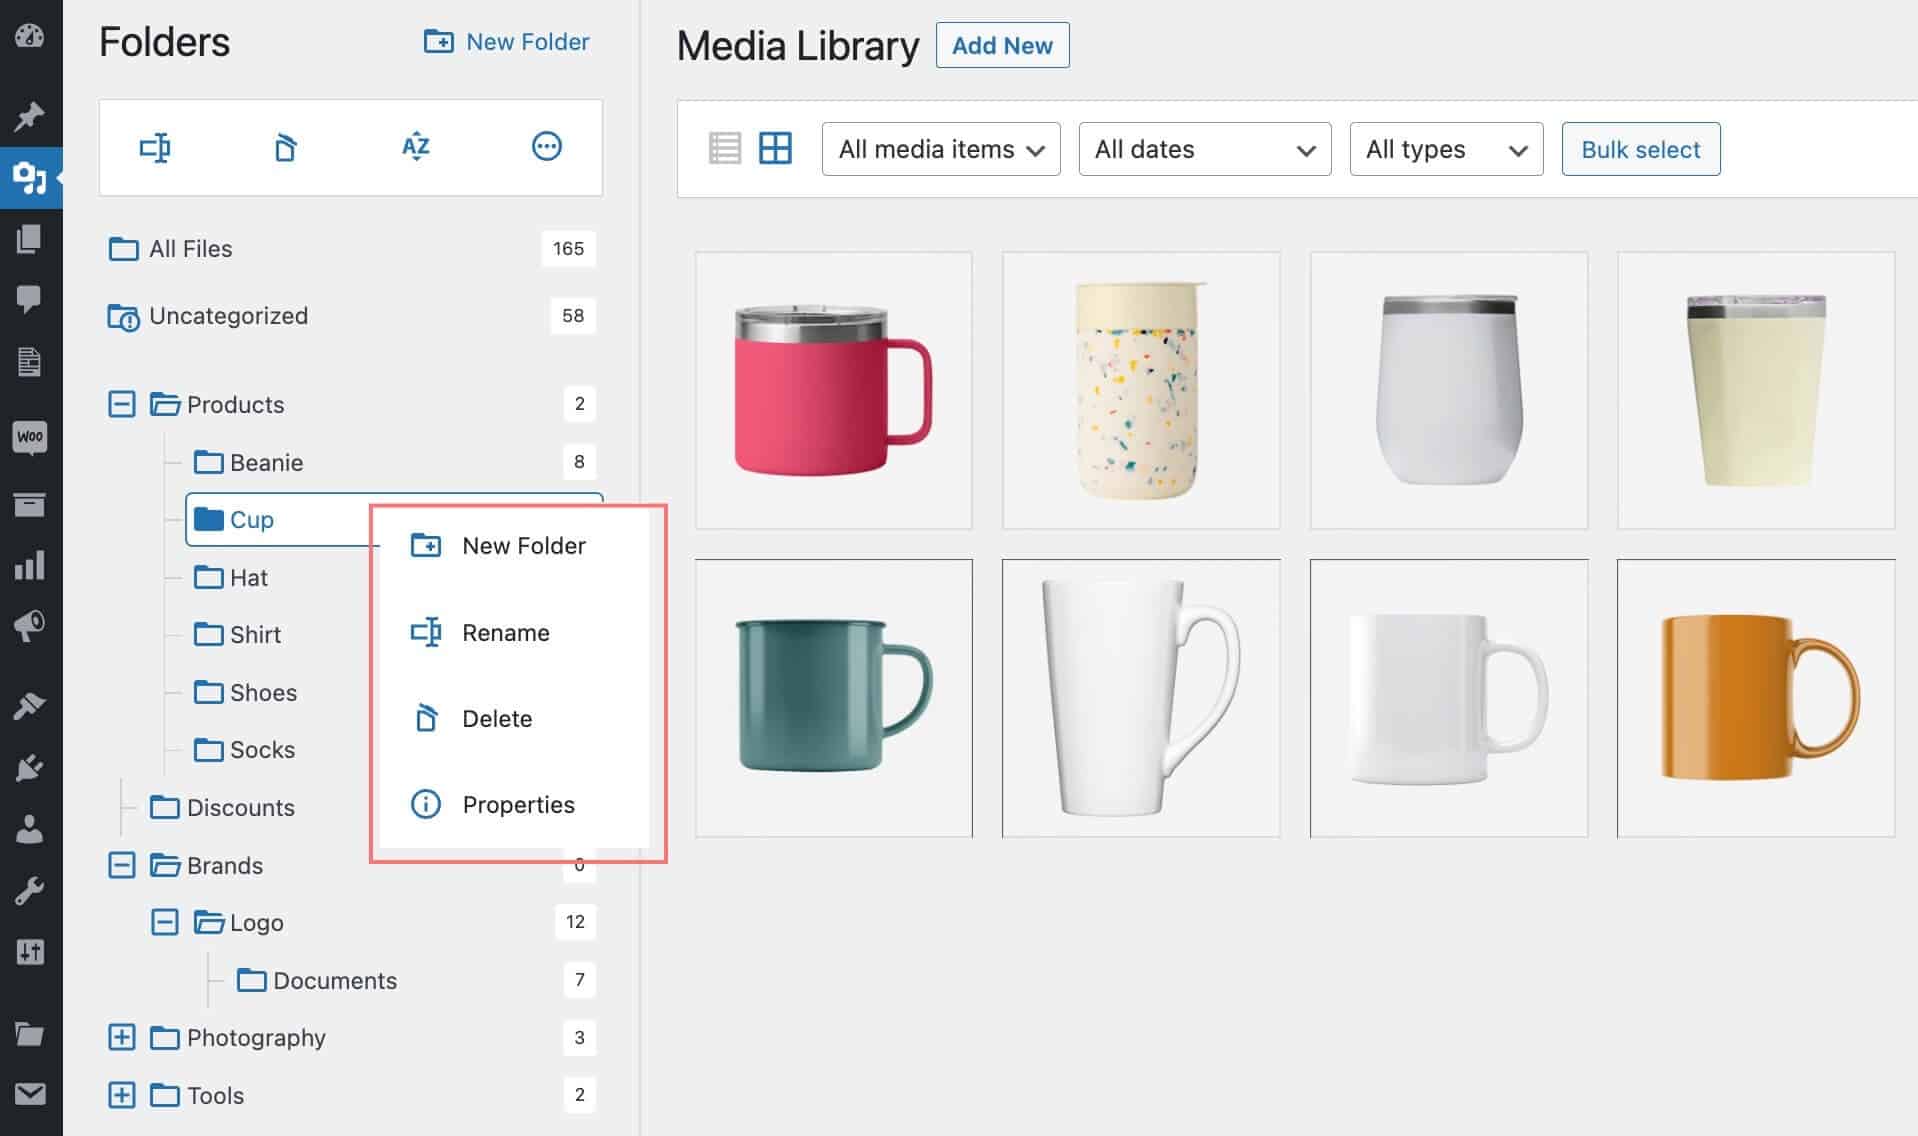
To create a folder, simply click New Folder from the top menu. Alternatively, to create a child folder, you can right-click on the parent folder and select New Folder. In the same smart context menu, you can rename, delete, or view folder details.
The following mentioned features are exclusively offered by CatFolders – WP Media Folders and you can’t find them in other file manager plugins.
Here are the best tips to manage WordPress media library folders like a pro.
- Use contextual menu: Right-click on any folder to view its properties such as folder ID, the total number of files and child folders.
- Drag and drop multiple folders: Select many folders from your computer and upload them all at once to your WordPress website.
- Bulk select file: Press Shift or Ctrl keys to select multiple files at once.
- Exit bulk select: Press Esc key to quit the current bulk select mode.
- Sort by: You can sort files and folders by author, modified date, added date, file name, and file size. These options are not provided by WordPress in the first place.

Free download: https://wordpress.org/plugins/catfolders/
Download images from WordPress media library using FileBird
Once you’ve done organizing the media files with CatFolders, it becomes very easy to find the images you’re looking for.
In case you want to keep a backup of your WordPress file and folder structure, take FileBird – WordPress Media Library Folders into consideration.
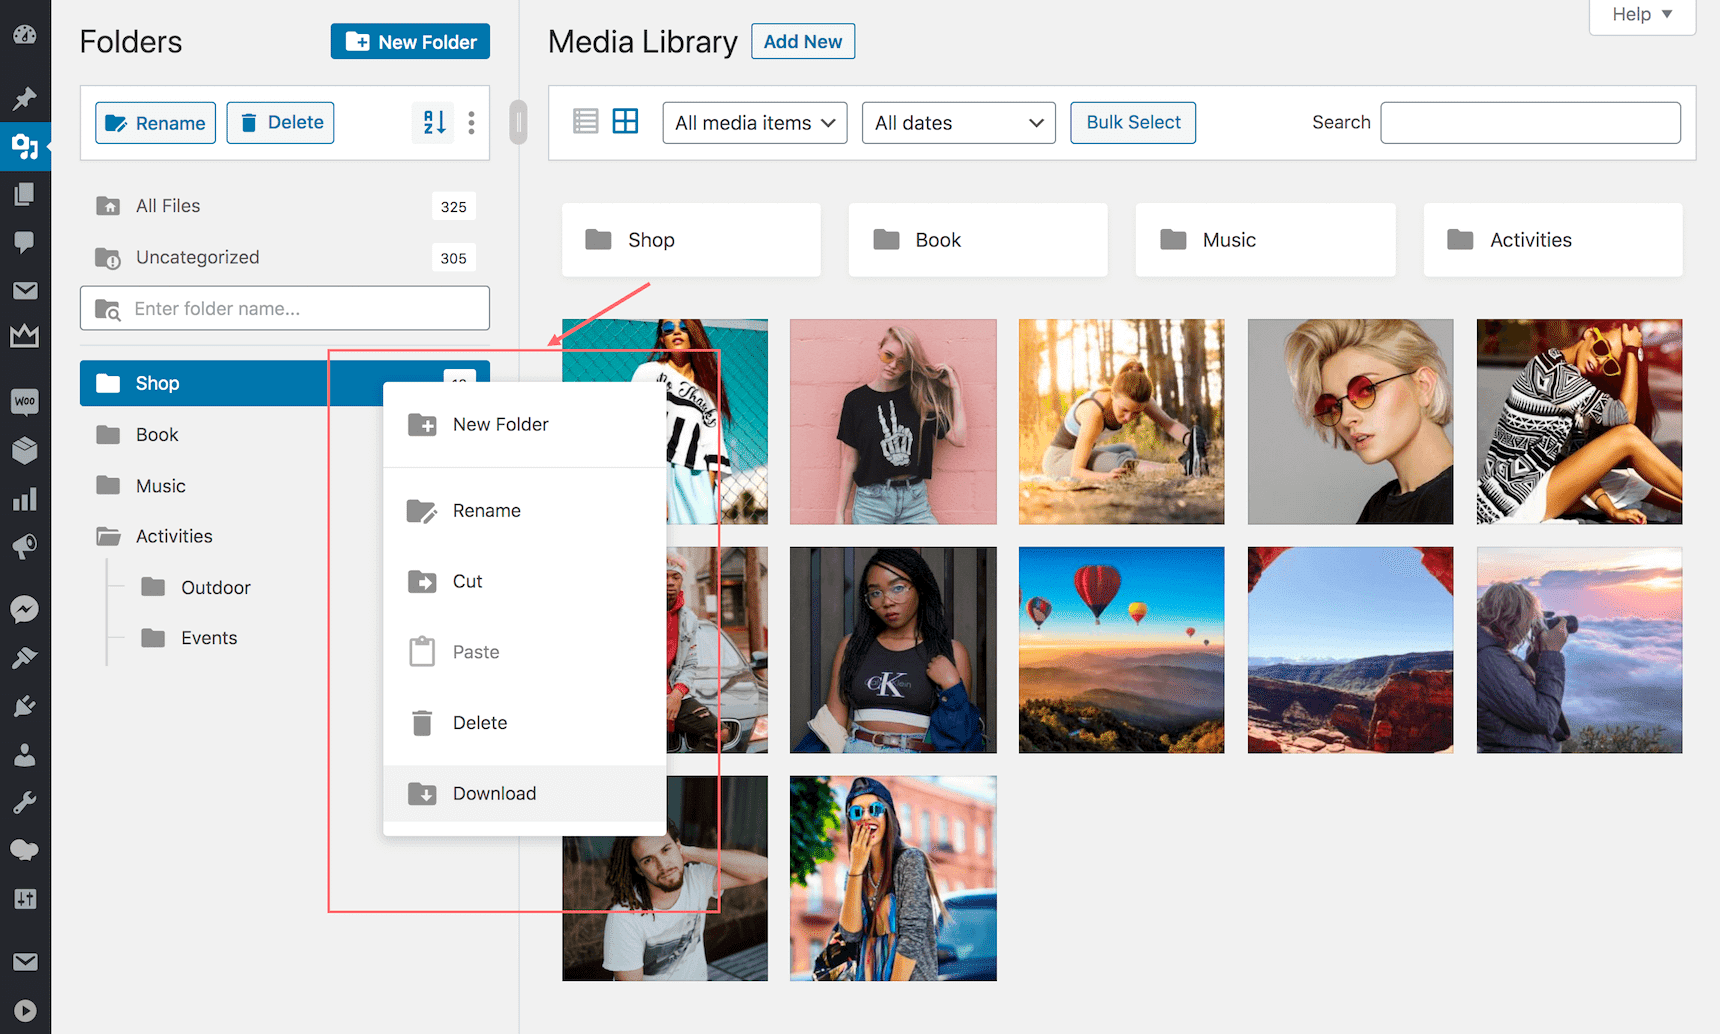
With FileBird, you also have an extended contextual menu that allows you to click to download an entire media folder as a ZIP file. It includes all the sub-folders and files under that folder as well!
Add WordPress media folders using Media Library Plus
To organise your WordPress media library, one plugin you can try is Media Library Plus. This free plugin creates a separate media library with folders inside your WordPress installation.
To get started, you will have to install the plugin like you would any other WordPress plugin. You can check out this guide if you are not sure how to do that.
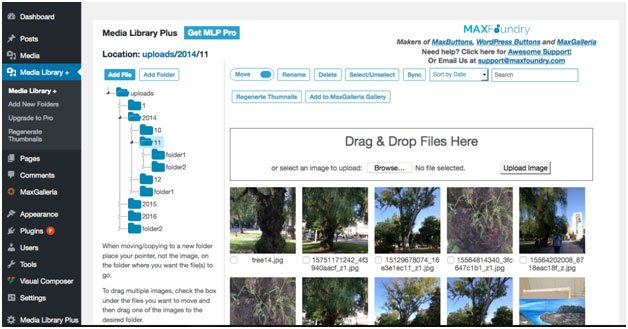
Once you have installed and activated the plugin, you will see a new “Media Library +” option in your WordPress admin dashboard. Click on that option to enter your new media library.
From here, you will find all the images that already exist in your WordPress library, but with a new element – folders.
By default, any existing image and media file will be organized into folders in order of the year and month in which they were uploaded.
Let me point out here that even though the plugin creates a media library that is technically different from the built-in WordPress library, any image you upload here will show up in the default library and vice versa, the only difference being that they will not be organized into folders there.
Creating and adding new WordPress media files
Unless you want to follow the default configuration of sorting out images by year and month, you will want to create custom media folders and move the existing images there.
This is as simple as clicking on the “Add Folder” button in Media Library +. You will have to give your new folder a name and then click on “Create Folder” to finish the process.
You can then select the existing images you want to move by clicking on the checkbox and then dragging them into your preferred new folder.
By default, these images are copied rather than moved to avoid breaking the links to images in your existing posts, but if you look at the top of the Media Library + windows, you will find a toggle switch from where you can change the setting from ‘copy’ to ‘move’.
That’s it; your image library is organized.
There is one issue, though, Media Library + has a limitation in the free version. This version is only good for creating folders and organizing your library, but if you want to be able to insert images directly from your blog post into the relevant folder, you will have to purchase the pro version.
Organizing your library using taxonomies and Enhanced Media Library
Enhanced Media Library works with a completely different system – no folders. Instead of using folders, you can organise your library using tags or taxonomies just like you would in a regular blog post. For instance, if you tag an image with “Properties”, you can always find that image or any other image with the same tag by searching through all images tagged “Properties”. Even though there are no visible folders, using taxonomies solves the problem and is equally as effective.
To get started with this system, you will first have to install a free plugin called Enhanced Media Library.
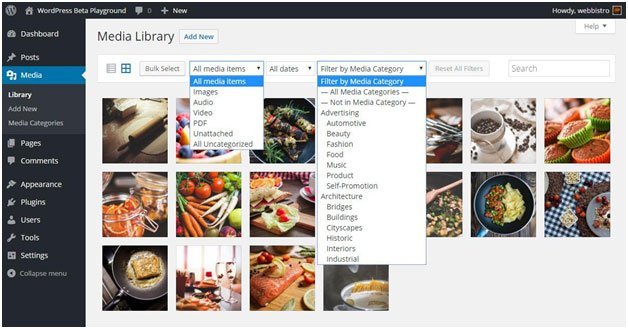
After installing and activating the plugin, you will see a new item in your existing media library called “Media Categories”. Everything happens in the same place, so you don’t need to be moving about like with Media Library +.
Before you continue, you will first need to create some categories for your media collection e.g.: Properties. When you upload a new image or click to modify an existing image, you can specify the category where you want the image to stay.
You can add as many categories as you want to the Media Category of your library. Additionally, you don’t need to upgrade to use this feature on your posts and pages.
When you insert a new image in your post or page, scroll down to look for the media category section; here, you can highlight the category where the new image should be placed.
Even though Enhanced Media Library may not be as visual as Media Library +, it serves the same purpose effectively.
However, as you are busy organizing images on your backend, do not forget that images on the frontend of your website are equally as important.
“It makes sense to organize the images in your media library so that you can easily locate, identify and understand each one, but it is equally important to optimize the images you post so that it makes sense to search engines.
Search bots are not smart at interpreting images. It is your job to make it easy for them.” said Craig, an expert in development, Birmingham.web development, Birmingham.
Manage and optimize your media assets using Happy Media Plugin
Revolutionize your WordPress Media Management, using Happy Media Plugin, which will allow you to create and manage as many folders as you want, upload and preview SVG files before using them, use drag and drop features for images and folders, utilize functional image gallery and many more.
Final thoughts
If you are looking for a free way to organise your media using folders, CatFolders – WP Media Folders is right for you. Even with the free version, you are able to insert images into a folder right from inside posts and pages.
However, while folders are obviously an improvement from the default WordPress way, using categories or taxonomies provides an easier method in the long run. So, you may want to try that first.