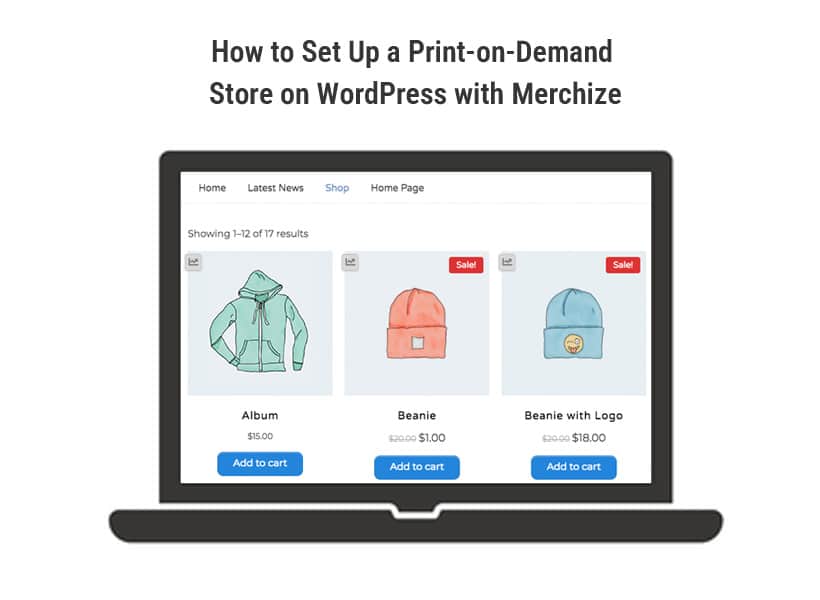
How to Set Up a Print-on-Demand Store on WordPress with Merchize
Starting a print-on-demand store doesn’t require any coding skills. With WordPress, you can easily build a website of your own while keeping upfront costs to a minimum.
This guide will walk you through the essential steps to launch your POD business, including how to set up your store, connect your product catalog, and integrate order fulfillment. Everything is designed to help you get your business up and running as quickly as possible.
Step 1: Purchase domain and hosting
To build a website, the first step is to purchase a domain and a VPS. With those in place, you can install WordPress, a free open-source platform that lets you create a customizable website. However, turning that website into a fully functional store, especially for print-on-demand, will still require some investment to unlock essential features.
A domain name is your store’s online address (for example: yourstore.com). Here are some trusted domain providers with competitive pricing:
- GoDaddy: “.com” domains start from $0.01 to $1 for the first year (with a long-term plan), with renewal fees around $21.99 per year.
- Namecheap: “.com” domains range from $8.88 to $12.98 per year and include one year of free Whois privacy protection.
Hosting or VPS services are where your website’s data is stored and what keeps your site running smoothly. Below are several reputable hosting and VPS providers along with reference pricing:
- Hostinger: Hosting plans from $2.49 per month, VPS from $5.99 per month. Good performance and beginner-friendly
- SiteGround: Hosting starts at $2.99 per month for basic plans. Offers fast load times and strong customer support
- Vultr: High-performance VPS from $5 per month. Best suited for users with technical experience
- DigitalOcean: VPS plans from $4 to $6 per month. Flexible and ideal for websites with higher traffic
Note: When purchasing your domain and hosting, make sure to consult the provider about server location, as it directly impacts page loading speed and accessibility for your target customers. Also, data backup is a critical aspect of website management. If the provider doesn’t mention backup options, be sure to ask about it up front to avoid the risk of losing all your data in case of unexpected issues.
Step 2: Install WordPress
Once you have completed the domain and hosting setup in the first step, the next task is to install WordPress. Fortunately, this can usually be done with just a single click.
- Start by logging into your hosting control panel (such as cPanel). Then look for the WordPress installer or a tool like Softaculous
- Follow the step-by-step instructions, select your domain, and set up an admin username and password
- Make sure to check that your SSL certificate is properly configured
If you want a faster setup without needing to code, here are a few alternative methods:
- Use an auto-deploy script to set up a WordPress site quickly
- Install EasyEngine (free), which is suitable for experienced users
- Use VestaCP or HocVPS (both free), recommended if you have basic technical knowledge
Technical notes for installing WordPress, themes, and plugins:
- PHP version should be 7.2 or higher to ensure compatibility with WordPress and its plugins
- SSL is required to enable HTTPS, which improves security and SEO
- Consider increasing PHP settings to prevent errors when installing themes or plugins:
- upload_max_filesize = 128M
- post_max_size = 128M
- max_execution_time = 300
- max_input_time = 300
- memory_limit = 256M
If you are not familiar with WordPress or the technical setup steps, this stage can feel overwhelming. Before getting started, consider asking friends for advice or reaching out to your VPS provider for support. Most hosting services offer a ticketing system, typically respond within one business day, and often provide documentation for installing WordPress.
Important note: Never use nulled or pirated themes and plugins. These files often contain malicious code, backdoors, or fake payment scripts that can compromise your website and result in a complete loss of control.
Step 3: Choose and configure a theme
Once your WordPress site is ready, the next step is to install a theme, specifically an eCommerce theme to customize the layout and functionality of your store.
Flatsome is one of the most commonly used themes for POD websites, even though it’s not specifically built for print-on-demand. It’s preferred because of its fast loading speed, user-friendly interface, and strong compatibility with WooCommerce.
Theme prices typically range from $49 to $89.
However, if you’re new to WordPress, there are several areas you’ll need to explore and gradually optimize to tailor your site’s appearance:
- Header, Logo, Menu, and Top Bar: Learn how to edit layouts, add or remove elements, and customize your site’s navigation
- Customizer: Understand how to use the built-in WordPress customizer
- UX Builder: Use Flatsome’s drag-and-drop builder to create pages and add elements
- Slider: Learn how to disable the default slider and replace it with static image blocks to improve site performance
- Footer: Customize footer sections to add relevant content and store information
- Copyright Footer: Update the copyright area to include your store’s name for a more professional look
- Create Product: Learn how to create products, including different product types like simple and variable products
- WooCommerce Settings: Configure payment gateways, shipping methods, and other essential settings
Step 4: Install essential plugins for POD stores
To manage your website and better optimize it for selling POD products on WordPress, you’ll need to install additional plugins. While some plugins are free, anything related to tracking or managing sales data usually requires a paid version:
- WooCommerce: Manage products and shopping cart (Free)
- Tracking: You can use Meta’s free Pixel plugin or PixelYourSite (around $350) if you need advanced customization
- Google Analytics: Track your website traffic using Google’s tool
- Variation Swatches and Photos for WooCommerce: Display color and size options as buttons or images, very useful for POD products (Around $99/year)
- WooCommerce Payments: Supports payments via PayPal or Stripe (Free or paid, usually $15–$29/year)
- YITH Google Product Feed for WooCommerce Premium: Free for the first 100 products, paid version required for more (Around $79/year)
- WP Rocket: Optimize speed for Flatsome and WooCommerce (About $59/year)
- Backup & Clone Website: Use Duplicator or All-in-One WP Migration to regularly back up your site data
If you’re planning to run email campaigns, use popups, or show sale notifications, there are also specific plugins for those features. Make sure to research them carefully before installing.
Installing and testing these plugins usually takes around 7 to 10 days, as some plugins may conflict with each other. If any issues arise, you can try reaching out to the plugin or theme support team for assistance. However, keep in mind that free versions often do not include dedicated support.
Step 5: Add products to your store
For regular eCommerce websites, products are usually added manually through WooCommerce. However, in the case of POD, service providers often offer integration that allows you to sync their product catalog directly with your WooCommerce store. This section will focus more on that second approach, helping you start selling as quickly as possible.
Option 1: Manually create products in WooCommerce
You can still add products the traditional way by going to WooCommerce → Products → Add New. However, for a POD business, this method is not efficient and can be very time-consuming when dealing with a large number of products.
Option 2: Sync products from a POD platform
In this integration section, I’ll walk you through how to connect with one of the top POD companies – Merchize. Whether you plan to sell apparel, wall art, home decor, or accessories, Merchize’s catalog of 500+ products can fully support your needs with global fulfillment capabilities.
- You need to have a Merchize account (If you don’t have one yet, you can create it at: seller.merchize.com)
-
Create products directly on Merchize:
- Choose a POD product (like shirts, mugs, canvas, etc.)
- Customize mockups, images, titles, descriptions, and prices
- Merchize refers to this step as “creating a campaign”
-
Connect your WooCommerce account:
- Simply enter your Woo website URL → authorize → connection complete
-
Publish the product to WooCommerce:
- Click the “Publish” button inside your Merchize dashboard
- Merchize will automatically sync the product to Woo, keeping mockups, descriptions, and variations intact
- All future edits must be made inside your Merchize seller account:
- For example: changing prices, descriptions, or adding images
- After editing, click “Update” to re-sync with Woo
- If you edit directly on WooCommerce, the system won’t sync back and may cause order errors
-
Orders will be pushed back to Merchize for fulfillment
- Automatic printing, fulfillment, and tracking
- Tracking info will be sent back to WooCommerce so your customers can follow their orders
Step 6: Automate order fulfillment
After syncing your product catalog from Merchize to WooCommerce, you can also integrate their fulfillment service directly into your WooCommerce store.
- Log in to your Merchize account
-
Prepare your WooCommerce website:
- Make sure WooCommerce version is above 2.6.x
- Enable REST API and change the permalink structure to anything other than “Plain”
- Check if the API is working by visiting: http://your-site.com/wc-api/v3/
-
Connect WooCommerce with Merchize:
- Log in to your Merchize seller dashboard
- Go to Integrations → WooCommerce
- Enter your WooCommerce site name and URL → click Connect
- You’ll be redirected to your WordPress site to approve the connection
- Automatic order processing:
- When a new order is placed (with status “Processing”), Merchize will automatically import it
- The system will either create or match the product in your store
- You’ll need to upload your PNG design file for the front/back of each product
- Merchize will handle printing and update the order status accordingly
- Tracking info will be pushed back to WooCommerce and sent to the customer automatically
Step 7: Test your store before launch
Before launching your store to the public and starting your marketing campaigns, take time to thoroughly review every aspect of your website, from layout and product catalog to features and design, to ensure everything runs smoothly.
A helpful tip is to visit your site using a mobile device and randomly test a few products and key functions. If you find any issues, make sure to fix them before moving forward.
You should also test your website’s loading speed from the country you’re targeting (where your customers live). A load time under 2 seconds is considered good; if it’s slower, take time to optimize it.
For WordPress-based websites, it’s especially important to test features regularly. Even minor updates can cause unexpected bugs that disrupt your store’s functionality.
This guide has walked you through the steps to create a POD store on WordPress and start selling quickly. You can dive deeper into each part of the process to further optimize your website. Best of luck with your print-on-demand business!