
How To Fix The Dreaded WordPress ‘Error Establishing a Database Connection’
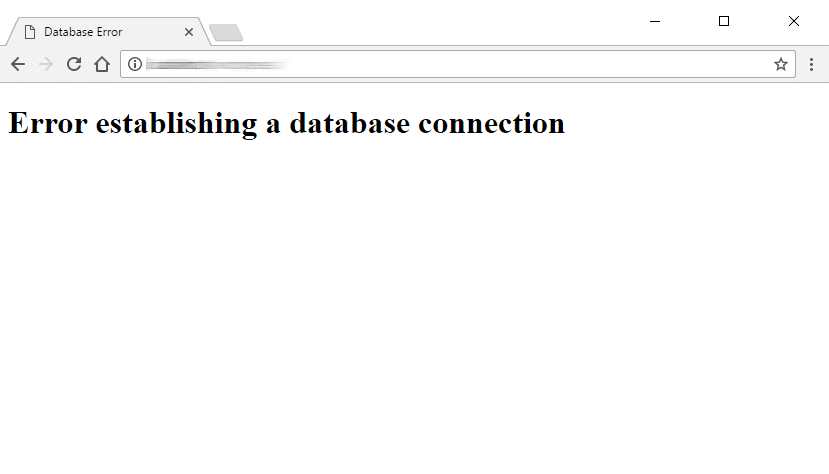
If you’re reading this, you’ve probably just encountered the dreaded “Error establishing a database connection” (EEDC). As a Wordpress website owner, seeing a blank screen with an error message is one of your worst nightmares.
At the moment, you’re most likely panicking and trying to understand what went wrong, but rest assured because we can help you fix it.
The EEDC is fairly common and typically a quick fix.
The most frustrating part about this error is that you may have encountered it even though you didn’t make any modifications to your site. In this blog we’ll walk you through the possible causes of the error and we’ll explain a few possible solutions.
Why am I seeing this error?
Website errors are inevitable, some are worse than others and some may be out of your control. Sometimes systems break; other times you may have accidentally triggered the error.
Your website will return the “EEDC” error when WordPress cannot access your MySQL database.
The reasons why WordPress cannot connect to your database may be one of the following:
- Login credentials have changed
- Server is unresponsive
- Corrupted database or WP files
- Traffic spike
-
Step 1
The first thing you need to do is check if you are receiving the same error message, “Error establishing a database connection”, on both the front-end (yoursite.com) and back-end (wp-admin) of your site. If so, you can move onto step 3.
If you see a different message on your back-end, for example, it may say your database needs to be repaired, then follow the steps below to resolve that issue.
-
Step 2: Repairing Your Database
In order to repair your database, locate the wp-config.php file, which you can find in your WordPress root directory. The root directory is where your WordPress site is installed. Once you’ve gained access to the wp-config.php:
1. Open it in editing mode
2. Right-click the file and open the code editor (will open in a new tab)
3. Add the following code to the bottom
a.define(‘WP_ALLOW_REPAIR’ , true);
4. Save your changes
5. Navigate to your yoursite.com/wp-admin/maint/repair.php
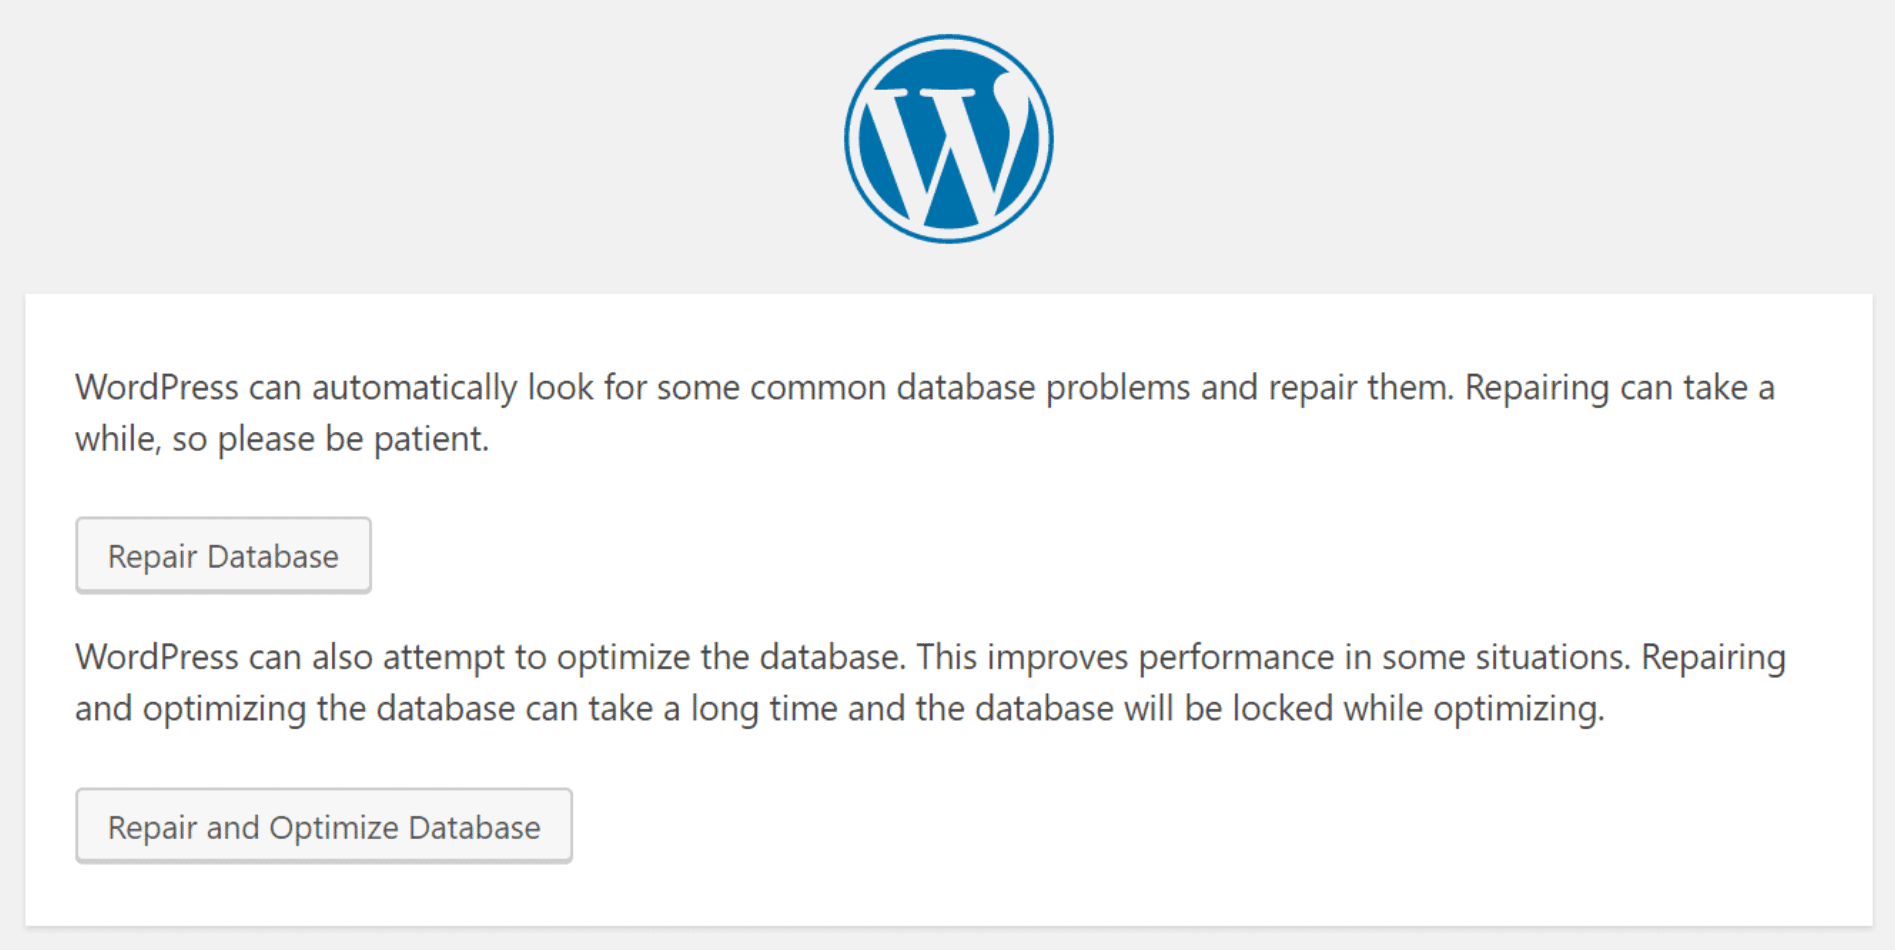
a. It should open the following screen
6. Select “Repair Database” or “Repair and Optimize Database”
a. Upon selecting an option, WordPress will repair your database for you
7. Once you’ve repaired your database, go back and delete the snippet of code you added to the wp-config.php file.
8. Done! Your database should be repaired.Check to see if your website is up and running again. If it’s showing the “EEDC” error, continue with Step 3.
-
Step 3: Verifying Your Login Credentials
Determine whether you have the correct login credentials in your wp-config.php file. This may be the single most important file in the entire WordPress installation. You should cross-reference the following four credentials against those stored in your database.
define('DB_NAME', 'database-name');

define('DB_USER', 'database-username');

define('DB_PASSWORD', 'database-password');

define('DB_HOST', 'localhost');
Log into phpMyAdmin, and then click on the Databases tab to see a list of your databases. If the database that appears after DB_NAME is in the list, the database name is not the issue.
If you don’t see the database name, you’ll have to contact your hosting provider, as this could be an issue with their servers.
Now you should check that your database username and password are correct. In order to do so, create a .php file and store it in your WordPress root folder. To create a new file, simply open the WordPress root folder and click New File. Then go ahead and save this new file with whatever name you want.
Once you’ve created the file, right-click and open the Code Editor, which will lead you to a blank page. Past the following code and be sure to replace ‘localhost’, ‘root’, and ‘password’ with the database host, username, and password in wp-config.php.
Save your changes and navigate to yoursite.com/check.php. If you receive the message “Connected successfully”, your login details are correct. If you see “Could not connect…” then we’ve identified the issue.
You’ll have to create new login details and update your wp-config.php file.
-
Step 4: Fixing Corrupted WordPress Files
Eliminating problematic files can get rid of the error, but a tiny mistake can get rid of your entire website. Before deleting or restoring any files, make sure to backup your entire WordPress site.
Once you’ve backed-up your website, download a new copy of WordPress and unzip the package. Delete the wp-config.php file along with the wp-contents folder. This will make sure you don’t override or break your existing wp-config.php file. Then upload the remaining files to your WordPress root folder.
This should have replaced all problematic files. Reload your website. If you are still seeing the error, try to clear your browser’s cache and reload your site again. If the error persists, you should call your web hosting provider.
-
Step 5: High Volume of Traffic
Let’s find out if a high volume of traffic is causing the dreaded “Error Establishing a Database Connection”. If you are using shared hosting, it is very likely that this is the issue. Your host server may be overwhelmed and unable to handle the influx of website visitors.
Get on the phone with your hosting provider and ask if your MySQL server is responsive. If you’re feeling confident, you can check it yourself.
Test other websites that are using your shared server and see if they are having the same issue. If they are, then there is certainly an issue with your MySQL server.

If this is an ongoing problem for your website, you should heavily consider dedicated hosting or an auto-scaling set up on one of the major cloud providers like AWS.

Avoiding this Error in the Future
There is no guaranteed way to make your website 100% fail-proof. However, to minimize the likelihood of encountering website errors, we encourage you to work with a quality web hosting provider and backup your data regularly.
A best practice in WordPress is to install a security plugin that automatically runs tests on a regular basis, keeping you informed about the status of your website.