How to create a blog on WordPress

WordPress began as a blogging platform and remains, to this day, a great platform for your personal or professional blog.
One of the reasons for WordPress’ popularity as a blogging platform is its simplicity. Anyone, regardless of their technical expertise level, can get a WordPress blog up and running in no time.
This article will go over the simple steps you need to take to create a WordPress blog to help you on your way.
1. Domain Name and Web Hosting
WordPress is free to use, but there’s a catch. You should pay for a domain name and hosting.
The domain name is a website’s address on the internet. It’s what people use to navigate to your site. For example, www.google.com is a domain name.
A web host stores all your files on the internet. Without a web host, your site would not be accessible on the internet.
Ideally, you will want to choose a web host that offers WordPress specific hosting options. This can include an LS Cache plugin, 1-click WordPress installation, and regular updates for WordPress’s core software and plugins.
Many WordPress hosting plans include a domain name. However, you also have the option to purchase a domain name separately.
Regardless of how you choose to purchase your domain name, the name you choose will be crucial to your site’s success. Your domain name is your site’s identity.
Therefore, you need to choose a name that accurately reflects your blog’s theme and is easy to remember.
2. Install WordPress
If you’ve chosen a WordPress host, you will likely receive instructions on installing WordPress from your host. If this is not the case, you can easily install WordPress from scratch. Here’s how to do it:
- Navigate to www.wordpress.org and download the latest version of WordPress. Your download should start automatically as a zipped file. Once downloading is complete, you will need to unzip the file.
- On your host’s server, create a database for WordPress. Then create a MySQL user or dbeaver alternatives with all the privileges necessary for editing the site.
- Upload unzipped WordPress files to your server.
- You should have an option to “Install Now.” Select this option, and the installation will begin.
Once WordPress is installed, you can access its dashboard by typing your domain name in the navigation bar followed by “/wp-admin.”
3. Choose a Theme
The visual appearance of your blog is determined by the theme you choose. WordPress offers a variety of free and premium themes to choose one. On your dashboard, navigate to the Appearance section and select Themes.
Next, click the “Add New button. This will take you to a page where you can scroll through over 7000 themes. When you’ve chosen one, simply click the “Install” button and follow the instructions to install the theme on your blog.
After the installation of the theme, you will need to activate it. Then you can customize its colors, buttons, fonts, and images. To do this, click on the Customize link under the Appearance header.
4. Create Your First Blog Post
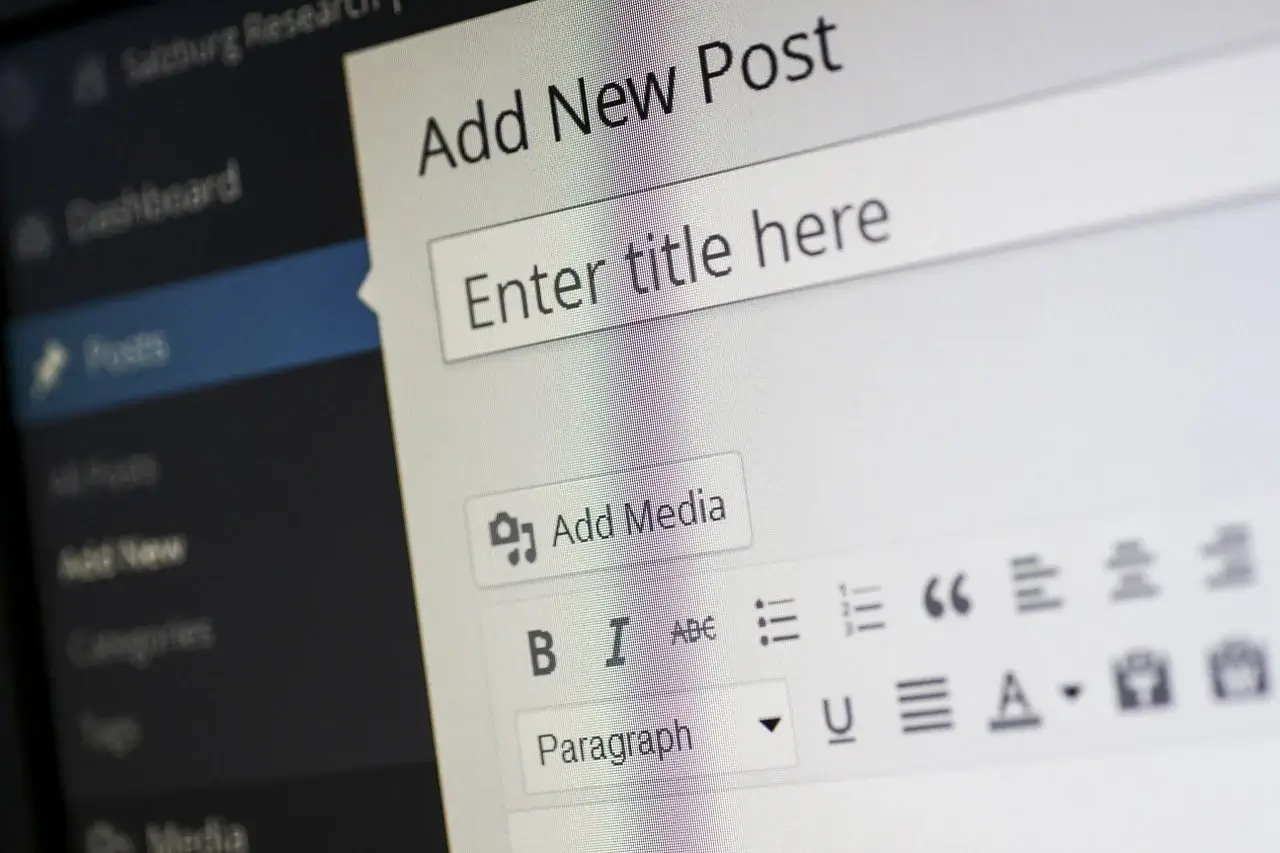
To write your first blog post, you will need to navigate to the Posts section of your dashboard menu and select “Add New.” This will bring up a word editor to write and format your blog post.
Once you’re finished writing and formatting, click the “Preview” button on the top-right corner of the screen.
This will let you see what your post will look like before publishing it. When you’re happy with the way your post looks, click the “Publish” button located next to the “Preview” button.
Summary
Creating a WordPress blog involves choosing a domain name, selecting a web host, installing WordPress, choosing and customizing a theme, and writing blog posts.
The hardest part about creating a blog on WordPress is the installation, so we recommend using WordPress hosting because this will usually include 1-click WordPress installation.
However, after WordPress is installed, it’s pretty much smooth sailing. WordPress’s user interface is relatively intuitive, so once you’ve got your blog set up the way you like, all you need is something to write about, and you’re all set.

