
How to Add Images to WordPress Posts and Pages
Adding images to your posts and pages is easy in WordPress. If you’re using the latest WordPress which uses the new Gutenberg content editor, you need to add a new block in order to add a new image.
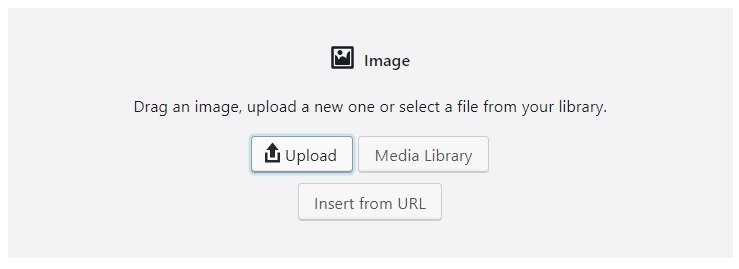
Once you’re done with a paragraph and need to add an image after it, simply press enter. Then click on the “Add image” icon in the new block.
You basically have three options to choose from:
- Uploading an image from your device
- Inserting an image from your media library
- Adding image using external url address (URL)
-
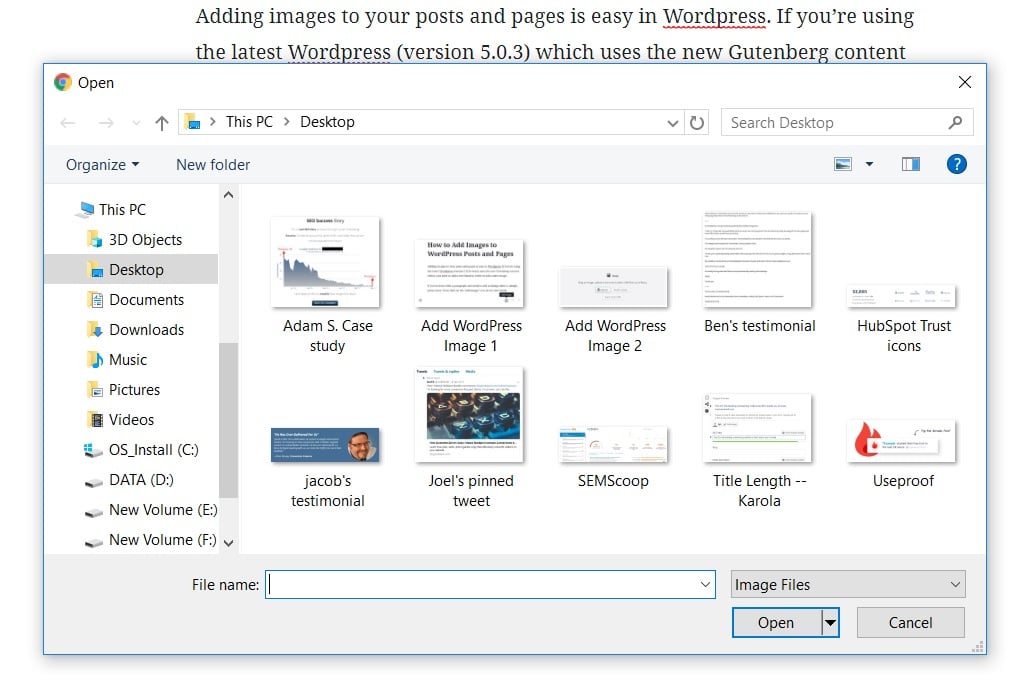
Uploading an image from your device
If this is the first time you’re using an image, you can upload it directly from your device. Just find your image on your computer and click “open”.

This method might seem super easy but it has a small problem: you won’t be able to enter an “Alt text” directly for your new image. Of course, you can do this later from your “Media” section but if you’re anything like me, you want to write an “Alt text” and a “description” right on the spot lest you forget it.I recommend adding your image to your media library first and then uploading it to your post.
-
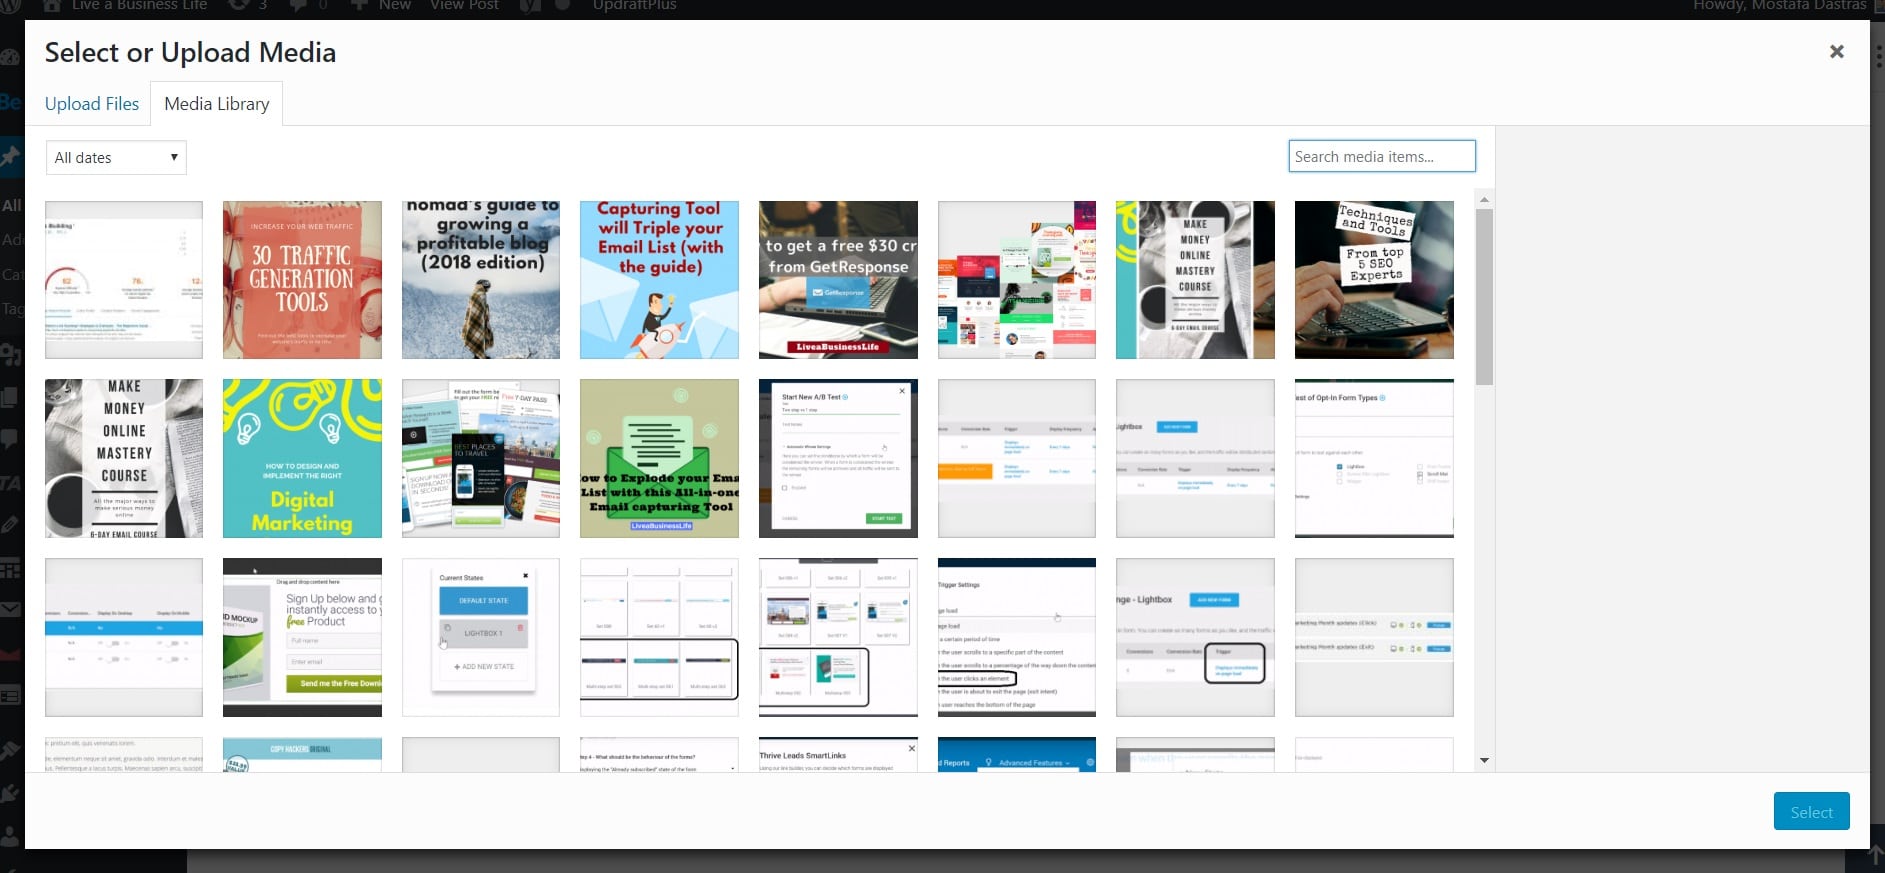
Inserting an image from your media library
Adding an image from your media library allows you to edit your image’s title tag, alt tag, and description on the spot. Once you selected “Media library”, your media section opens. If your image is already uploaded on your host, you can easily find it there.

If you intend to upload a new image, simply click on “Upload Files” on the left hand corner of the window and click on “Select Files”. You can also drag and drop your image in that area.
Then find your image in your computer and click “open”. Depending on the size of your image, it might take some time to load.Once the image is added, remember to edit its title tag and alt tags. Title tag is basically the title of your image and Google uses it to find and show your image when people search in Google’s image search.
An alt text (text that describes an image) improves accessibility for people who can’t see images on web pages, including users who use screen readers or have low-bandwidth connections.
It also determines how an image is related to its surrounding text. Google places a high emphasis on these texts.
Title tags and alt tags help search engines find your images in the their image searches so remember to use your focus keyword in these tags. In particular, you need to use your focus keyword in these areas:
- Your post’s title
- The first paragraph and occasionally throughout your content (avoid over-optimization)
- One or two of your headlines
- Your images’ title tags and alt tags
Using a website review tool such as Woorank is a great help here. It runs a deep SEO analysis on your website and, based on the score you get, suggests some tweaks to be made to your website (including keyword optimization).
To change the alt text of your image, simply edit it after you uploaded your image to your media library or using best WordPress photo gallery plugins.

You can also write a description for your image.In the digital age, leveraging AI for image generation has become a significant advantage for content creators and businesses alike. With the ability to turn text into high-resolution, detailed images, AI image generators opens up endless possibilities. These AI image generators like Nano Banana not only supports creativity by generating images in hundreds of styles but also streamlines the process of adding visually appealing content to your WordPress posts and pages. For individuals seeking to optimize their image generation process, employing a tool such as the Prompt Generator can prove to be highly beneficial. Whether for aspiring artists, content creators, or small businesses, understanding and utilizing such AI capabilities can revolutionize the way we think about and use images online.
-
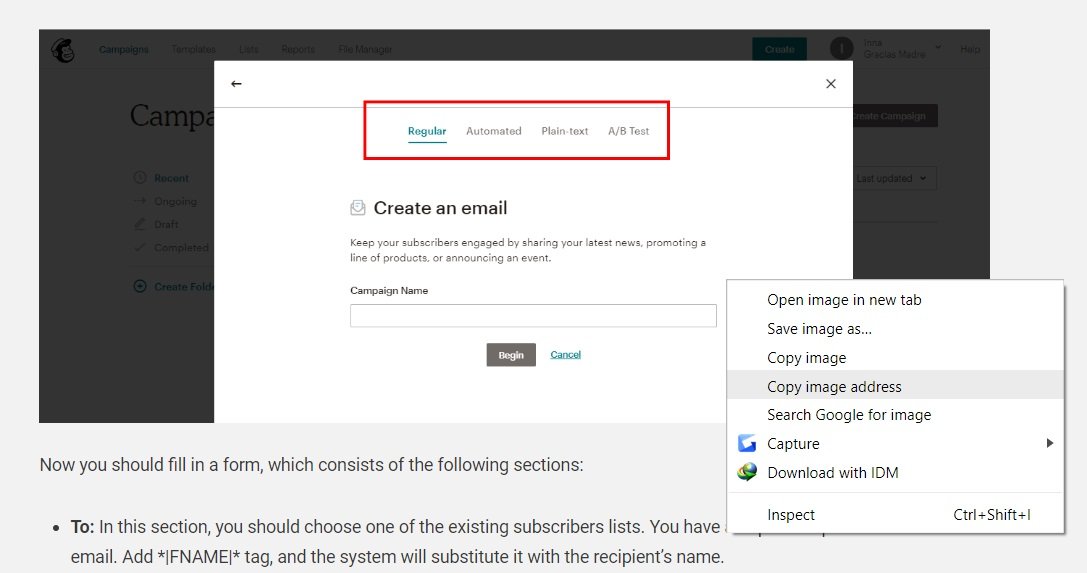
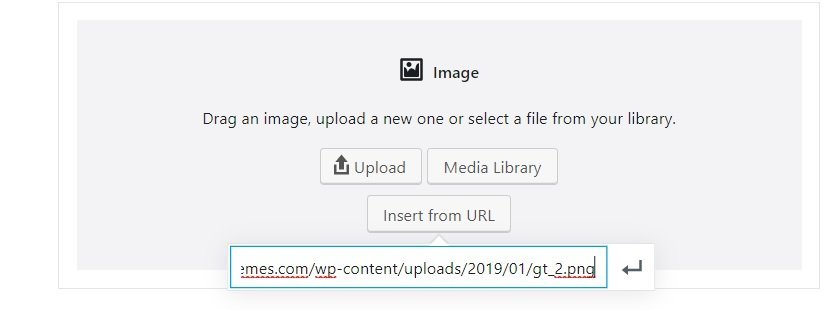
Insert from URL
Another way you can add images to your WordPress posts or pages is copying and pasting the image URL from a different domain. Keep in mind that this method does not add the image to your Media Library.
Your image will be live as long as it loads on the servers you got it from. Once it’s removed from that server, it’s removed from your page too.
For example, if I want to add an image from a page without saving it to my computer and uploading it on my host, I simply right click on it, select “Copy image address” and then paste it in the “Insert from URL” section of my new WordPress block.


Optimising images for speed
Large images or too many images will slow down your page’s loading time and hence have a negative effect on your users’ experience.
To avoid this, remember to reduce the size of your images before you upload them, and use Smush, a free WordPress plugin, to reduce your image sizes automatically after they are uploaded to your media library.
Using a premium WordPress hosting is also a great factor. Poor hosting services run your website on their slow servers and jeopardize your online reputation. Numerous studies show that people will abandon a website if it’s slow in loading.
An optimised WordPress theme is a must-have for having a fast website. A good theme pays attention to details, has optimized images within itself, and transfers your data from your host as fast as possible.
Making optimized themes has been a thing for Grace Themes ever since its formation. Not only this — their themes are SEO-focused too.
They keep your visitors amazed at how fast your website is and (provided that you have done your homework on SEO) how easily you’re found in their Google searches.