
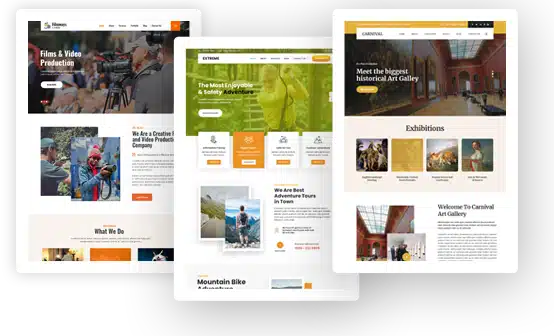
Build Blog Graphics Without Letting the Logo Drift
A blog graphic has a quiet job. It must support the article, fit the theme, stay readable in a small card, and preserve the site’s identity. A dramatic image that changes a logo or invents interface text creates more cleanup than value. For a publisher using Nano banana, the practical question is how to narrow an edit until only the intended region changes.
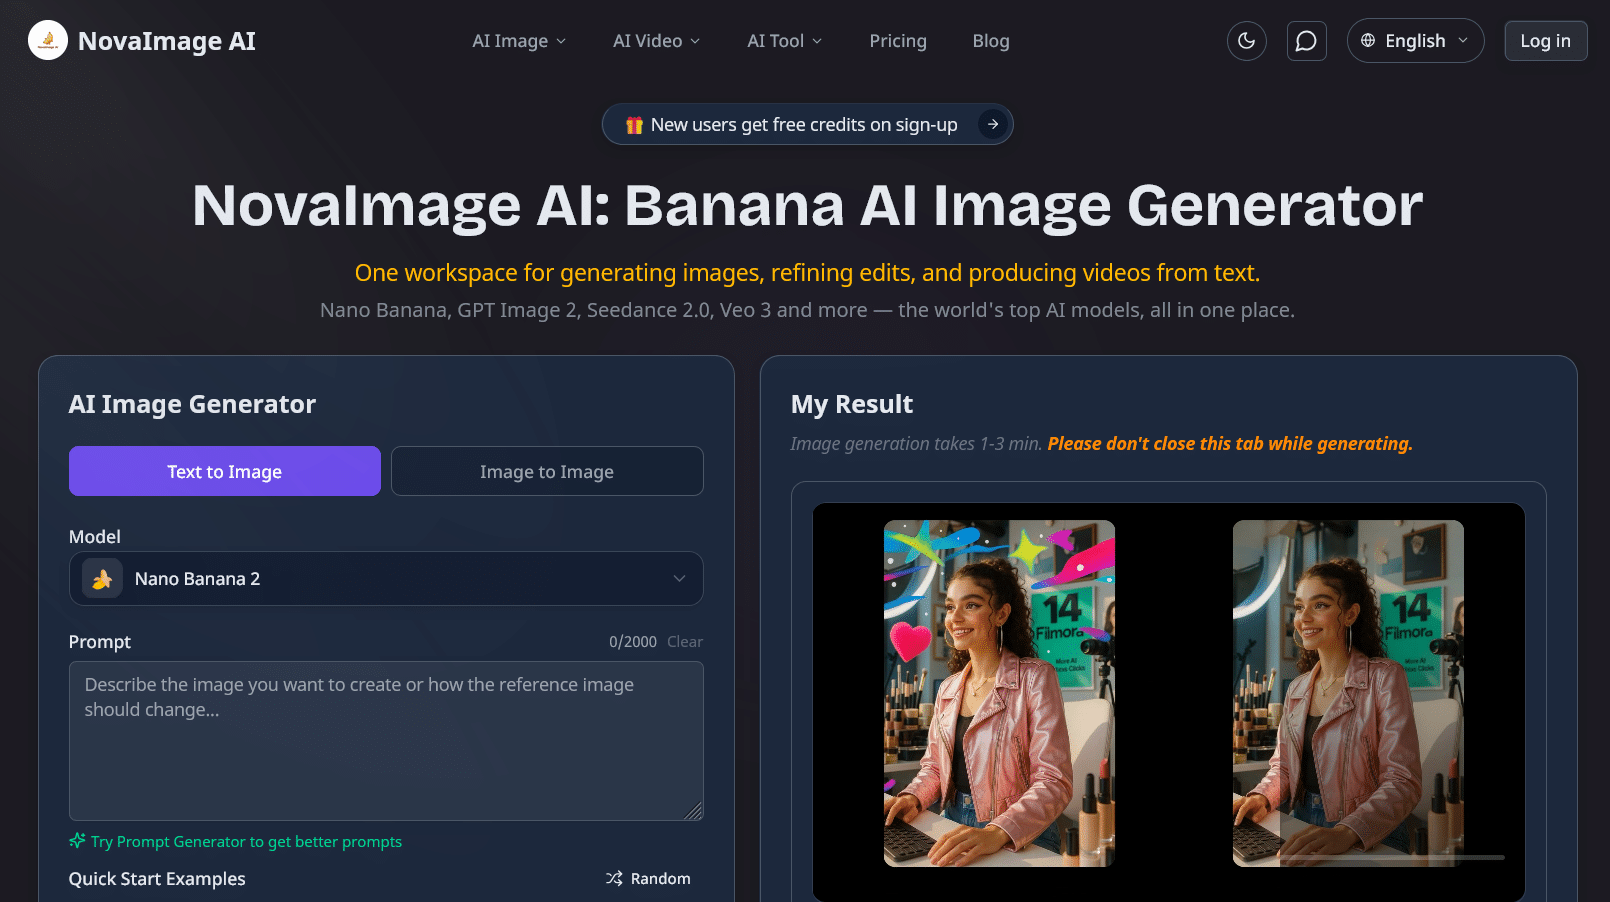
NovaImage AI supports text-guided generation and editing with Nano Banana models. The workflow begins with a prompt or uploaded image, continues through conversational refinement, and ends with a PNG or WebP download. Its Image Marking tool is especially relevant to blog production because the editor can point to the region that should change instead of asking the model to reinterpret the entire composition.
Choose One Visual Job for the Article
Do not begin with “make a nice hero image.” Decide what the graphic must explain. A tutorial may need one interface action to stand out. A comparison article may need two products separated clearly. A theme release may need a website shown across desktop and mobile frames. This decision sets the acceptance test before the first generation.
Prepare the non-negotiable elements as clean inputs: the real logo, approved colors, and any product screenshot whose text must remain factual. If a source is blurry, fix it before asking the model to build around it. Generation cannot recover information that was never present.
For a WordPress theme article, capture the screenshot at the width used in the tutorial and remove browser clutter that is not part of the lesson. Decide whether the visual needs the full dashboard or only one setting panel. A smaller, purposeful source gives the editor less irrelevant material to reinterpret and gives the reviewer a clearer original for comparison.
Workflow Step: Mark the Region Before the Prompt
Open the image editor, upload the base visual, and use Image Marking to identify the part that needs work. Then write the edit in concrete language: “replace only the empty wall with a dark green plant backdrop; keep the laptop screen, logo, and person unchanged.” The marked region and the written boundary should agree.
Lock the Evidence Inside the Screenshot
If the image shows a real interface, treat button labels, prices, and settings as evidence. Do not allow the generator to redraw them casually. Mark only the decorative region or place the screenshot into the composition after the generated background is approved. This avoids the expensive mistake of publishing a polished graphic with fictional product controls.
Refine One Defect at a Time
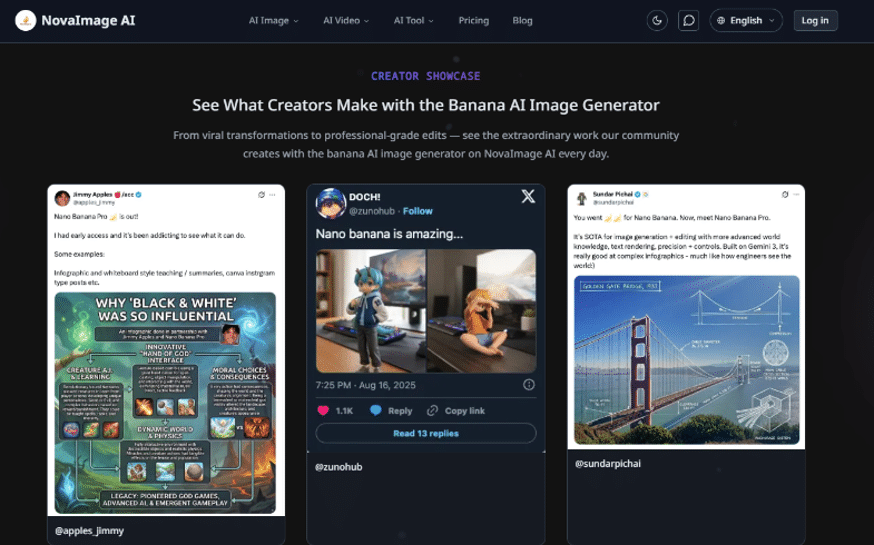
After the first result, resist the urge to rewrite the whole prompt. Ask for one correction: reduce the shadow, move the plant, or clear space around the headline. Nano Banana’s conversational workflow is most useful when the edit boundary becomes smaller with every round.
Save an approved checkpoint before every new request. If the next correction damages a previously accepted detail, return to that checkpoint rather than trying to repair the repair. This keeps the cost of a bad revision to one generation and prevents a sequence of small changes from gradually replacing the original design.
Pick the Model by the Failure You Fear
NovaImage AI presents Nano Banana 2 as the faster route for iteration and Nano Banana Pro as the higher-control route for complex compositions, stronger typography, and higher-resolution production. A blog editor does not need the heavier route for every thumbnail. Use the faster model to explore layout, then reserve Pro for a cover that combines multiple references or must carry important text.
The point of a banana ai image generator is not to eliminate editorial judgment. It is to move the editor from rebuilding pixels to specifying what may and may not change. Final checks still belong to the publisher.
Test the Graphic Where the Theme Will Crop It
A hero image often appears in several shapes: a wide article header, a smaller archive card, and a social preview. Place the result into those real containers before approving it. A centered logo can be safe in the full image and disappear in a narrow mobile crop. Fine copy may be technically correct and still become unreadable.
Use a simple release check:
- Logo shape and color match the approved source.
- Any visible interface text remains factual.
- The subject survives wide and narrow crops.
- The headline has clear space rather than fighting the artwork.
- The image has been reviewed at phone size.
Paid NovaImage AI plans list private creation, no watermarks, and commercial use. Those features make the export easier to place in client or promotional work. They do not clear rights to third-party images uploaded as references, so keep source permissions with the article brief.
The site also distinguishes monthly credits from one-time packages. The site also distinguishes monthly credits from one-time packages, making it easier for businesses to plan their content creation alongside a professional website design agency that ensures those visuals are presented effectively across their website. Subscription credits refresh, while one-time credits do not expire. A publisher with irregular release cycles can therefore compare the predictable monthly route with a stored credit pack instead of forcing every quarter into the same volume. Failed or duplicate generations restore credits, but a completed image rejected for inaccurate content still consumes review time.
Record that distinction in the production note. Label failures as technical, factual, crop, or brand drift. The categories help a theme team improve inputs and prompts, and they stop a refunded technical error from being confused with a costly editorial rejection.
Keep the rejected candidate beside the original while writing the note. If text is unreadable, the logo is warped, or the model invented an extra interface control, the screenshot should be discarded rather than sent back as “almost ready.” That small record makes rework visible and gives the next editor a concrete warning.
Pixel-Locked Interfaces Still Need Manual Compositing
Image Marking narrows the request, but it cannot guarantee that every unmarked pixel will remain identical. Logos, factual screenshots, faces, and small type still need close comparison with the source. For exact legal marks or pixel-perfect UI, manual compositing may remain the safer final step.
A useful counterexample is a pricing-table screenshot. Even one changed digit makes the graphic false, so there is little benefit in asking a model to redraw it. Generate the surrounding scene, then place the verified screenshot into the final layout as an untouched layer.
Publish the Graphic That Explains the Page
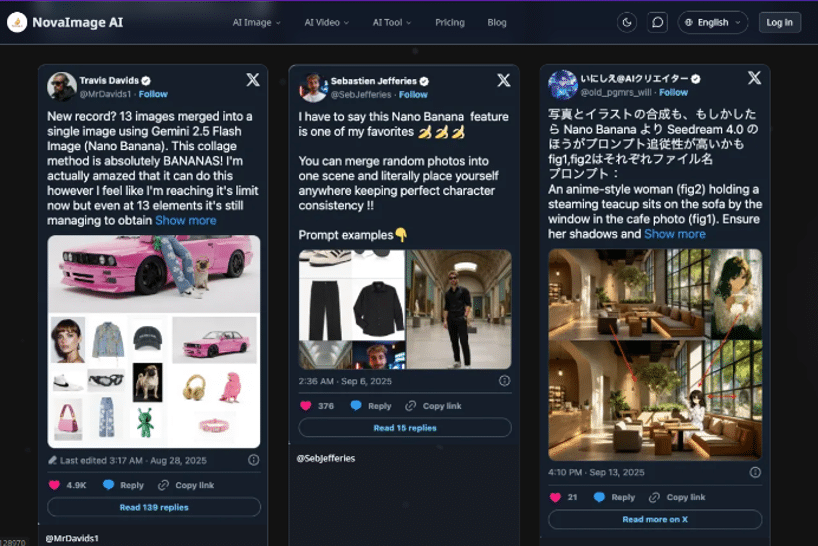
NovaImage AI fits blog teams that already know what a graphic must communicate and want faster, localized revisions. It is less useful when the brief is still a pile of adjectives or when every pixel is legally locked.
The strongest result is not the most elaborate frame. It is the one that survives the theme crop, keeps the evidence true, and helps the reader understand the article before the first paragraph begins.
For recurring article series, save the approved crop zones and logo placement as references for the next release. Reuse the decision rules, not the generated pixels. That keeps the visual family recognizable while allowing each article to receive artwork matched to its own subject.
When another editor inherits the series, those references also shorten onboarding. They show which areas may change, which elements are locked, and which final-size previews must be checked before publication.
