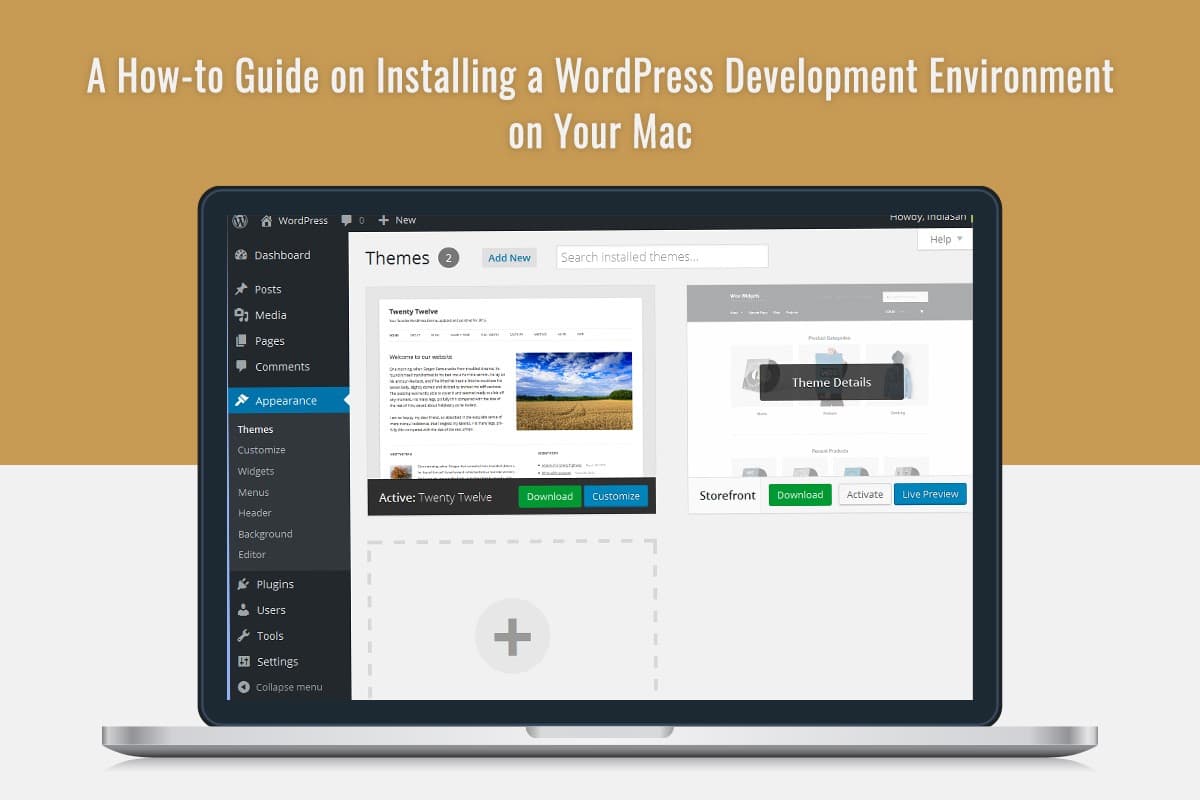
A How-to Guide on Installing a WordPress Development Environment on Your Mac

So you have to work on a WordPress project, and you are using a Mac? That’s great because Macs are great machines, and you’ll find plenty of tools to set up a WordPress development environment quickly. However, before proceeding further, you must ensure your Mac is free of malware so your WordPress project can proceed without a glitch. Then, you can go through a 2022 list of Mac malware cleaners and choose the one that works.
What are the reasons for creating a local WordPress development environment?
- Although several hosting providers offer staging websites for free these days, they are often limited. They might have caching disabled for development purposes or fewer resources than the live website. That’s why staging websites are slower than testing locally.
- In a local WordPress development environment, there are no limits to the number of staging websites you can have.
- You can code offline, whether sitting in a park or plane.
- Debugging is more straightforward, and most tools have in-built debug toggles that write to the machine.
What do Mac users need to install a WordPress development environment?
You will need a macOS X 10.10 or higher version of OS, along with WordPress and MAMP.
Follow these steps to create a WordPress development environment on your Mac.
-
Download WordPress
Download WordPress by going to its official website (wordpress.org/download). In addition, you must download the .zip version of the latest release.
Create a folder in the user directory called Sites/WordPress and move the downloaded files to the new folder. This will make it easier for you to locate the files when needed.
-
Download MAMP
MAMP stands for Mac (the operating system), Apache (a web server), MySQL (a database server), and PHP (a scripting language). MAMP is an app that installs a local server environment on Macs.
To download MAMP, go to https://www.mamp.info/en/downloads/.
Here, you will find a free and paid version. The free version is typically used by beginners, while the paid version is for professionals. However, if you are starting out, you can use the free version, as it comes with everything you need to install WordPress locally. You can purchase the paid version for your professional projects if you need more functions.
-
Install MAMP
You need to locate the MAMP installation package downloaded on your computer and double-click it to start the installation process.
Once the installation is complete, you must open Applications > click MAMP in Finder. Launch the application by double-clicking it and if you are prompted whether you want to launch MAMP Pro or MAMP, choose Launch MAMP. Then, click Preferences > go to the Web Server tab > ensure Apache is chosen > click the folder icon next to Document Root.
Head to the Finder window and choose the Sites/WordPress folder you created earlier.
-
Begin the servers
Head to MAMP and choose Start Servers.
The MySQL and Apache servers will start, and you will see a new tab in your web browser. In this tab, you’ll see the URL http://localhost:8888/MAMP, and this will inform you that MAMP is installed correctly. You can even see all the details of the installation.
-
Creation of the MySQL database
Then, it would be best to create the MySQL database, which the WordPress installation will use. It would be best if you went to http://localhost:8888/phpadmin/ in your chosen web browser and open phpMyAdmin. Then, click Databases.
Choose Create Database and enter a name for your WordPress database. Finally, click Create.
-
WordPress file extraction
You must go to Finder and open the folder containing the WordPress .zip files. Then, you must double-click on the file to extract it. The files will be extracted in a new folder, and you can name it WordPress.
-
WordPress installation
In your chosen browser, you must go to http://localhost:8888/wordpress, and on the first page, you will see the WordPress configuration. Next, you need to select your language and then click Continue.
Click Let’s Go on the next page and then enter the details of the database, except the Database Name must be the name you selected when creating the database in phpMyAdmin. Then, click Submit.
If all the database settings are correct, you can go ahead and click Run and Install. But if there are errors, you will see the details so you can rectify them before the installation process begins.
Once the installation is complete, click Log In.
Now, you have a fully functional WordPress installation on your Mac. It runs locally, and you can carry on with your WordPress project.
The Bottom Line
So these are the steps you must follow to install a WordPress development environment on your Mac. This will help you to finish your WordPress projects locally.

