


It can be very frustrating for visitors looking for information on your WordPress website to arrive at a 404 page. These pages are like trampolines, meaning visitors who land there will bounce; that is, bounce away from your site to that of the competition.

Fortunately, with just a bit of effort, you can tweak 404 pages on your website so as they display useful information to your visitors or help them locate the information they’re looking for.
At this stage, I’m taking it for granted that you actually do have a WordPress website. If you don’t, it wouldn’t be a bad idea to consider creating one for yourself or your business.
In this case, your first step will be to choose a name that totally identifies with your brand and search to see if it’s available to use. There are lots of domain search tools online to use for quick results.
Then, you can go about creating your very own WordPress website.
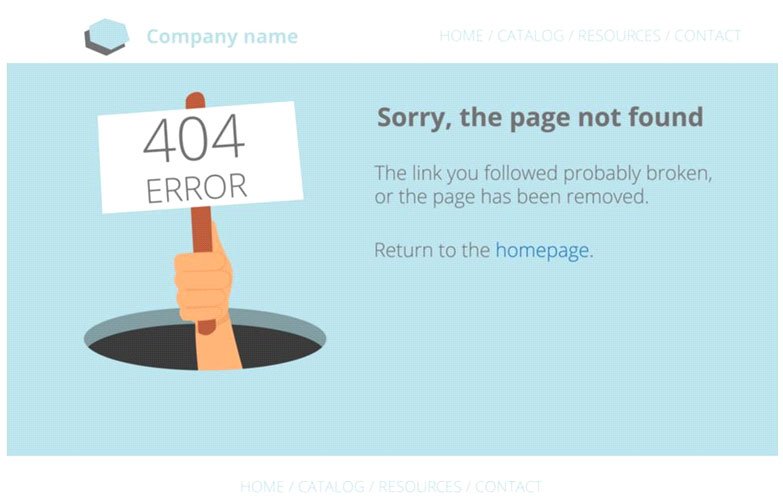
What is a 404 error page?
A 404 error page is what shows up on your website when the page a visitor is attempting to reach cannot be found.
There are several reasons why this can happen:
- A page has been temporarily moved, removed or completely deleted
- A page belongs to a URL or link that was incorrectly spelt or broken
- A page belongs to a restricted part of the website
- .htaccess error
- Block imposed by ISP or software
- Incorrectly installed SSL certificate


How does WordPress handle 404 pages?
404 pages are not unique to WordPress alone. Every dynamic website handles requests that cannot be found, though the idea is essentially the same. When WordPress discovers that the page being requested does not exist, another page is produced in place of the requested one.
It will first check for an existing 404 template in the active theme. If such a template is found, it will display its content as a 404 page.
However, if there is no 404 template in the active theme, it will look into the default theme’s index.php file and follow the instructions (contained within) that tells it what to do when a page cannot be found.
In many cases, the active theme does have a 404 template. The only problem is that more often than not, it doesn’t contain any information that will help visitors get what they want.
Mostly, it only contains the information that states he page cannot be found, without any suggestion on how to move onwards or back. This can be disappointing to the visitor and might not just see them leave, but also have negative effects on your SEO efforts.
However, the good news is that it’s easy to create an engaging 404 page for your WordPress website that can provide useful information to visitors and possibly help them get what they came for. This involves creating a custom 404 page for your WordPress website.

Creating a custom 404 page
Before designing a custom 404 error page, there are a few considerations to have in mind. Firstly, you have to decide what information will feature on your new 404 page that can engage your user, so that they don’t leave without getting what they came for.
For example, if the URL to your web page originally reads “www.freeparking.co.nz/domain-names/search/” and a user doesn’t spell the ‘search’ or ‘domain’ right, the 404 page should have information redirecting them to the actual page.
To further help you, here are a few suggestions:
- Page not found: You can decide to keep the information to the barest minimum and simply inform your visitors that the page they are looking for cannot be found or does not exist. You can also opt for a more humourous tone by using something like “Oops, lost your way?” or “It appears something went wrong and we can’t find the page you’re looking for”. Even though opting for something like the above will convey the message perfectly, it doesn’t do anything different from your default 404 page and so doesn’t inform your visitors how to proceed.
- Suggest other content: You can use the custom 404 error page to suggest other content to your visitors. For example, something along the lines of: “Sorry, we can’t find the page you’re looking for at the moment, but you may want to try the links below”. This is where you can place links to other pages, categories and archives on your WordPress website.
- Display a search box: Displaying a search box in your website’s 404 error page is the best way to keep your visitors on the site. They can use the search box to type in a query for the content they need and choose from the results that subsequently appear. A good 404 page actually uses a combination of these three suggestions.
Creating a custom 404 page using WordPress plugin
WordPress makes it very easy to have a 404 page that can engage your visitors and keep them on your website for longer.
Additionally, these plugins are easy to install and you need little or no technical expertise to set a custom 404 page up using a WordPress plugin.
There are tons of plugins that you can use to create a custom 404 page or even redirect users back to your homepage once they click on a link that does not exist. For the purpose of this article, we will be using 404 page plugin as an example.
First, login to your WordPress admin dashboard using your administrator login credentials. Navigate to plugins – add new plugin on the admin menu by the left side of the window.
After the plugin page opens, in the search box provided, type in ‘404 page plugin’ and hit ‘Enter’.
You will now see the plugin appear in the list of plugin results.
Check to see that your WordPress version is supported, then click on the ‘Install’ button beside the plugin description.
After a moment, the ‘Install’ command will change to ‘Activate’. Hit the ‘Activate’ button to activate the installed plugin.
Now head over to the plugin setting page to configure how the plugin will work. For instance, you can choose the page that will be displayed when a 404 error occurs or you can manually type in the information.
Here, you can also choose if you want the custom 404 page to load automatically, overriding the default 404 page.
You can also add useful links, helpful content and anything else you feel will help visitors to your site.
Remember to backup your WordPress website before you start.