Modeling PRO WordPress Theme Documentation
Thank you for purchasing Modeling PRO WordPress Theme. This documentation consists of several parts and shows you the entire process of setting up and customizing a WordPress theme. If you have any questions that are beyond the scope of this help file, please refer to the Support section. Thanks so much!
WordPress is a free and open source blogging tool and a content management system (CMS) based on PHP and MySQL. It enables you to build Websites and powerful on-line applications and requires almost no technical skills or knowledge to manage. Many aspects, including its ease of use and extensibility, have made WordPress the most popular Web site software available.
Creating a website with WordPress is significantly much easier than coding it by yourself. if you are a beginner, even working with WordPress may be difficult to you. That's why, in this section we will provide some useful links and also will explain how to get oriented in the documentation and what pattern to follow when building your website with our theme. Please note that this documentation covers all the main settings for the theme, but it doesn't cover instructions about working with WordPress, as this is a very extensive topic. If you are new to WordPress, we would recommend to first get familiar with the WordPress system, so you can have at least basic knowledge about how it works and then proceed with setting the theme.
1. Theme Installation
a. Through WordPress Dashboard
- Go to the menu Appearance > Themes and click on Add New button.
- Click on Upload Theme button.
- Click on Browse button and navigate to the unzipped theme package on your computer.
- Look for a file called modeling-pro.zip Click on it to select, then click OK.
- Click on Install Now button and wait until the installation is complete.
- Click on Activate link to activate the theme on your WordPress site.
- Go to Appearance >> Theme Options >> Restore Default.
b. Manual Installation using FTP client
If you know the FTP login details of the server where your site is hosted and you have a FTP client installed (such as FileZilla), you might consider using this way of uploading your theme.
- Unzip the modeling-pro.zip file
- Using an FTP client to access your host web server. Go to /wp-content/themes
- Upload theme to /wp-content/themes/
- Go to Appearance -> Themes and activate theme from Dashboard.
You can activate the theme after it is uploaded on the server. In order to activate this theme you have to go to the admin panel » Appearance » Themes. In this section you should see the theme with a title Modeling PRO. Just click on the Activate button and your theme should get activated.
2. Homepage Setup
After activating the Modeling PRO theme, please setup homepage using following
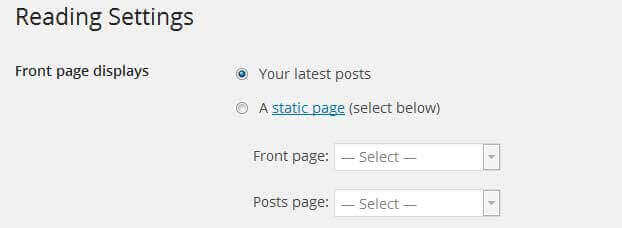
- Go to Settings -> Reading -> Front page displays
- Click on radio button of Your latest posts
- Go to Appearance -> Theme Options and click on Restore Defaults in bottom side
3. The header
The header consists of three main elements:
- Contact info & social media
- Site Name / Logo
- Menu

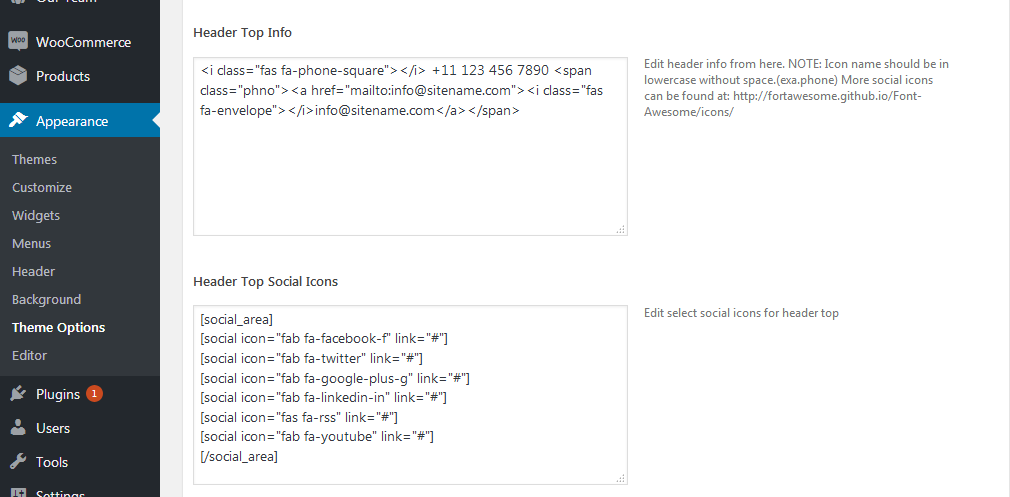
a. Contact info & social media
To customize the top header bar of contact information social media links
Go to Appearance » Theme Options » Header Top Info
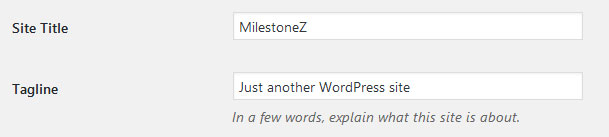
b. Changing the site name / logo
If you don't have your logo image then you can use site name and tagline. To change site name and tagline
Go to Settings » General » Site Title
OR if you want to uplaod logo for your website go to
Appearance » Theme Options » Basic Settings » Logo
You can also increase logo image height as per your requirement.
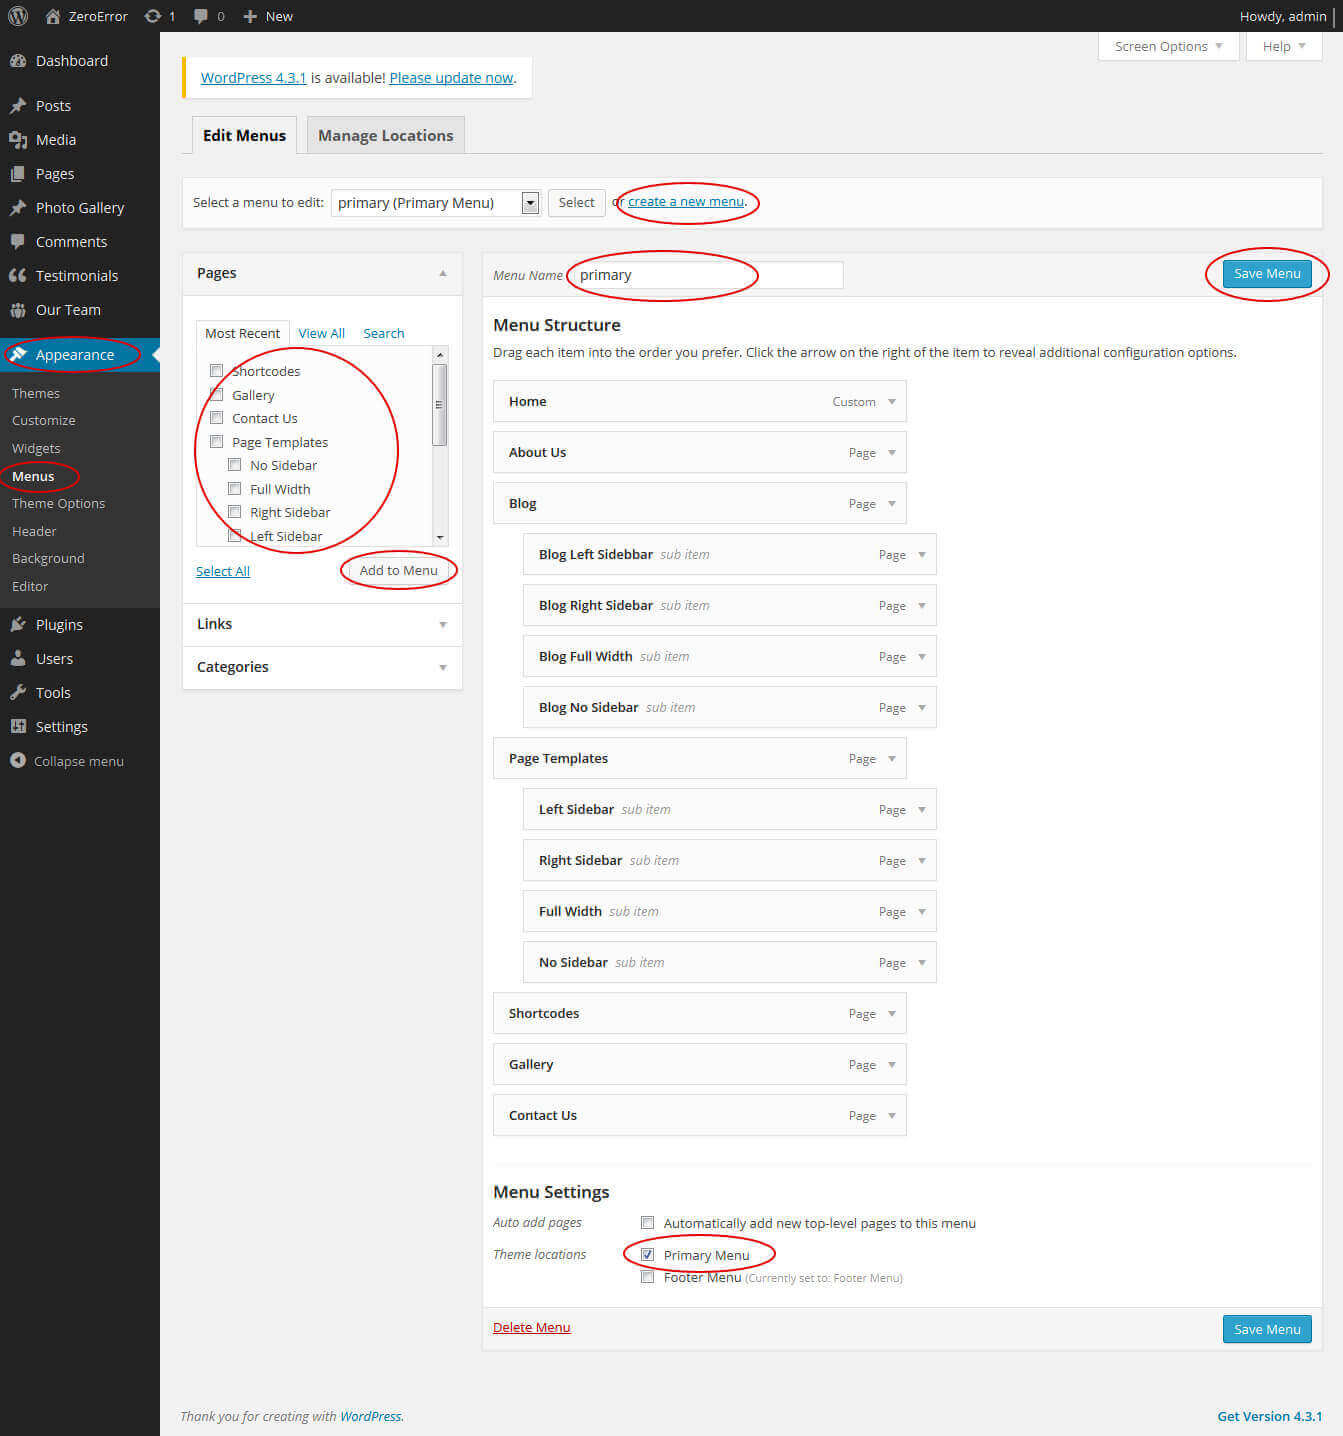
c. Setting the menu
- First of all create pages from Pages >> Add new page
- Go to Appearance >> Menu
- Click on Create a new menu link
- Give a name to your menu in Menu name and click save menu button
- Once you have create menu. You need to add pages by selecting with checkboxes. After adding menu list you can arrange it by drag and drop.
- Select menu theme locations Primary Menu from Menu Settings
- Click Save Menu after adding required pages, categories in the menu
4. Homepage Slider
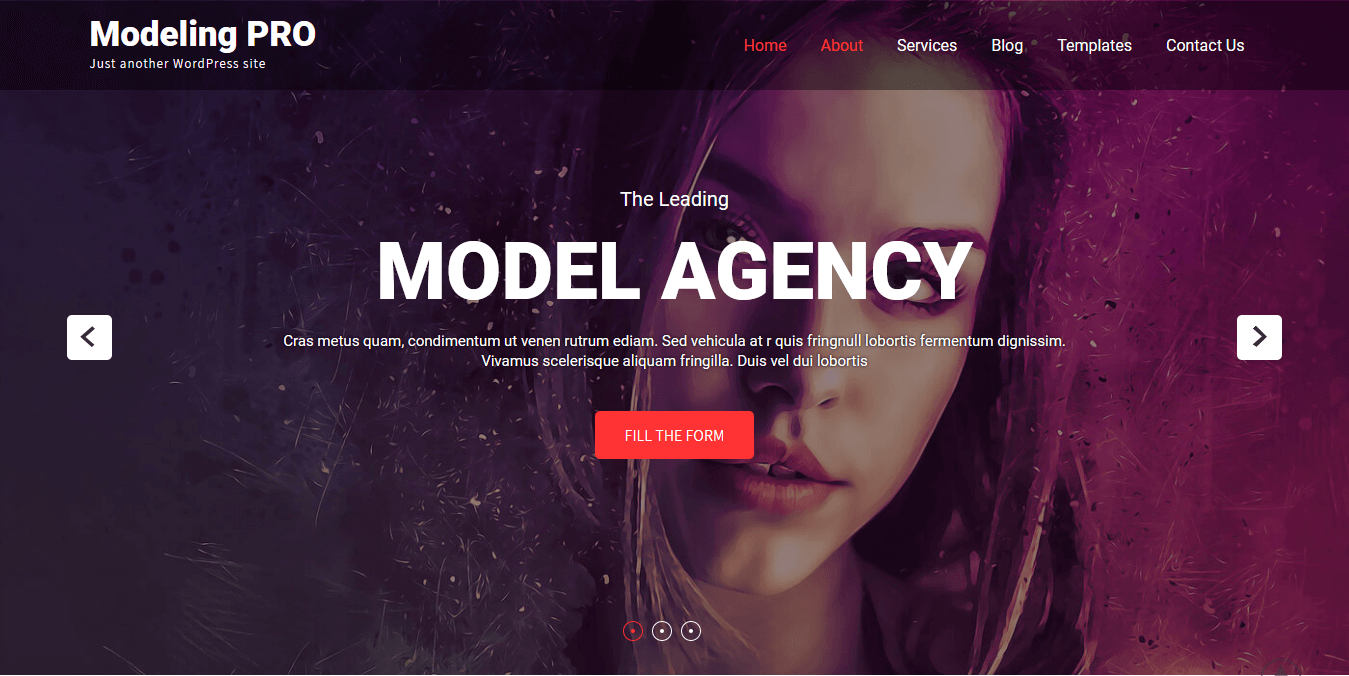
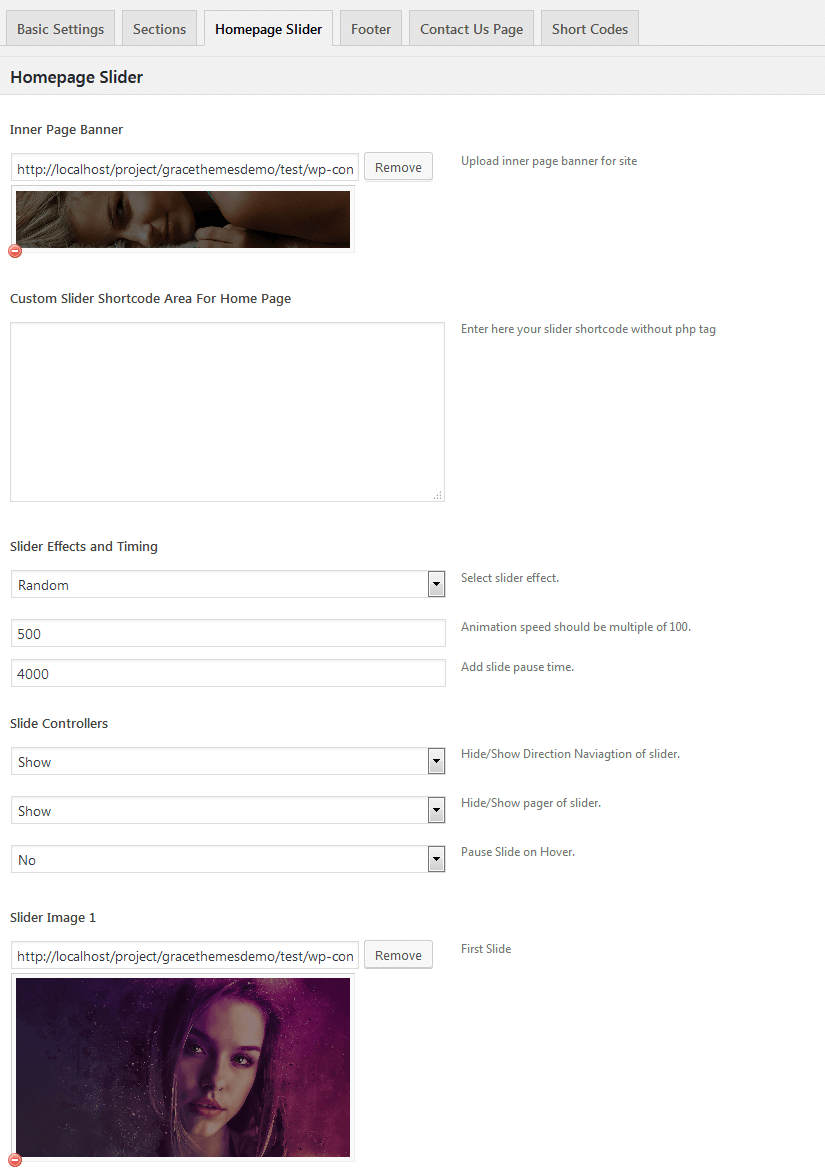
In order to add slides to homepage slider: Go to Appearance » Theme Options » Homepage Slider
For each slide there are different options that you can apply.
- You can change Slider Effects and Timing.
- You can change Slider Animation speed, pause time
- You can change Slider Hide/Show Direction Naviagtion of slider.
- You can change Slider Hide/Show pager of slider.
- You can change Slider Pause Slide on Hover.
- Default image for slider is 1400 × 700 pixels
If you don't want to use this default image slider, you can use any image slider WordPress plugin
- Go to Appearance » Theme Options » Homepage Slider » Custom Slider Shortcode Area For Home Page
- Enter your slider shortcode which is provided by plugin without php tag
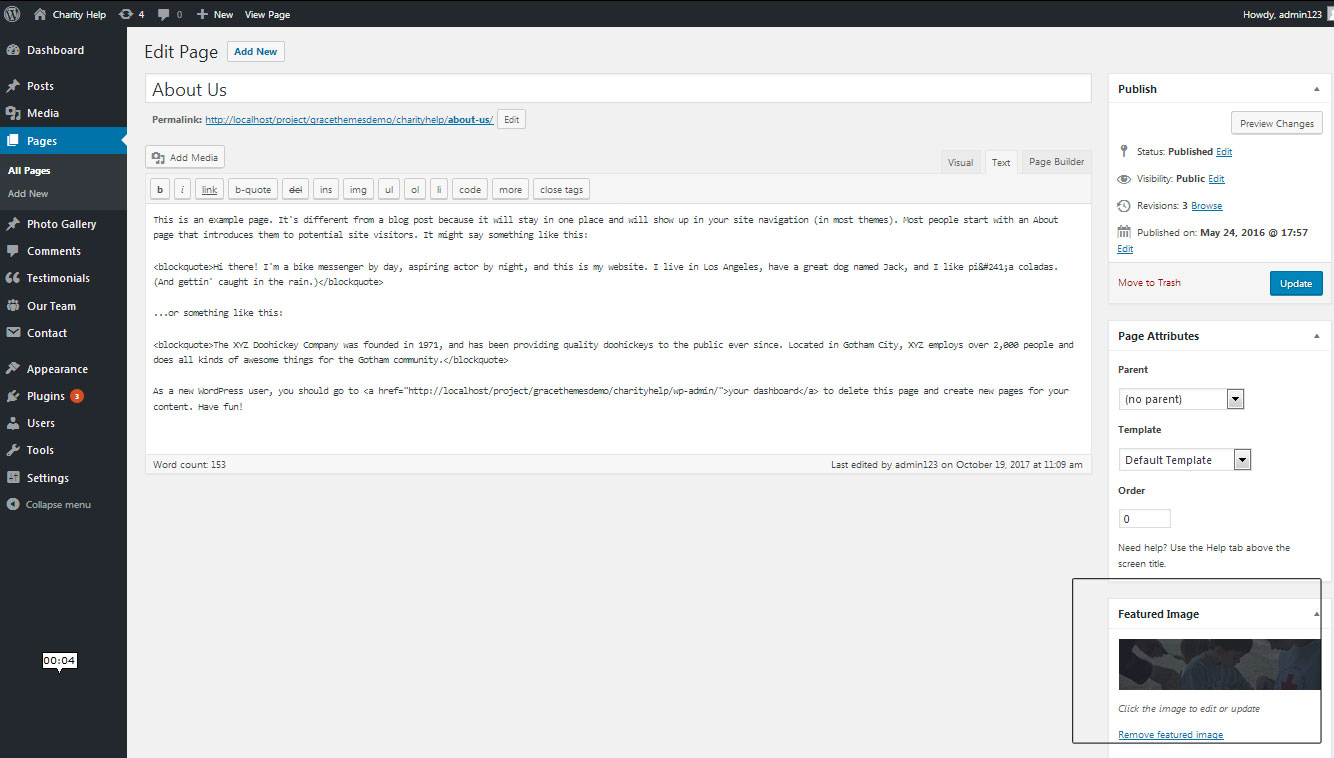
5. Inner Page Banner

To change inner page banner image: Go to Appearance » Theme Options » Homepage Slider » Inner Page Banner
To set different banner image for each individual page
- Edit that page and set Featured Image
- Default image size for inner page banner image is 1400 x 350 pixels
6. Homepage Section
a. Welcome

To manage this section
- Create page from Page » Add New
- Add Title and Description of the page
- Go to Appearance » Theme Options » Sections » Welcome to Website Section
- Select Page for to display in this section
- Upload image
b. New Models

To manage this section
- Create pages from Page » Add New
- Add Title and Description of the page
- Go to Appearance » Theme Options » Sections » Four Box Services Section
- Select Page for to display in this section
- Upload image of your models
c. Professional Advice
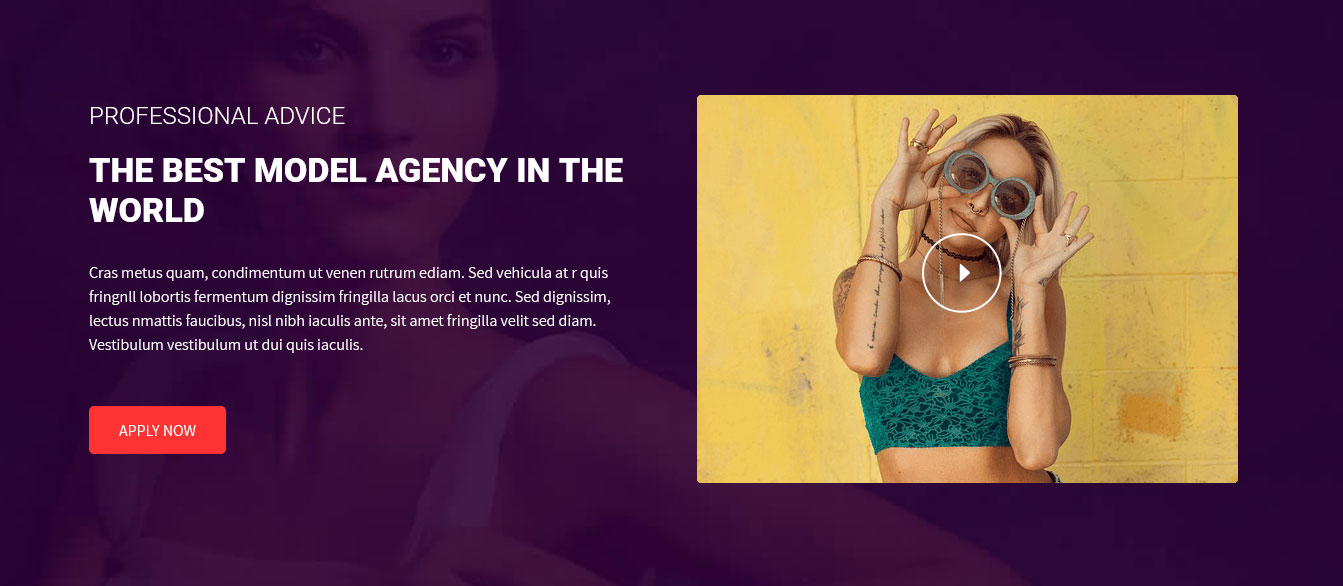
To manage this section go to Appearance » Theme Options » Sections » Section 1
Shortcode:[column_content type="one_half"][innertitle size="34px" color="#ffffff" span="Professional advice" description="The best model agency in the world"]Cras metus quam, condimentum ut venen rutrum ediam. Sed vehicula at r quis fringnll lobortis fermentum dignissim fringilla lacus orci et nunc. Sed dignissim, lectus nmattis faucibus, nisl nibh iaculis ante, sit amet fringilla velit sed diam. Vestibulum vestibulum ut dui quis iaculis. [button align="left" name="APPLY Now" link="#" target=""] [/column_content] [column_content type="one_half_last"][custom-video youtubeid="qurBknnG5Ts" image="http://sitename.com/wp-content/themes/modeling-pro/images/video-cover.png"][/column_content]
To display YouTube video in this section, you need YouTube video ID and Video image
- To find your YouTube video ID. First, go to the YouTube webpage. Look at the URL of that page, and at the end of it, you should see a combination of numbers and letters after an equal sign (=).

- To upload YouTube video image Go to Media -> Add New and copy full path of uploaded image
- Add your YouTube video ID in youtubeid=""
- Add your YoutTube video image URL in image=""
- Video Shortcode:
[custom-video youtubeid="qurBknnG5Ts" image="http://sitename.com/wp-content/themes/modeling-pro/images/video-cover.png"][/column_content]
d. Specialities
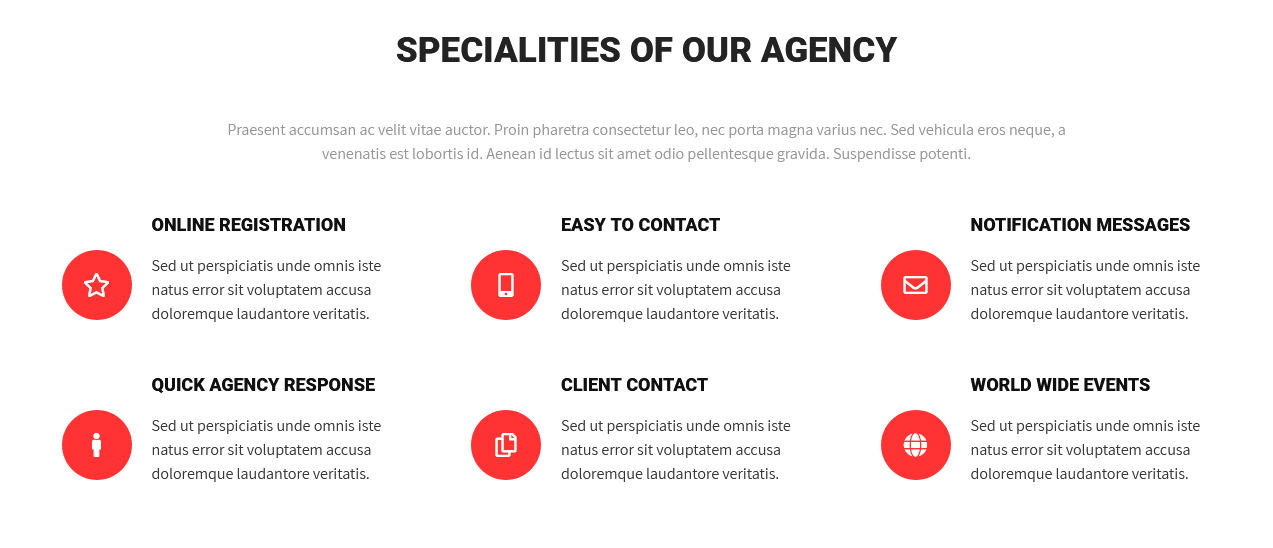
To manage this section go to Appearance » Theme Options » Sections » Section 2
Shortcode/Content:[subtitle color="#969696" size="16px" description="Praesent accumsan ac velit vitae auctor. Proin pharetra consectetur leo, nec porta magna varius nec. Sed vehicula eros neque, a venenatis est lobortis id. Aenean id lectus sit amet odio pellentesque gravida. Suspendisse potenti."] [column_content type="one_third"]<i class="far fa-star"></i> <h4>online registration</h4>Sed ut perspiciatis unde omnis iste natus error sit voluptatem accusa doloremque laudantore veritatis. [/column_content] [column_content type="one_third"]<i class="fas fa-mobile-alt"></i> <h4>Easy to contact</h4>Sed ut perspiciatis unde omnis iste natus error sit voluptatem accusa doloremque laudantore veritatis. [/column_content] [column_content type="one_third_last"]<i class="far fa-envelope"></i> <h4>Notification messages</h4>Sed ut perspiciatis unde omnis iste natus error sit voluptatem accusa doloremque laudantore veritatis. [/column_content] [column_content type="one_third"]<i class="fas fa-male"></i> <h4>Quick agency response</h4>Sed ut perspiciatis unde omnis iste natus error sit voluptatem accusa doloremque laudantore veritatis. [/column_content] [column_content type="one_third"]<i class="far fa-copy"></i> <h4>Client Contact</h4>Sed ut perspiciatis unde omnis iste natus error sit voluptatem accusa doloremque laudantore veritatis. [/column_content] [column_content type="one_third_last"]<i class="fas fa-globe"></i> <h4>World Wide Events</h4>Sed ut perspiciatis unde omnis iste natus error sit voluptatem accusa doloremque laudantore veritatis. [/column_content]
In order to change Font Awesome icons in this section:
- Find class="far fa-star" and replace "far fa-star" with your icon name
- Use icon only from Font Awesome
- Icon name should be in lowercase letter
e. Modeling Agency
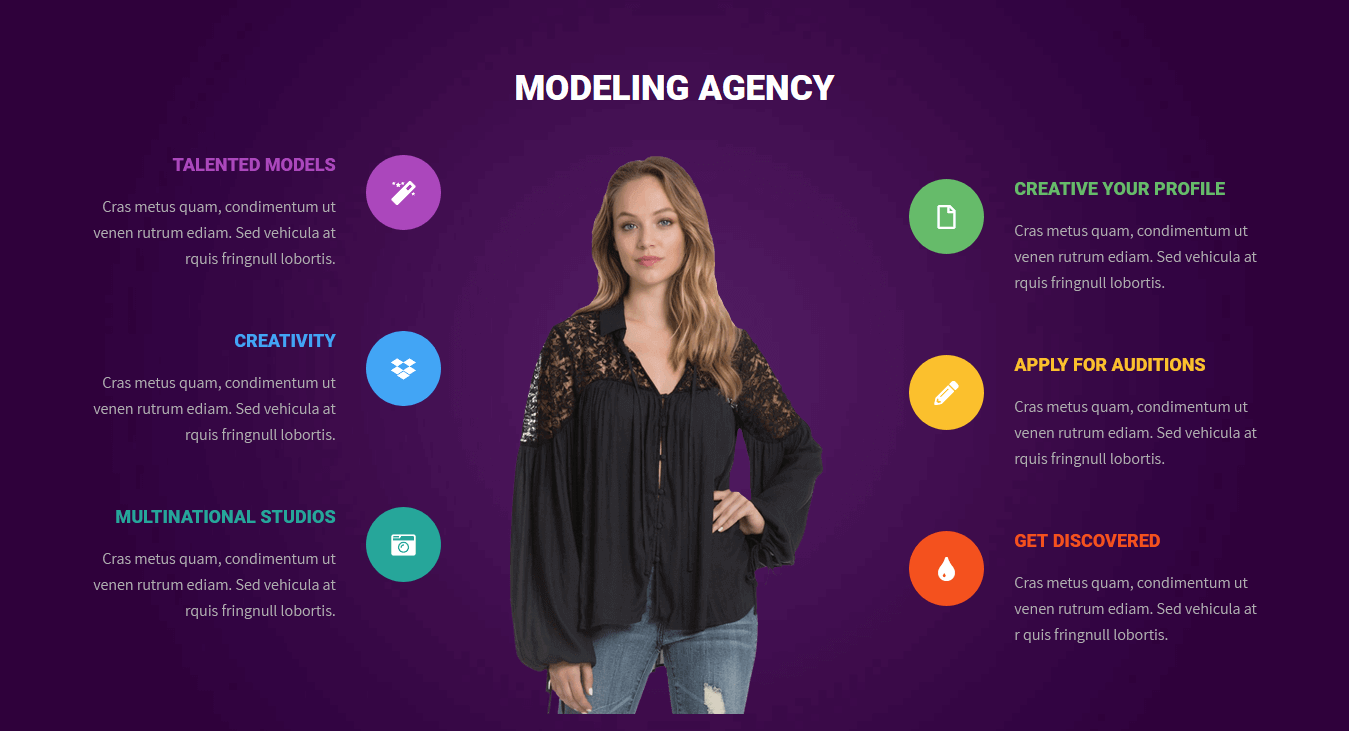
To manage this section go to Appearance » Theme Options » Sections » Section 3
Shortcode/Content:[column_content type="one_third"][model-services class="bx1" bgcolor="#ab47bc" title="talented models" icon="fas fa-magic" description="Cras metus quam, condimentum ut venen rutrum ediam. Sed vehicula at rquis fringnull lobortis."] [model-services class="bx2" bgcolor="#42a5f5" title="Creativity" icon="fab fa-dropbox" description="Cras metus quam, condimentum ut venen rutrum ediam. Sed vehicula at rquis fringnull lobortis."] [model-services class="bx3" bgcolor="#26a69a" title="Multinational Studios" icon="fas fa-camera-retro" description="Cras metus quam, condimentum ut venen rutrum ediam. Sed vehicula at rquis fringnull lobortis."] [/column_content] [column_content type="one_third"]<img src="http://sitename.com/wp-content/themes/modeling-pro/images/model01.png" />[/column_content] [column_content type="one_third_last"] [model-services class="bx4" bgcolor="#66bb6a" title="Creative your profile" icon="far fa-file" description="Cras metus quam, condimentum ut venen rutrum ediam. Sed vehicula at rquis fringnull lobortis."] [model-services class="bx5" bgcolor="#fbc02d" title="Apply for auditions" icon="fas fa-pencil-alt" description="Cras metus quam, condimentum ut venen rutrum ediam. Sed vehicula at rquis fringnull lobortis."] [model-services class="bx6" bgcolor="#f4511e" title="Get Discovered" icon="fas fa-tint" description="Cras metus quam, condimentum ut venen rutrum ediam. Sed vehicula at r quis fringnull lobortis."] [/column_content]
In order to change Font Awesome icons in this section:
- Find class="fab fa-dropbox" and replace "fab fa-dropbox" with your icon name
- Use icon only from Font Awesome
- Icon name should be in lowercase letter
f. Agency Talents
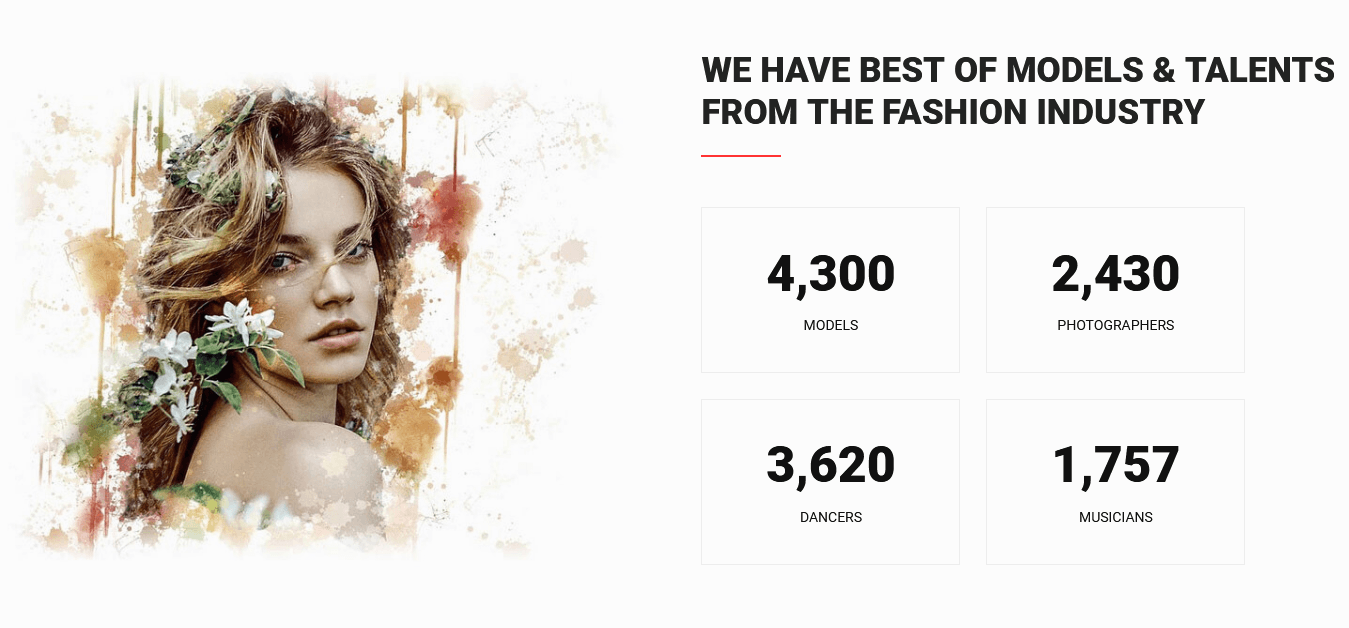
To manage this section go to Appearance » Theme Options » Sections » Section 4
Shortcode:[column_content type="one_half"] <img src="http://sitename.com/wp-content/themes/modeling-pro/images/countersection-thumb.jpg" /> [/column_content] [column_content type="one_half_last"] <h2 class="section_title">We have best of models & talents from the fashion industry</h2> [counter value="4,300" title="MODELS"][counter value="2,430" title="PHOTOGRAPHERS"][counter value="3,620" title="DANCERS"][counter value="1,757" title="MUSICIANS"] [/column_content]
g. Become a Model
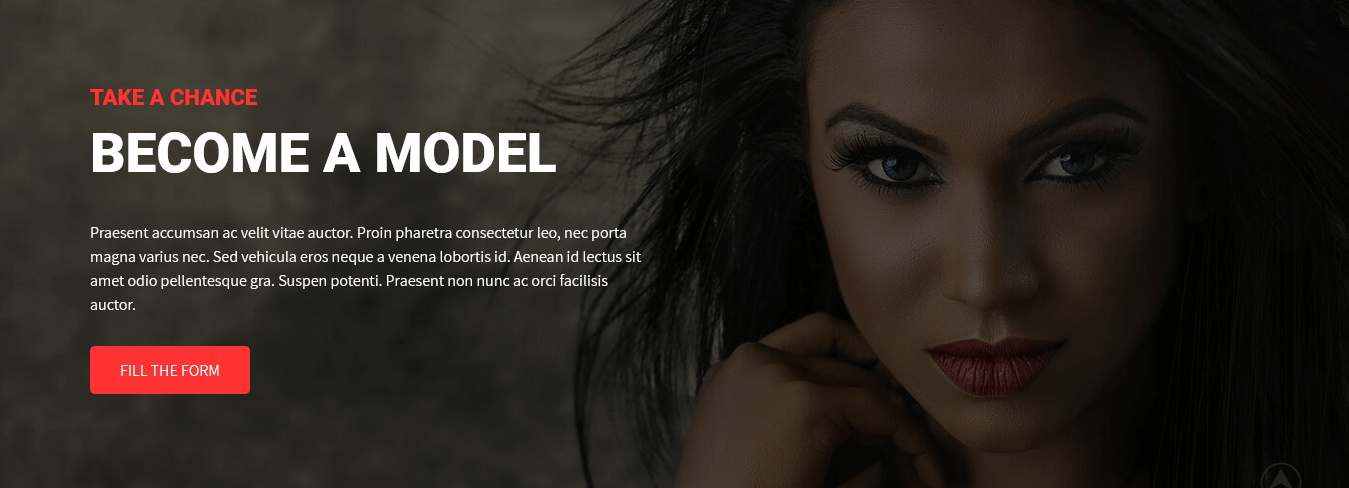
To manage this section go to Appearance » Theme Options » Sections » Section 5
Shortcode:[column_content type="becomeamodel"] <h2><span>take a chance</span> Become a Model</h2>Praesent accumsan ac velit vitae auctor. Proin pharetra consectetur leo, nec porta magna varius nec. Sed vehicula eros neque a venena lobortis id. Aenean id lectus sit amet odio pellentesque gra. Suspen potenti. Praesent non nunc ac orci facilisis auctor. [button align="left" name="Fill the Form" link="#" target=""] [/column_content]
h. Latest Trends

To display latest news
- Create new posts from Posts -> Add New
- Add Title, Description and set Featured Image
- To manage this latest posts section go to Appearance » Theme Options » Sections » Section 6
[latest-news showposts="4" date="show"]
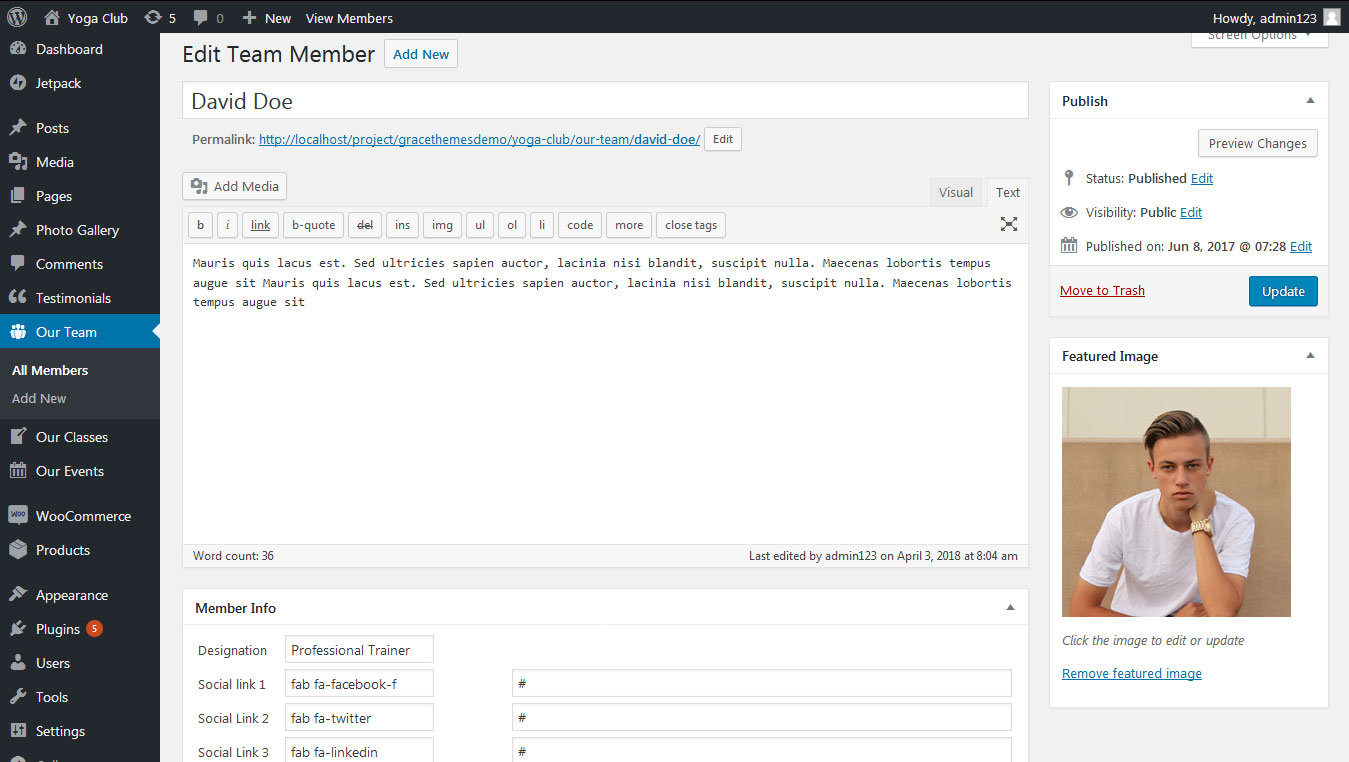
i. Team Members
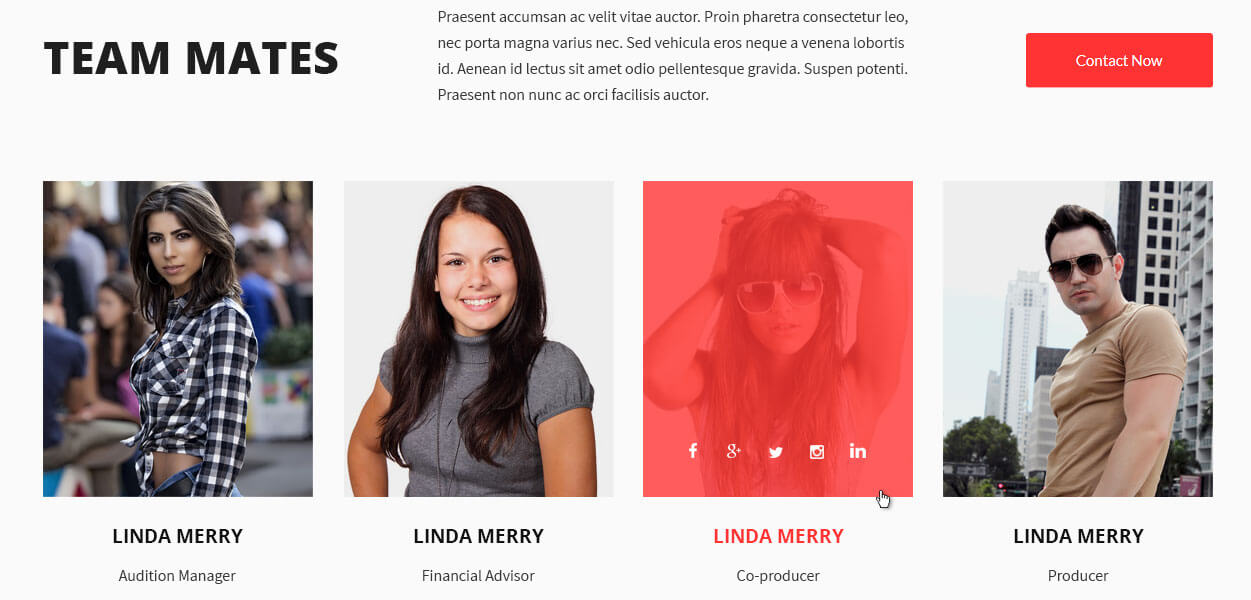
- Create new team member from Our Team -> Add New
- Add Title, Description, Member Information and set Featured Image
- To manage this section go to Appearance » Theme Options » Sections » Section 7
[column_content type="one_third"]
	<h2>Team Members</h2>
[/column_content][column_content type="one_third middle_wide"]Praesent accumsan ac velit vitae auctor. Proin pharetra consectetur leo, nec porta magna varius nec. Sed vehicula eros neque a venena lobortis id. Aenean id lectus sit amet odio dummy text pellentesque gravida. Suspen potenti. Praesent nonnunc lorem acodio facilisis auctor.
[/column_content][column_content type="one_third_last"][button align="right" name="Contact Now" link="#" target=""] [/column_content]
[space height="50px"]
[our-team show="4"]
j. Testimonials
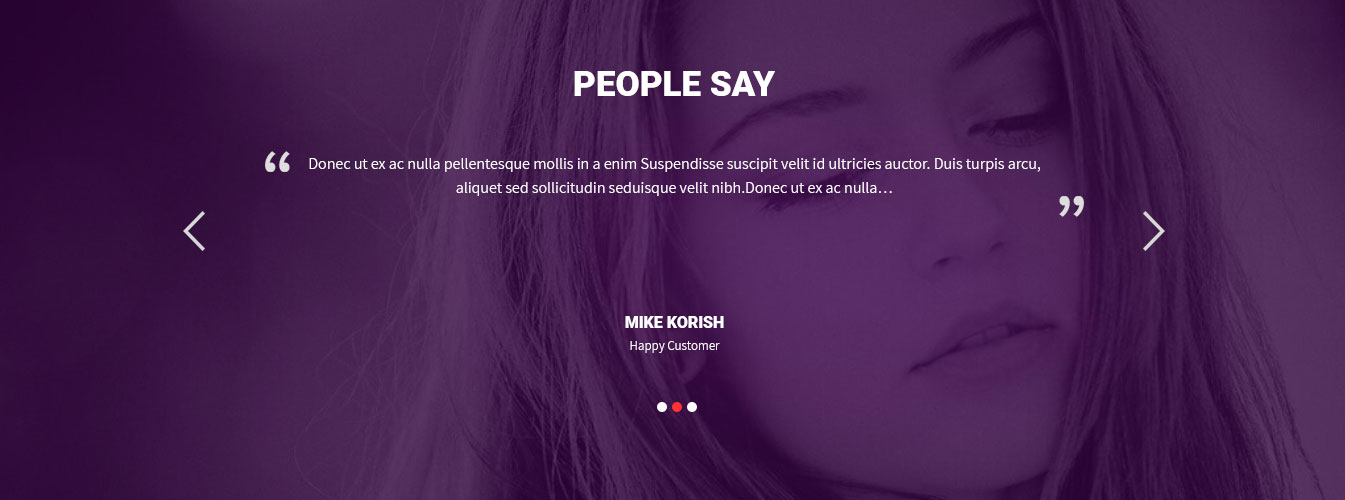
This section is used to display clients testimonials in your website
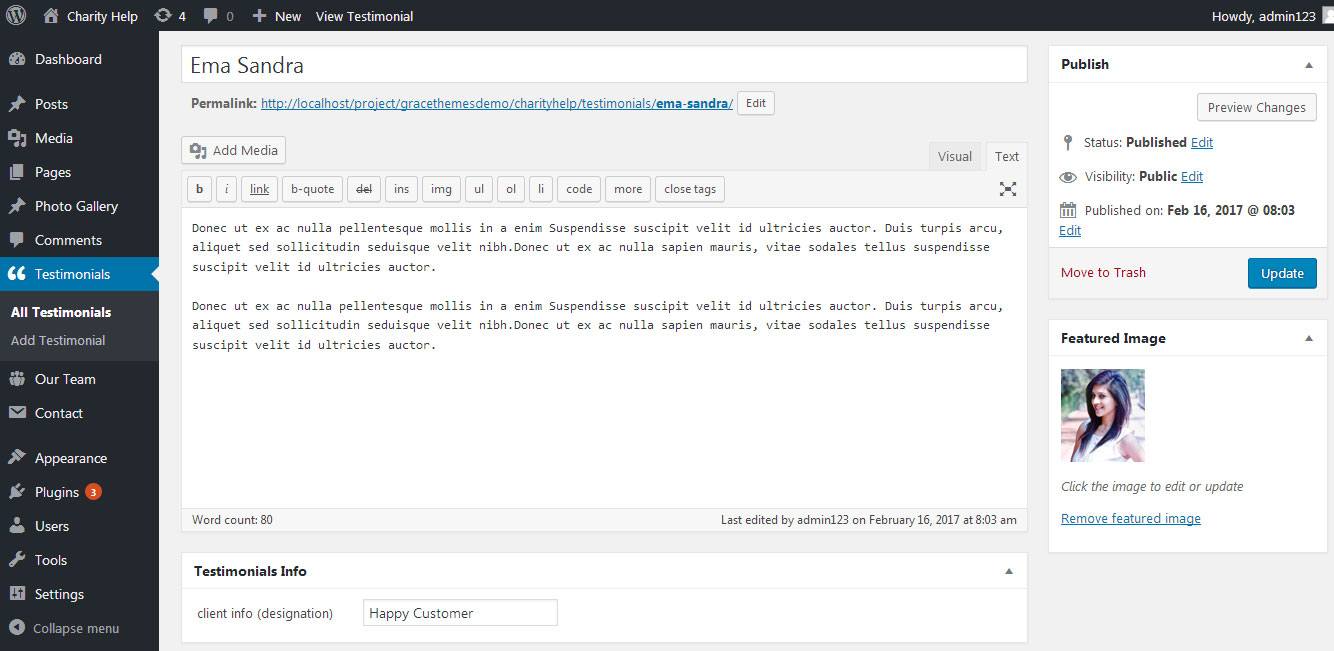
- Create new posts from Testimonials -> Add Testimonials
- Add Title, Description, Testimonials Info and set Featured Image
- To manage this section go to Appearance » Theme Options » Sections » Section 8
[testimonials]
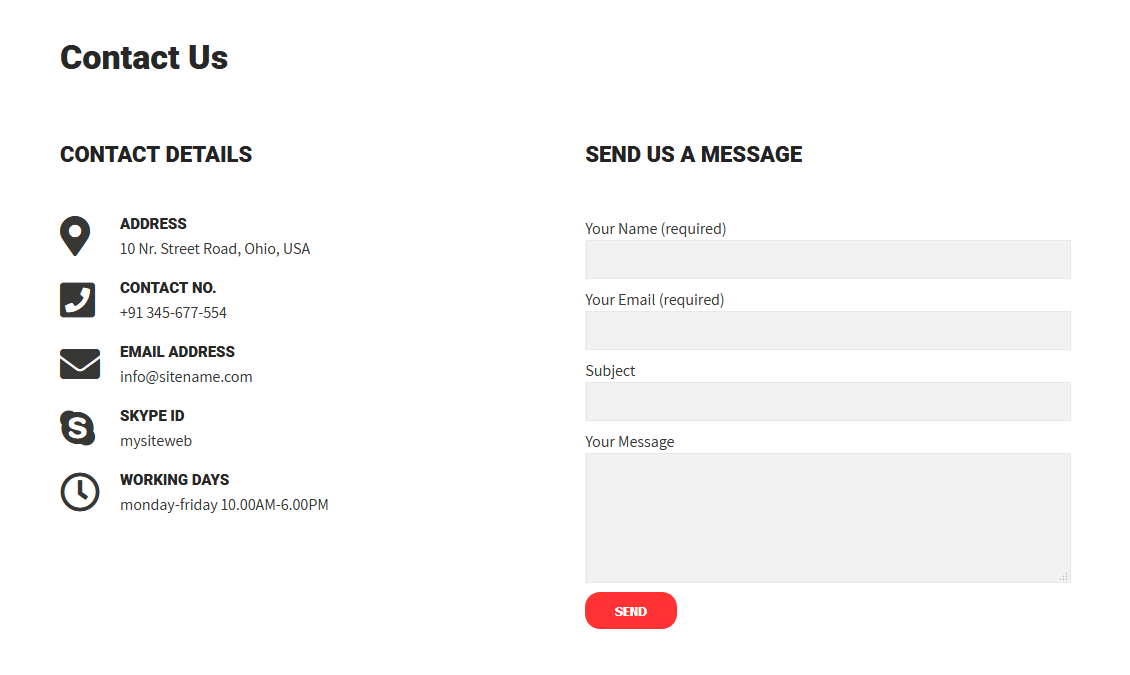
k. Contact Us
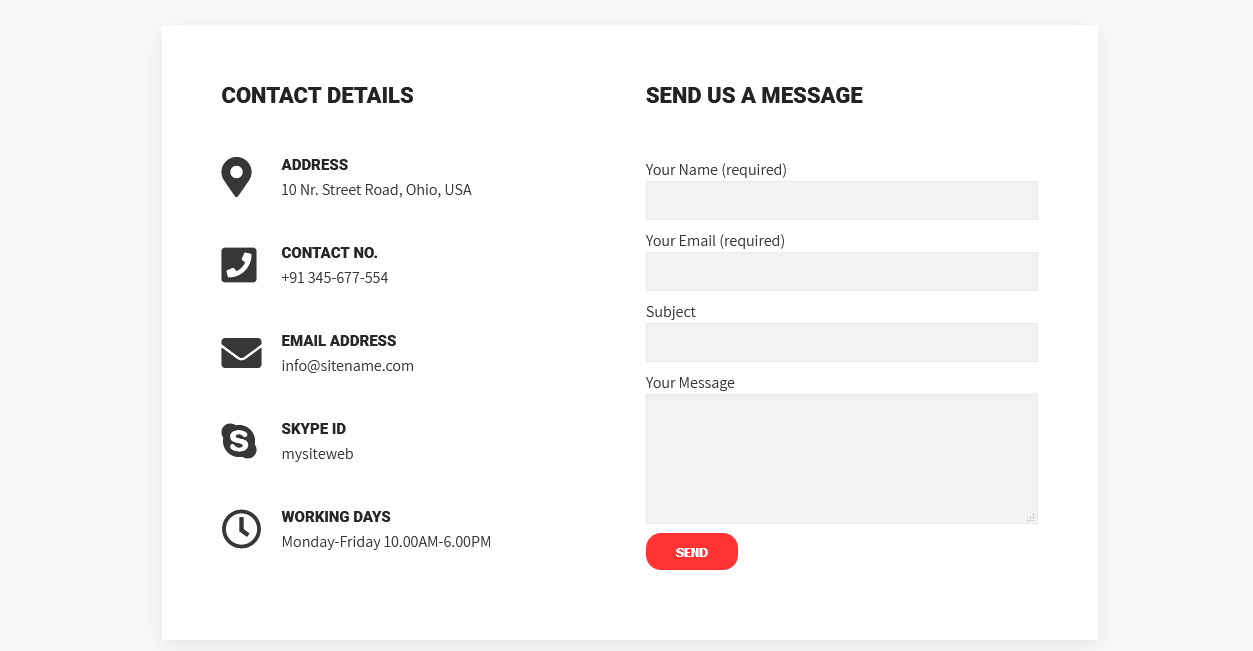
To manage this section go to Appearance » Theme Options » Sections » Section 9
Shortcode:[column_content type="one_half"] <h2 class="section_title">Contact Details</h2> [contact-details icon="fas fa-map-marker-alt" title="Address" info="10 Nr. Street Road, Ohio, USA"] [contact-details icon="fas fa-phone-square" title="Contact No." info="+91 345-677-554"] [contact-details icon="fas fa-envelope" title="Email Address" info="[email protected]"] [contact-details icon="fab fa-skype" title="Skype Id" info="mysiteweb"] [contact-details icon="far fa-clock" title="Working Days" info="Monday-Friday 10.00AM-6.00PM"] [/column_content] [column_content type="one_half_last"] <h2 class="section_title">Send Us A Message</h2> [contact-form-7 id="716" title="Contact form 1"] [/column_content]
To display contact form
- Install Contact Form 7 WordPress plugin
- Use below HTML form fields in contact form
<labe> Your Name (required) [text* your-name] </labe> <labe> Your Email (required) [email* your-email] </labe> <labe> Subject [text your-subject] </labe> <labe> Your Message [textarea your-message] </labe> [submit "Send"] - Add below code in Message Body of Mail Tab
From: [your-name] <[your-email]>
Number Of Guests: [your-guests]
Will Attend: [your-attend]

Message Body:
[your-message]
- Copy the form shortcode and use in Section 9
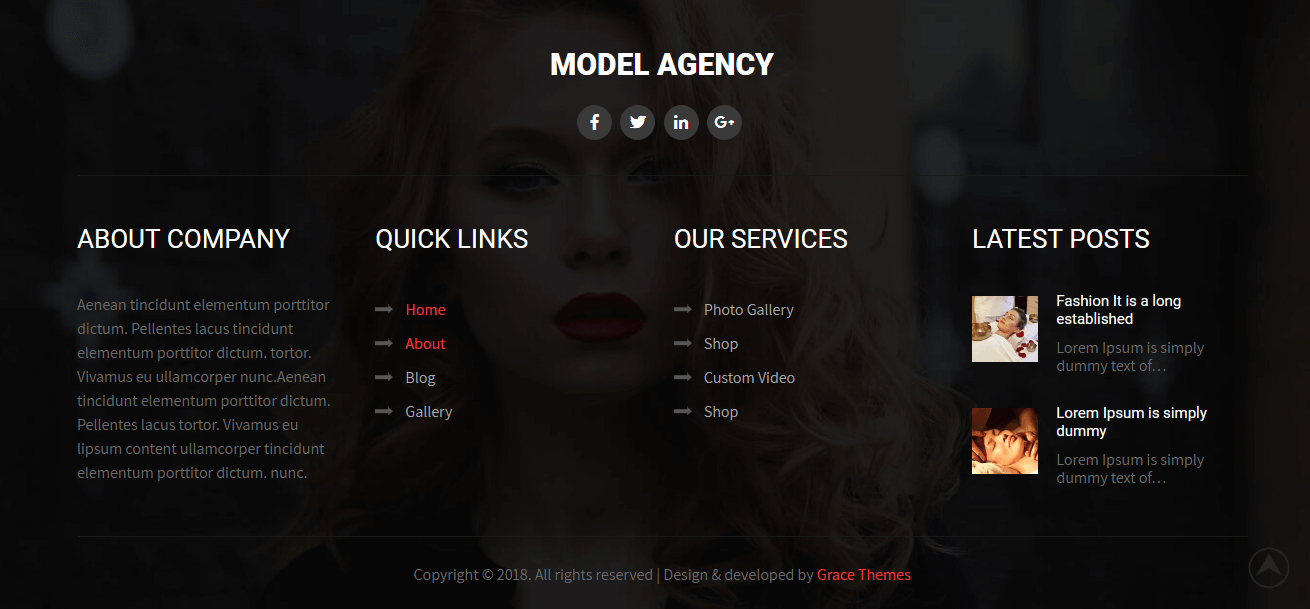
7. Footer
The Footer section consists of four main elements:
- Social Icons
- About Company
- Quick Links
- Our Services
- Latest Posts
- Copyright Text
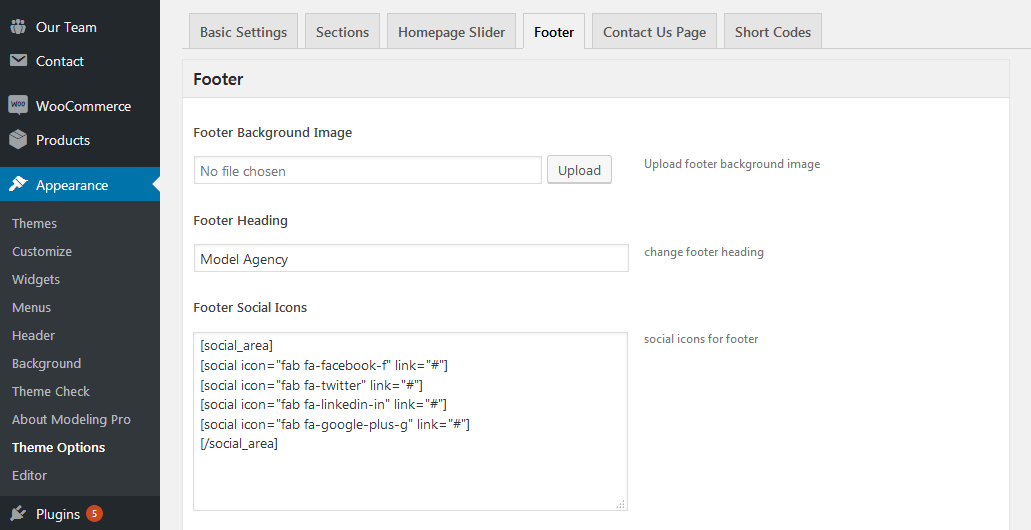
To manage footer section go to the Appearance » Theme Options » Footer
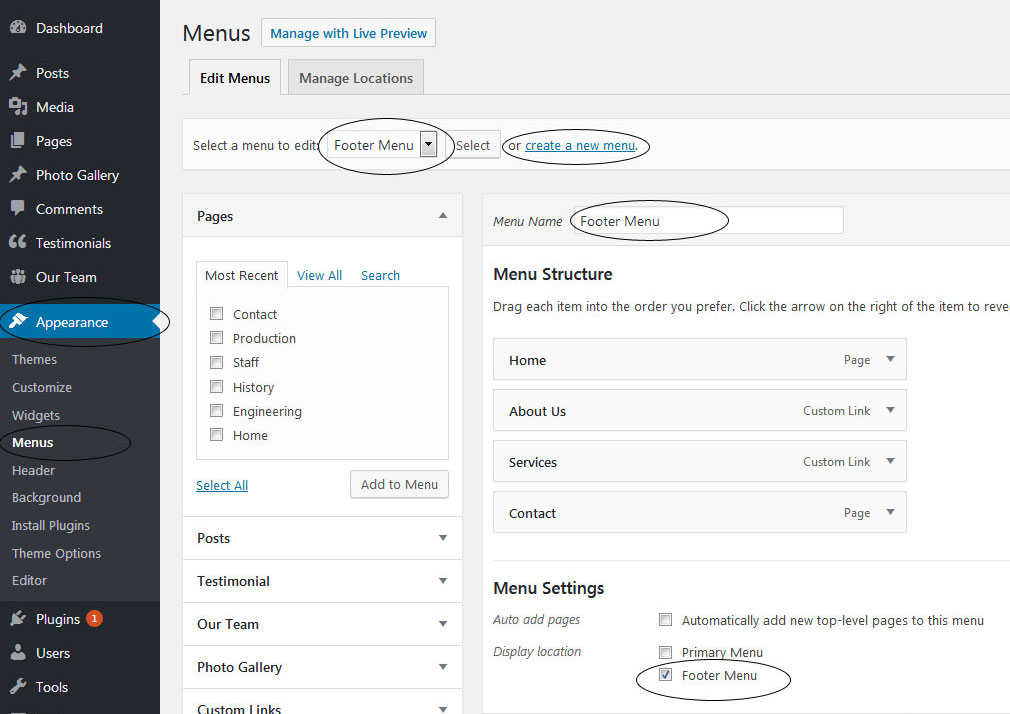
8. Setting footer menu
- Go to Appearance >> Menu
- Click on Create a new menu link to create footer menu
- Give a name to your menu (Footer Menu / Support Menu) in Menu name and click save menu button
- Add pages by selecting with checkboxes.
- Select Display location Footer Menu from Menu Settings
- Click Save Menu after adding required pages, categories in the menu
9. Photo Gallery
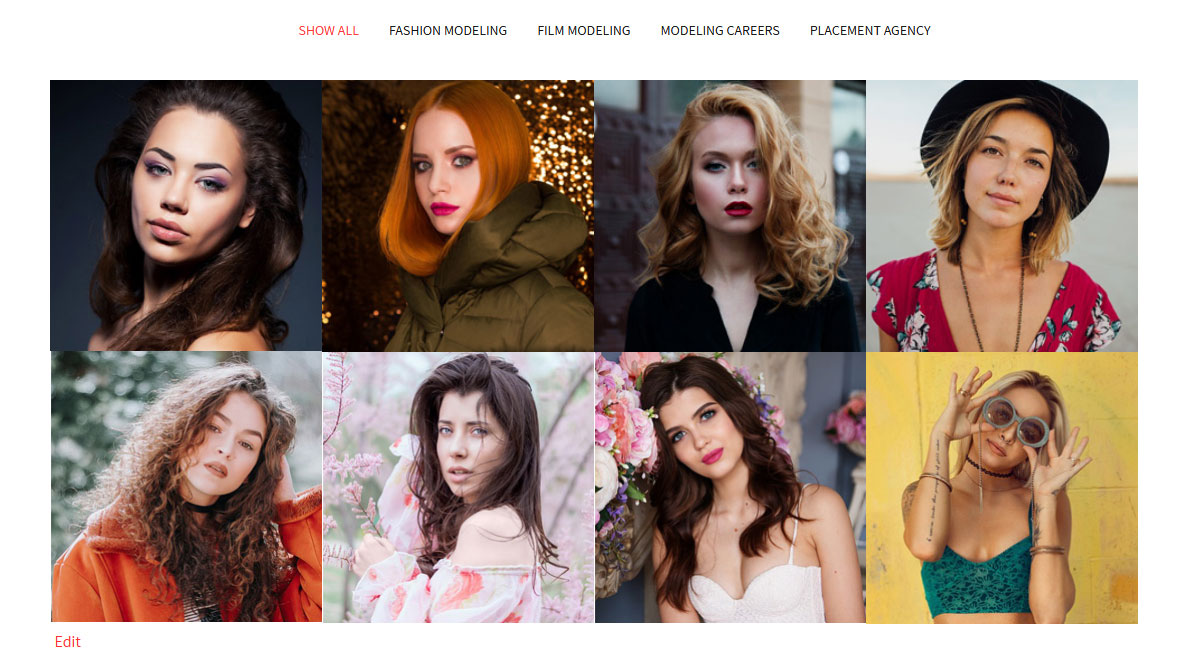
To display Photo Gallery in any of your page
- First of all add some photo from Photo Gallery -> Add New
- To create gallery category: Go to Photo Gallery -> Gallery Category (Category is optional)
- Add Title, select category and set Featured Image (This Featured image will display in photo gallery)
- Use this shortcode to display project gallery: [photogallery filter="true" show="8"]
- Set filter="false" to remove category filter in gallery
10. Contact Form
To display contact form in your website
- Create contact page from Pages » Add new page
- Select Contact Us Template from Page Attribute section
- To manage contact form, Go to Appearance » Theme Options » Contact Us Page
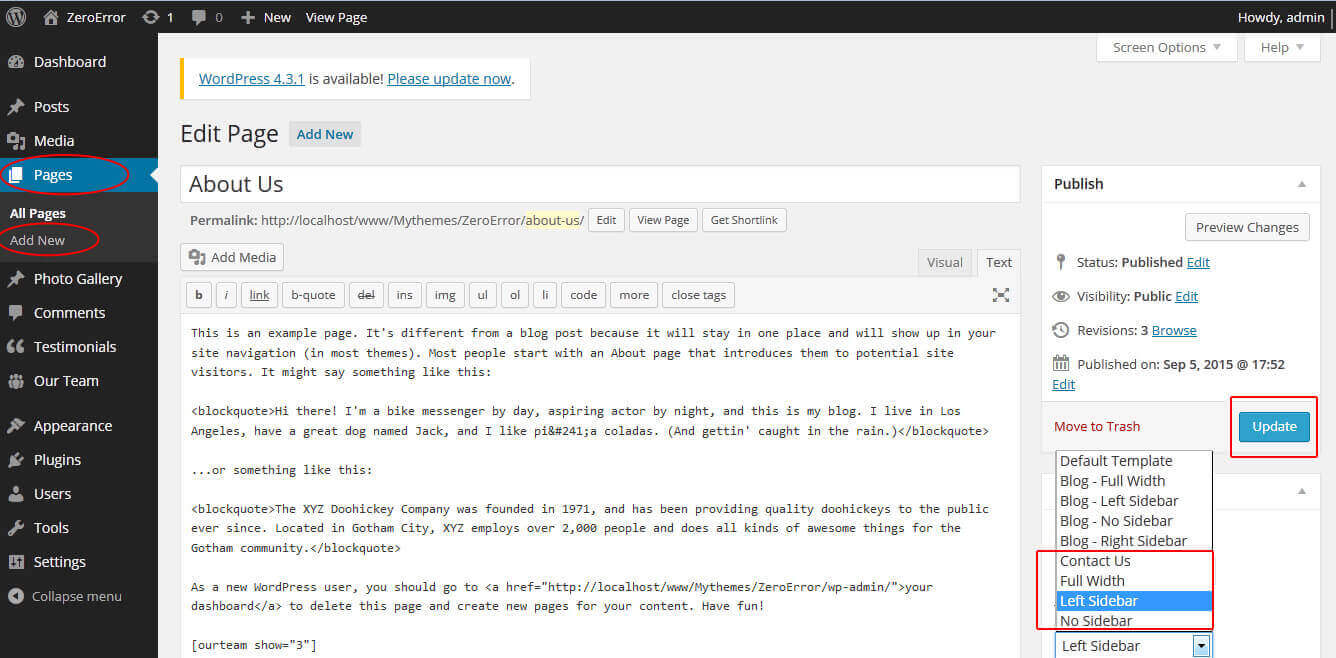
11. Page Templates & Sidebars
When you create a new page from the Pages » Add New section, the "Default Template" is assigned to the page by default. The default page template is a standard page template that can be with a sidebar or full-width layout and can contain custom content.
- Default Template
- Used to setting up the content on any page with Right Sidebar
- Left Sidebar
- Used to setting up the content on any page with Left Sidebar
- Full Width
- Used to setting up the content on any page without Sidebar
- No Sidebar
- Used to setting up the content in center on any page without Sidebar
- Contact Us
- Used to setting up the contact page.
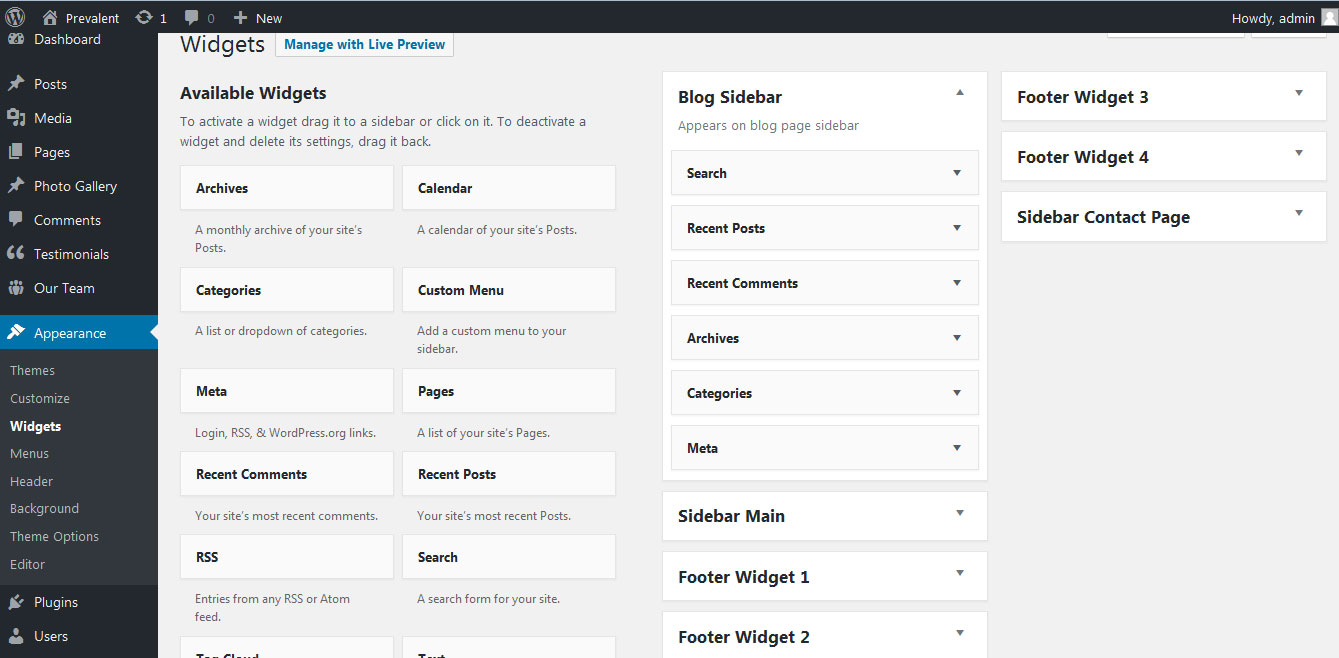
12. Widgets
The WordPress widgets are used to manage sidebars:
- Can manage sidebar from widgets (exa. blog sidebar and main sidebar)
- Footer section can manage from footer widgets 1,2.3,4
13. Shortcodes
To view all shortcodes go to Appearance » Theme Options » Short Codes:
- Photo Gallery:
[photogallery filter="true" show="8"] - Testimonials:
[testimonials] - Testimonials Listing:
[testimonials-listing show="10"] - Contact Form:
[contactform to_email="[email protected]" title="Contact Form"]
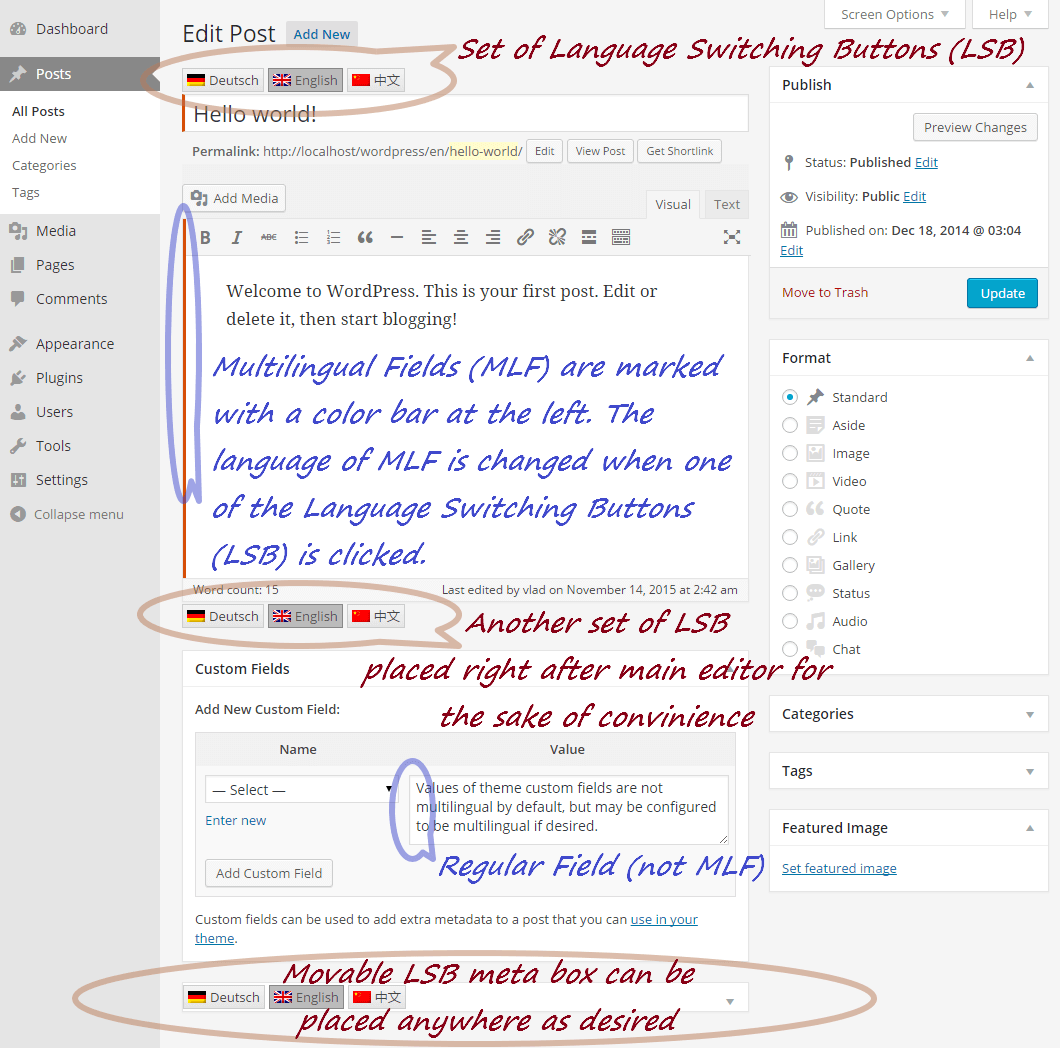
14. Multilingual
This theme is ready for translation - it comes with a .po file that contains all the embedded into the theme strings.
It supports multiple languages. The qTranslate X WordPress plugin offers a way to maintain dynamic multilingual content on a WordPress site.
How to make your website translate ready?
- Install qTranslate X WordPress plugin
- Used following code for making text translate ready - [:en]English Text[:de]Deutsch Text[:]
- Viewing in Dutch used website url : http://www.yourwebsiteurl.com/de/
- Viewing in English used website url : http://www.yourwebsiteurl.com/en/
To translate Homepage sections Title, Content, Button texts, Read more texts
- Go to Appearance -> Theme Options -> Basic Settings
- Go to Appearance -> Theme Options -> Sections -> Section 1 -> Section Title / Content
- and use below code for making text translate ready
- [:en]English Text[:de]Deutsch Text[:]
15. Support
If you have any questions regarding our WordPress themes, you can contact us through our support forum or you can mail us at [email protected] Our support team is always ready to help you with any problems of customization or compatibility you may encounter.
Modeling Lite Free WordPress Theme Documentation
Thank you for using Modeling Lite Free WordPress Theme. This documentation consists of several parts and shows you the entire process of setting up and customizing a free WordPress theme. If you have any questions that are beyond the scope of this help file, please refer to the Support section. Thanks so much!
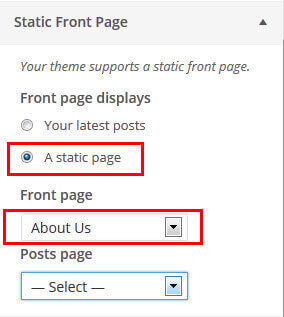
1. Homepage Setup
After activating the Modeling Lite theme, setup homepage using following
Go to Appearance -> Customize -> Select static front page
2. Slider Section
Go to Appearance -> Customize -> Theme Options Panel -> Slider Section
- Create three pages for slider from WordPress dashboard
- Slider Title managed from page title
- Slider image managed from page featured image (slider image size 1400 × 700 pixels)
- Then select the pages from dropdown for slider
3. Welcome
Go to Appearance -> Customize -> Theme Options Panel -> Welcome Section
- Create the page from WordPress dashboard
- Then select the pages from dropdown
4. New Models
Go to Appearance -> Customize -> Theme Options Panel -> Four Circle Column Services Section
- Create the pages for models from WordPress dashboard
- Title is managed from page title
- Model photo is managed from page featured image
- Then select the pages from dropdown
5. Footer
Go to Appearance -> Customize -> Theme Options Panel -> Footer Social Icons
- To customize footer setion go to Appearance -> Widgets -> Footer Widget 1, 2, 3, 4
- To activate a widget drag it to a Footer Widget.
- To deactivate a widget and delete its settings, drag it back