


Would you like to block particular IP addresses from getting to your WordPress site? Blocking IP addresses is utilized as an answer for block spam and hacking assaults on your site.
In this article, we will demonstrate to you industry standards to block IP addresses in WordPress, and we will likewise demonstrate to you best practices to discover which IP addresses should be blocked.
Why & When You Need to Block IP Addresses?
Blocking an IP address from getting to your site is a viable approach to manage undesirable guests, remark spam, email spam, hacking endeavors, and DDOS (dissent of administration) assaults.
The most well-known sign that your site is under a DDOS assault is that your site will as often as possible wind up noticeably out of reach or your pages will begin taking perpetually to stack.
Alternate assaults are more evident, for example, when you begin getting spam remarks or a considerable measure of spam messages from your contact shape. We have a rundown of approaches to battle spam remarks, yet the last arrangement is to block IP addresses.
-
Finding Out IP Addresses You Want to Block in WordPress
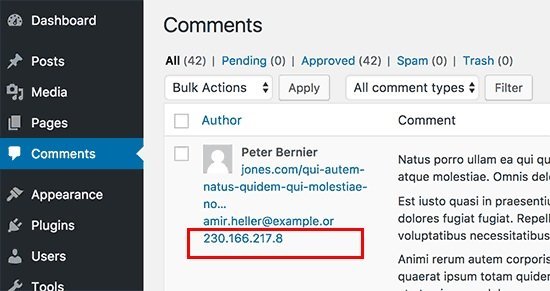
WordPress stores an IP addresses for clients that leave a remark on your site. You can see their IP address by going to the remarks page in your WordPress administrator zone.
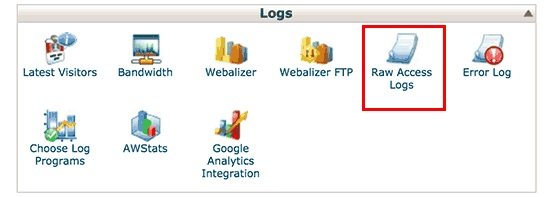
In the event that your site is under DDOS assault, at that point the most ideal approach to find the IP addresses is by checking your server’s get to log.To see those logs, you should login to the cPanel dashboard of your WordPress facilitating account. Next, find the “logs” segment and tap on the ‘Crude Access Logs’ symbol.
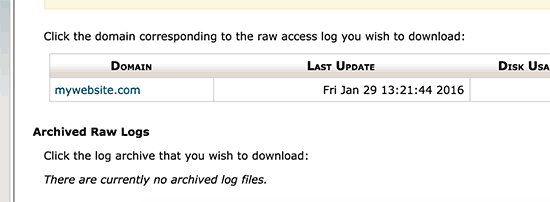
This will take you to the get to logs page where you have to tap on your space name to download the get to logs document.
Your get to log record will be inside a .gz file document. Simply ahead and separate the record by tapping on it. On the off chance that your PC does not have a program to deal with .gz file records, at that point you should introduce one. Winzip or 7-zip are two well known decisions among Windows clients.Inside the document, you will see your get to log record which you can open in a plain word processor like Notepad or TextEdit.
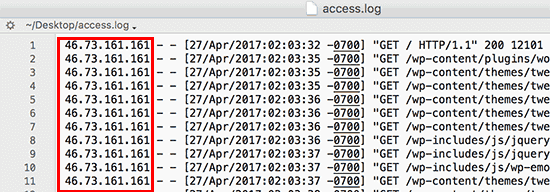
The get to log record contains crude information of all solicitations made to your site. Each line starts with the IP address making that demand.
You have to ensure that you don’t wind up blocking yourself, genuine clients, or web crawlers from getting to your site. Duplicate a suspicious looking IP address and utilize online IP query devices to discover more about it.You should painstakingly take a gander at your get to logs for suspicious surprisingly high number of solicitations from a specific IP address. Tip: there’s an approach to computerize this that we share at the base of this article.
When you have found those IP addresses, you have to duplicate and glue them in a different content document.
-
Blocking IP Addresses in WordPress
In the event that you simply need to stop clients with a particular IP address from leaving a remark on your site, at that point you can do that inside your WordPress administrator zone.
Go to Settings » Discussion page and look down to ‘Remark Blacklist’ content box.
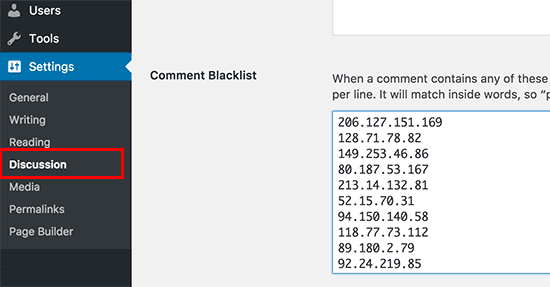
Duplicate and glue the IP addresses that you need to block and after that tap on the spare changes catch.
WordPress will now block clients with these IP addresses from leaving a remark on your site. These clients will even now have the capacity to visit your site, however they will see a mistake message when they attempt to present a remark
-
Blocking an IP Address Using cPanel
This technique totally blocks an IP address from getting to or seeing your site. You should utilize this technique when you need to shield your WordPress site from hacking endeavors and DDOS assaults.
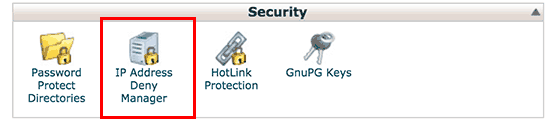
In the first place, you have to login to cPanel dashboard of your facilitating account. Presently look down to the security segment and tap on ‘IP Address Deny Manager’ symbol.
This will take you to the IP Address Deny Manager apparatus. Here you can include the IP addresses you need to block. You can include a solitary IP address or an IP range and afterward tap on the include catch.
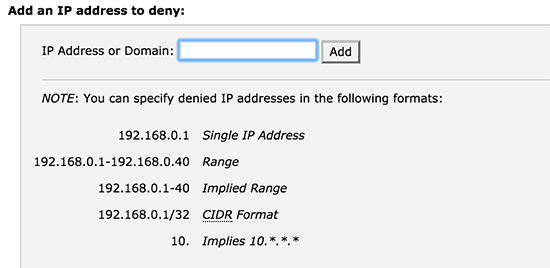
You can return to a similar page again in the event that you ever need to unblock those IP addresses.


